In Process: Mono-Log Cabin

As I was making the Log Cabin Star, I started separating the black, white, and gray fabrics and making monochromatic log cabin blocks at the same time. Because I have an addiction. Apparently.

IMG_9034.JPG

I’m not sorry, though– when they started showing a strong design I was even happier!

IMG_9068.JPG

I played with a few design ideas but didn’t want to make any more blocks, so I had to figure out a design that worked with the particular quantities of black/white, black/gray, and gray/white blocks that I had. This one almost worked but was a bit dull for my taste.

IMG_9071.JPG

And then I found this one! Yay!

IMG_9073.JPG

Last weekend I sewed the blocks together, layered it, and quilted it. Here’s the back of it. I quilted it with three different gray Aurifil threads in about an hour. It’s almost 36″ square, so it’ll be a good size to go under the foot of the featherweight in the front foyer of our house.

IMG_9371.JPG

I hope to have it finished sometime next week, but I’ve got another one in the binding process at the moment.

In Process: Log Cabin Star

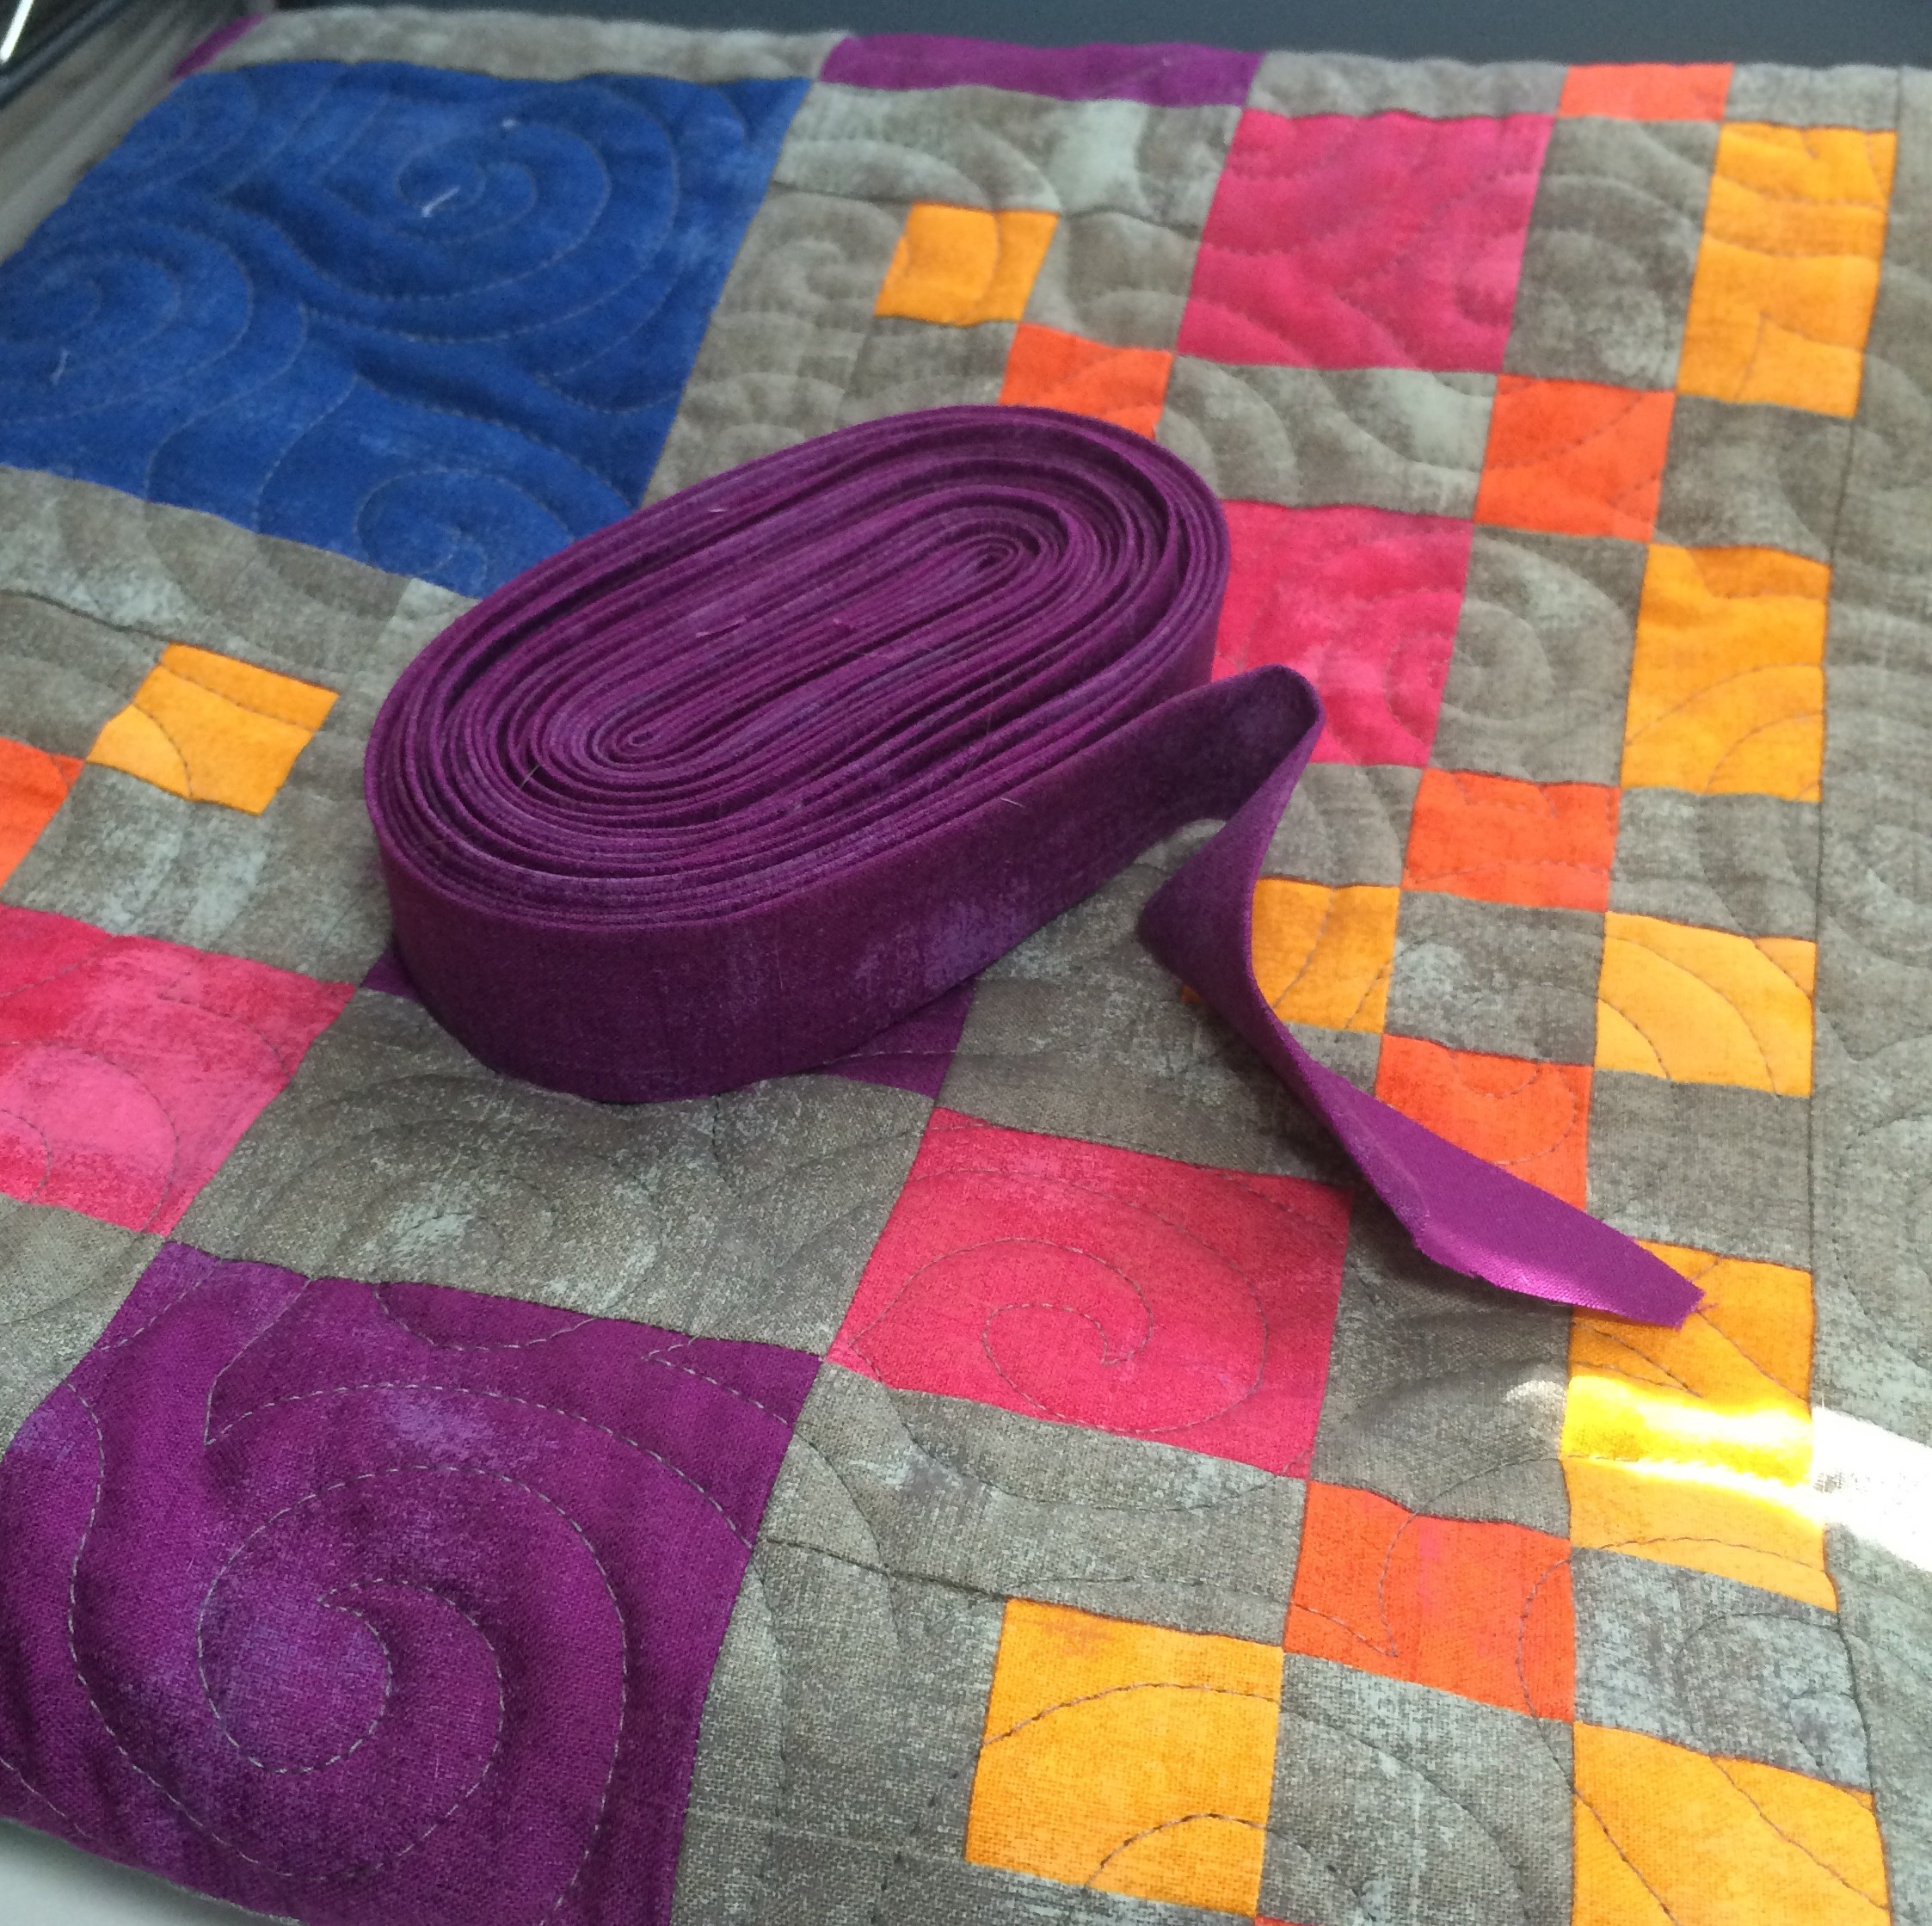
Recently, I wrapped every individual piece of my fabric stash around cardboard sheets (comic book/magazine boards) that I bought from Amazon. As I did so, I cut 2 1.5″ strips off of each piece so that I could have an ongoing leader-ender project this year, enjoying the fabrics that I have accumulated rather than just accumulating them.

The process took a while, but I did finally get it all wrapped. I LOVE being able to see my fabrics this way!

IMG_0025.JPG 

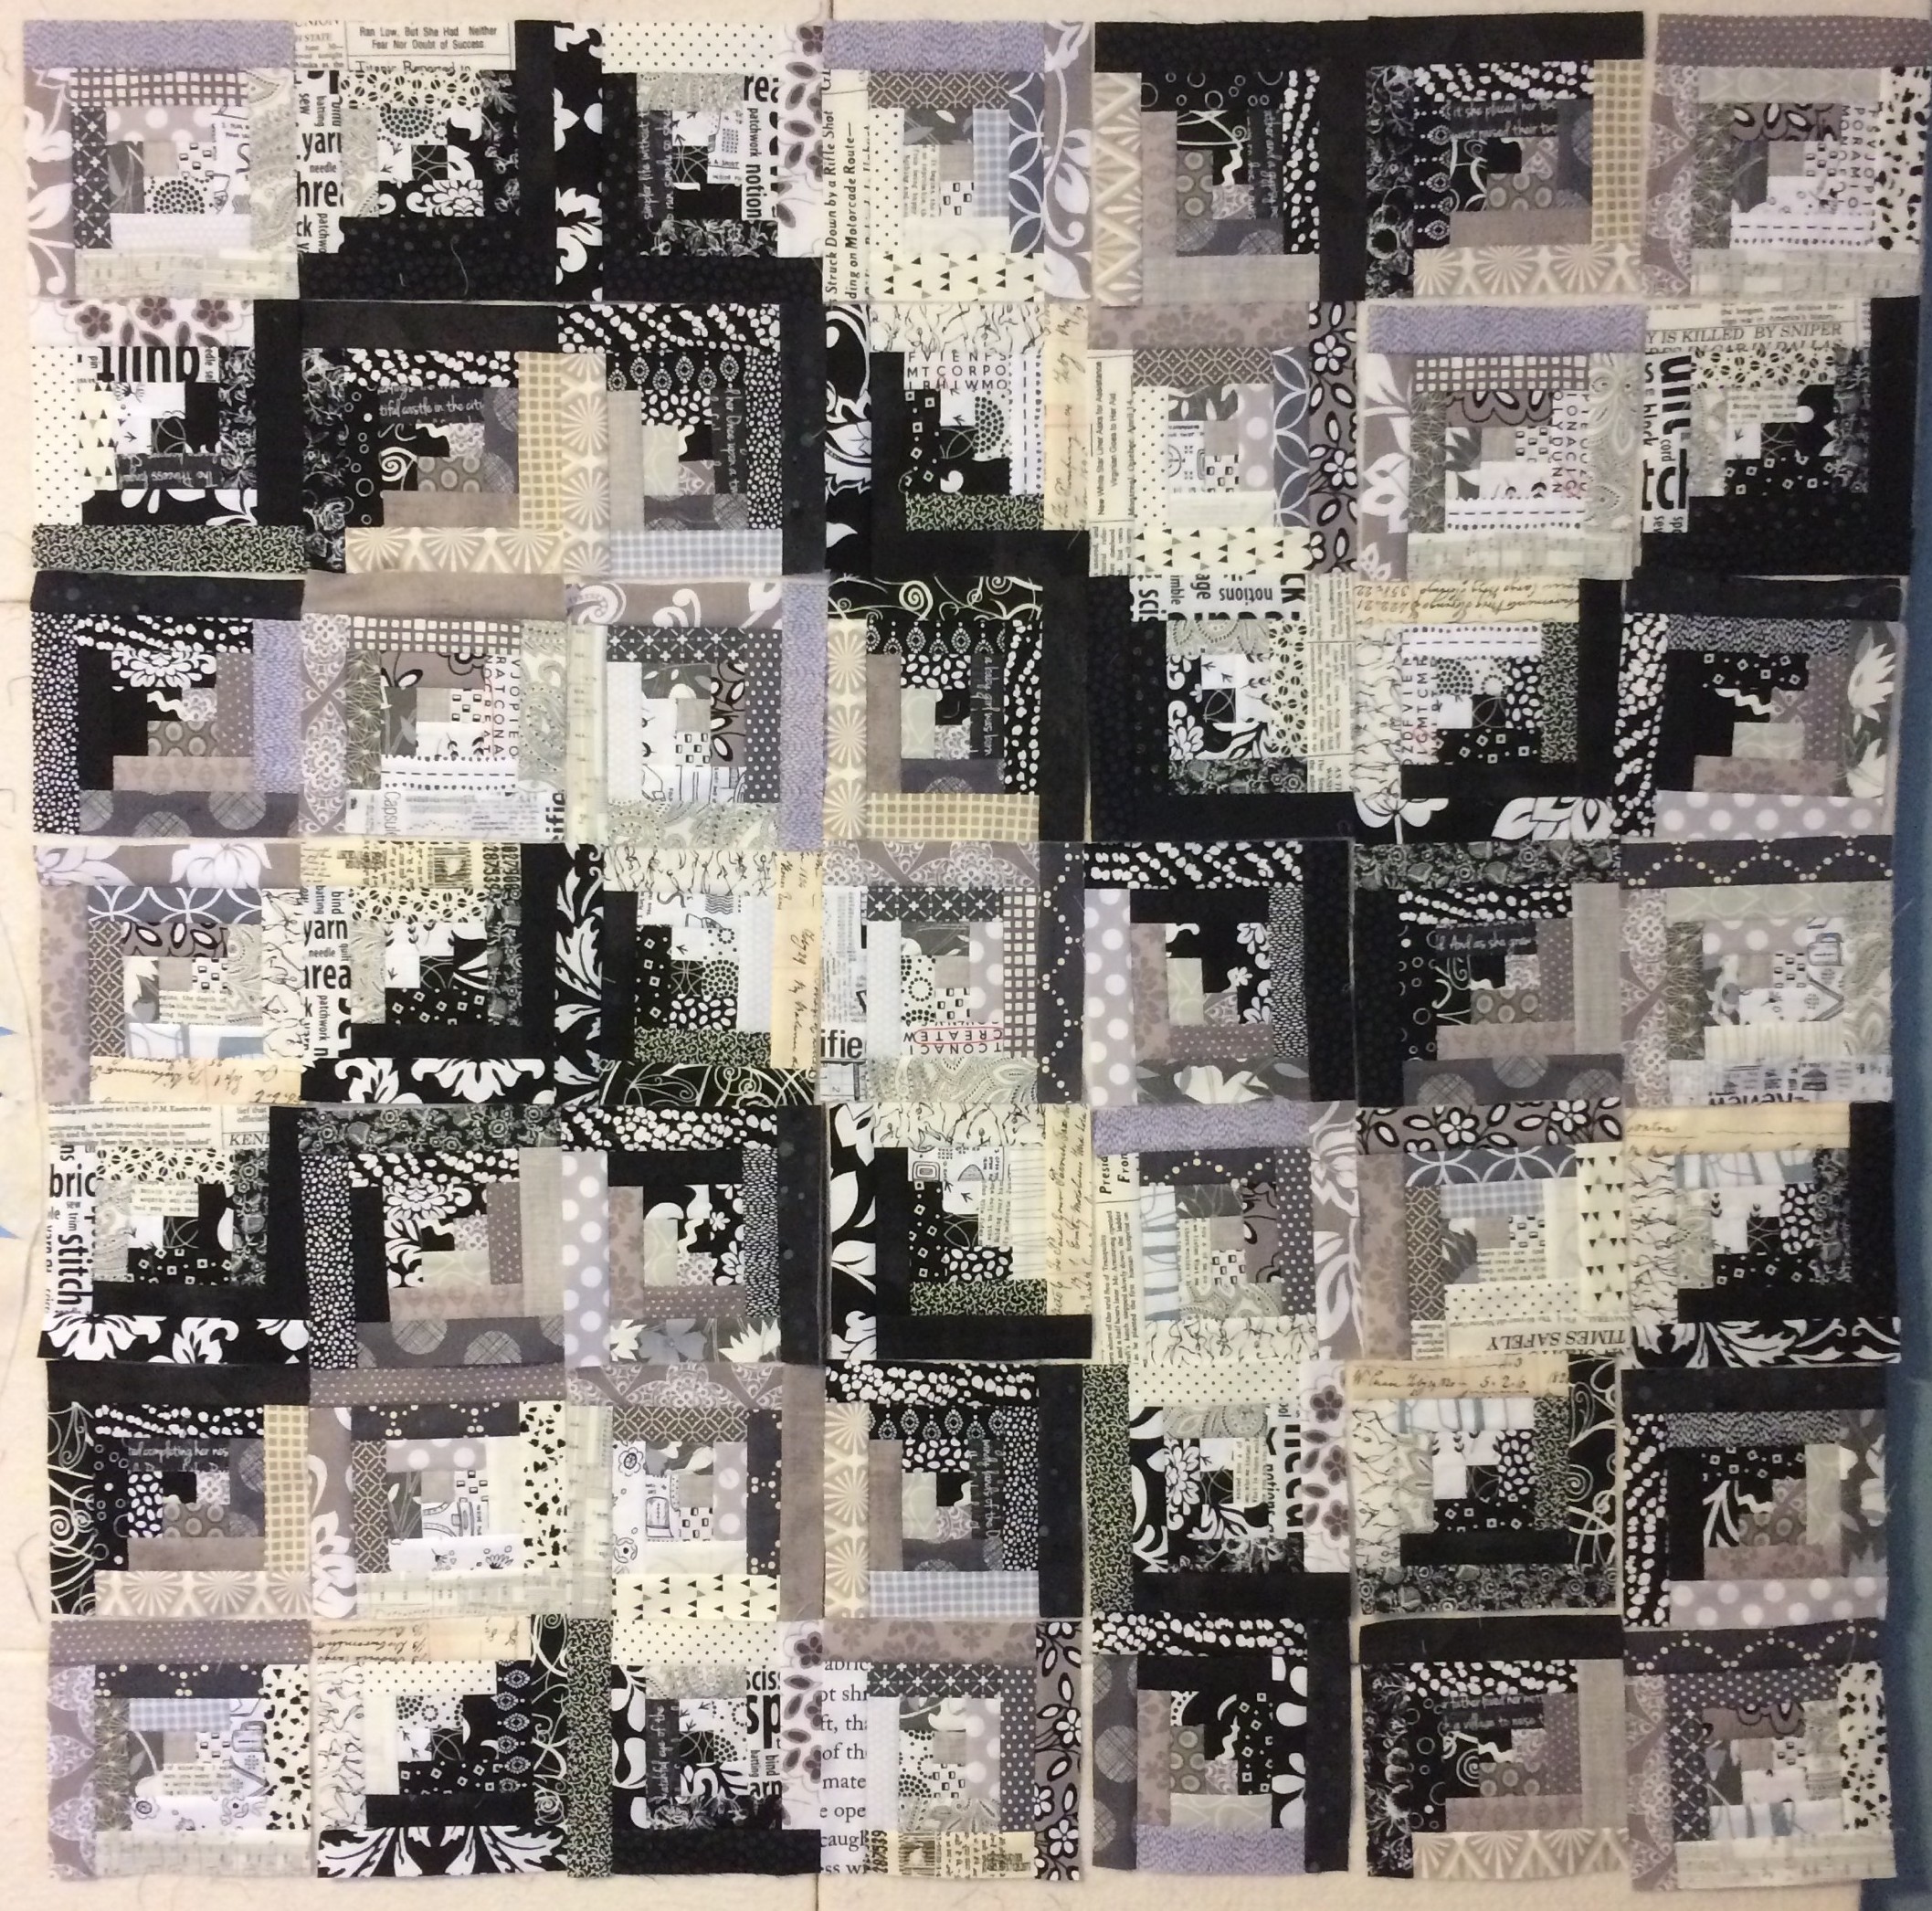
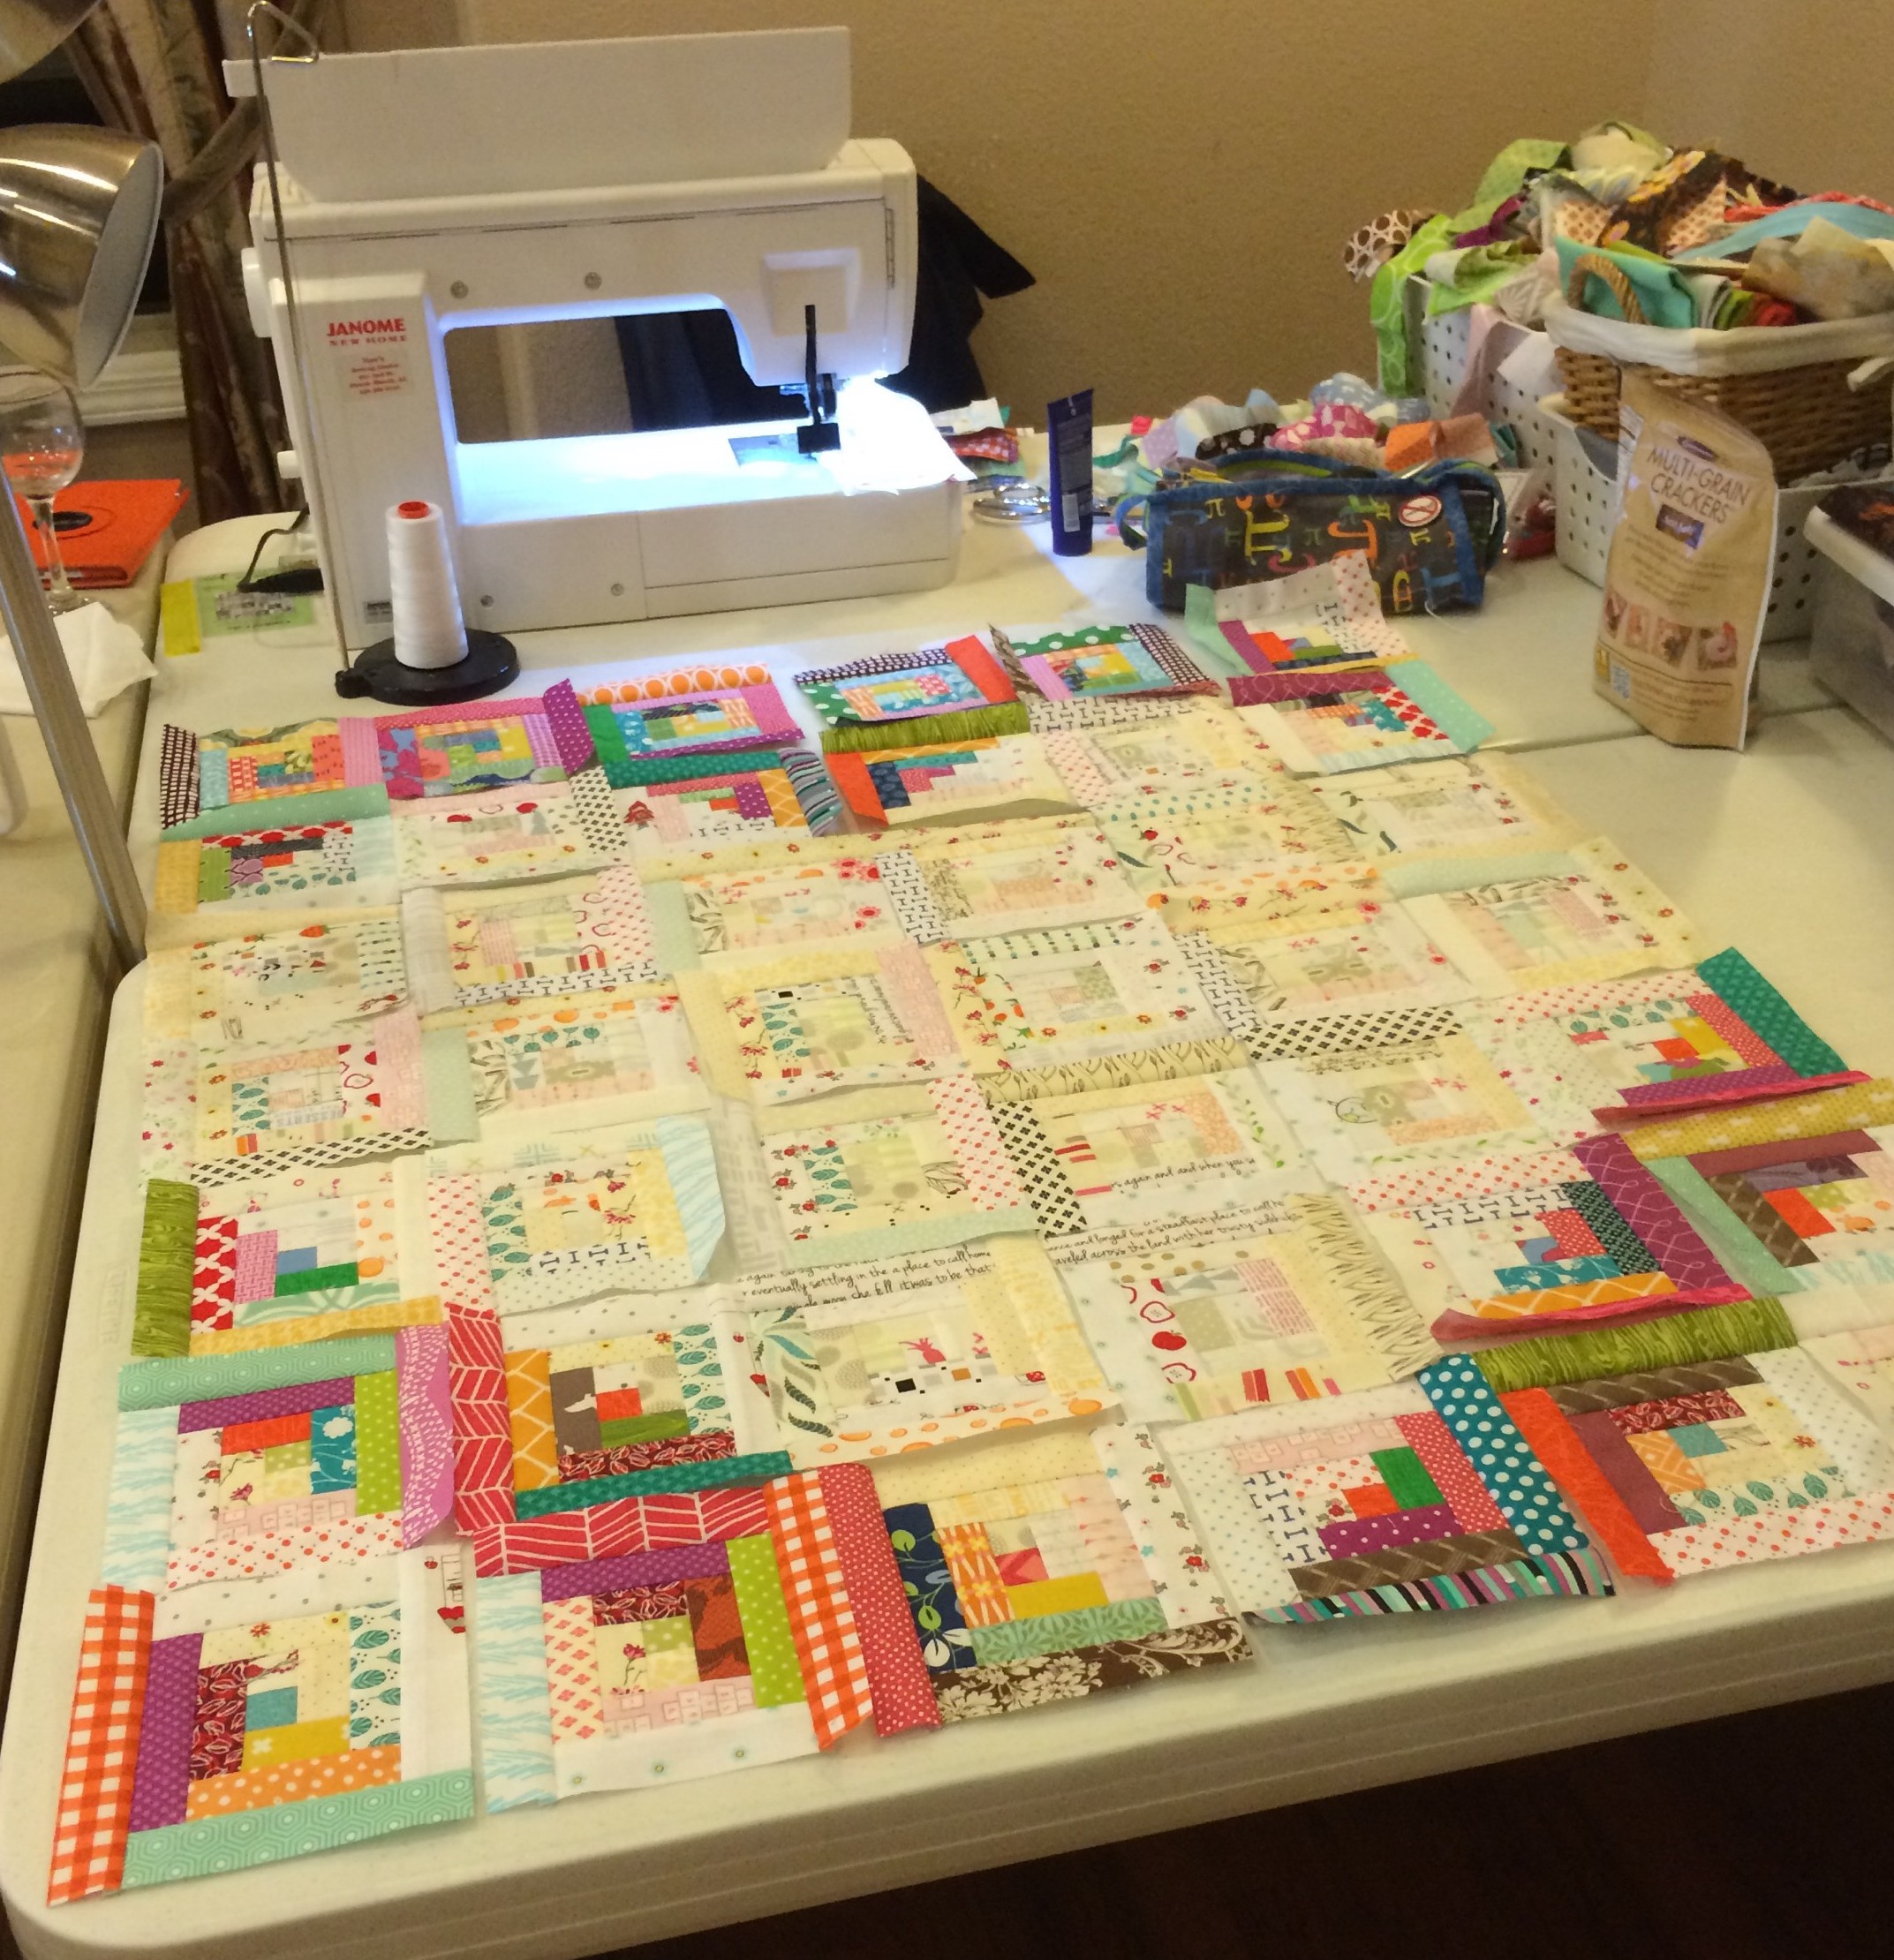
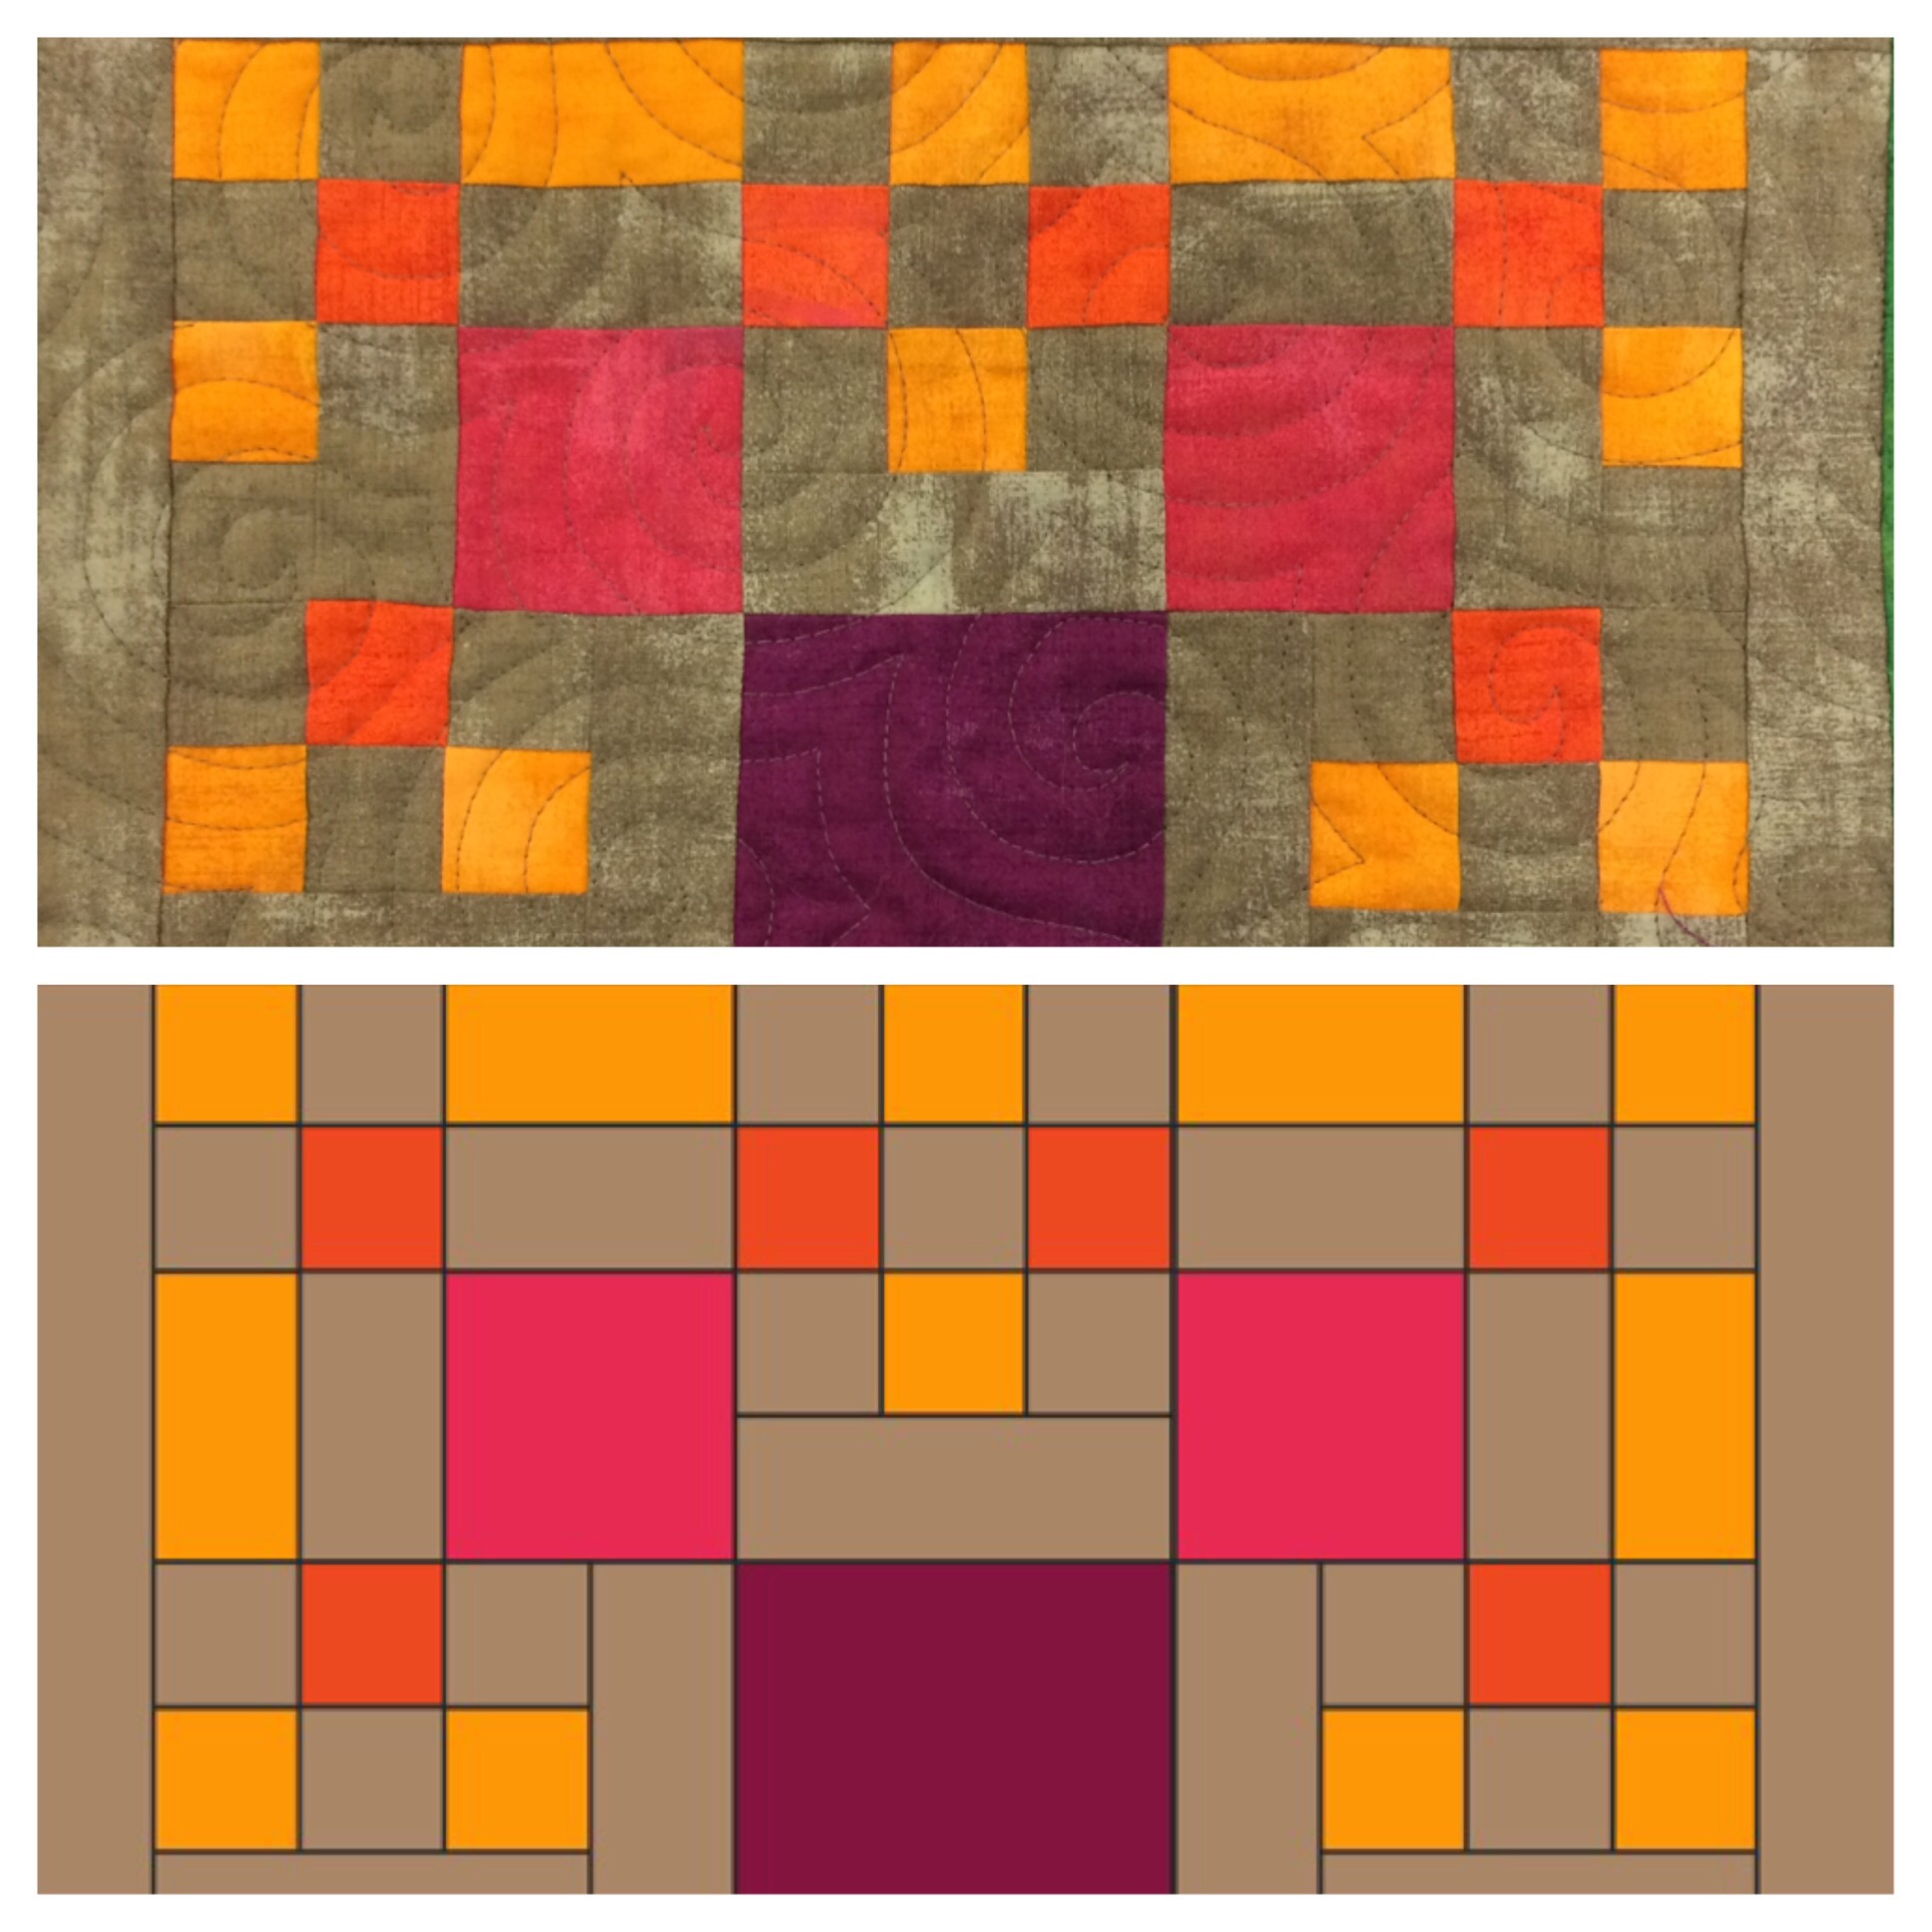
Naturally, I couldn’t stand it and had to start making little log cabin blocks with these fabric strips. At the end of January, this is what I had.

IMG_8897.JPG

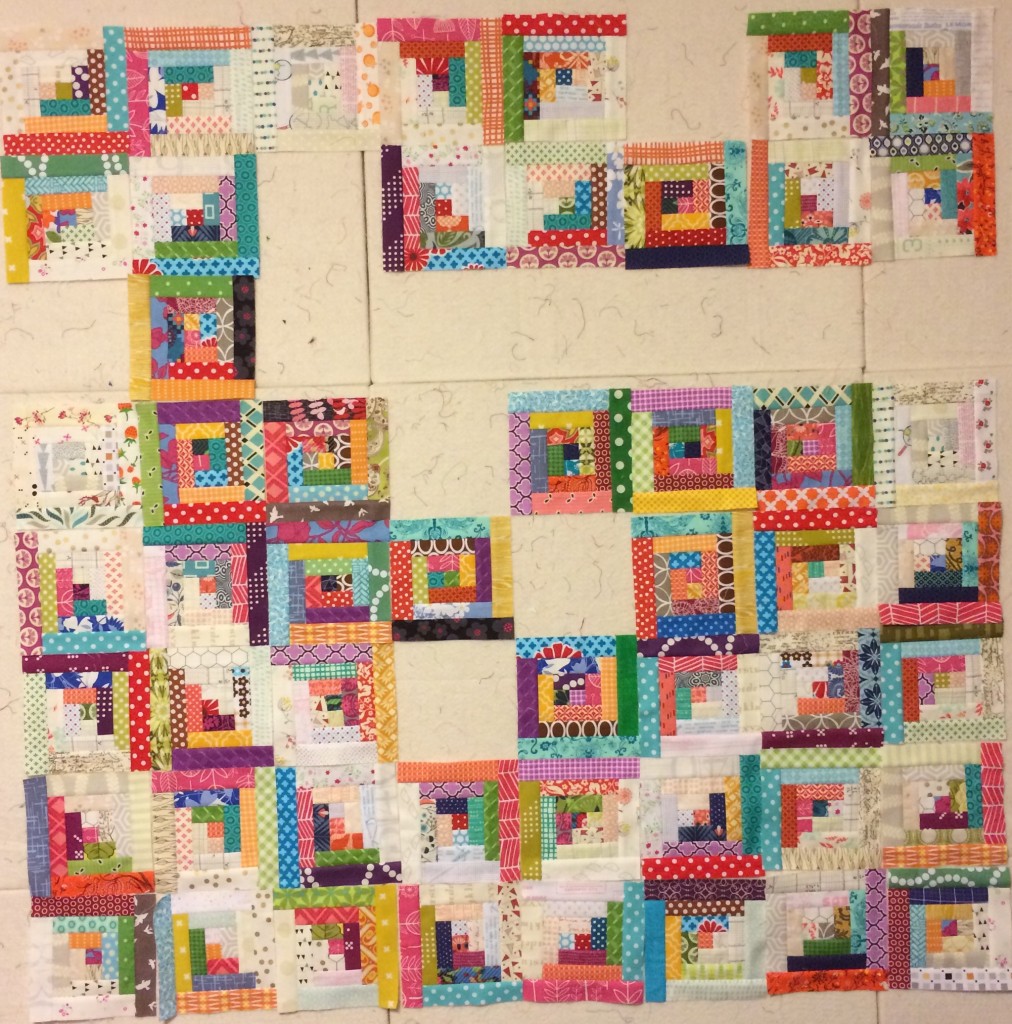
Not wanting to take them down off of my design wall to go down to the Red Rooster (which doesn’t have a design wall), I just took the partial blocks I had and the bins of strips and made more. 

IMG_8908.JPG

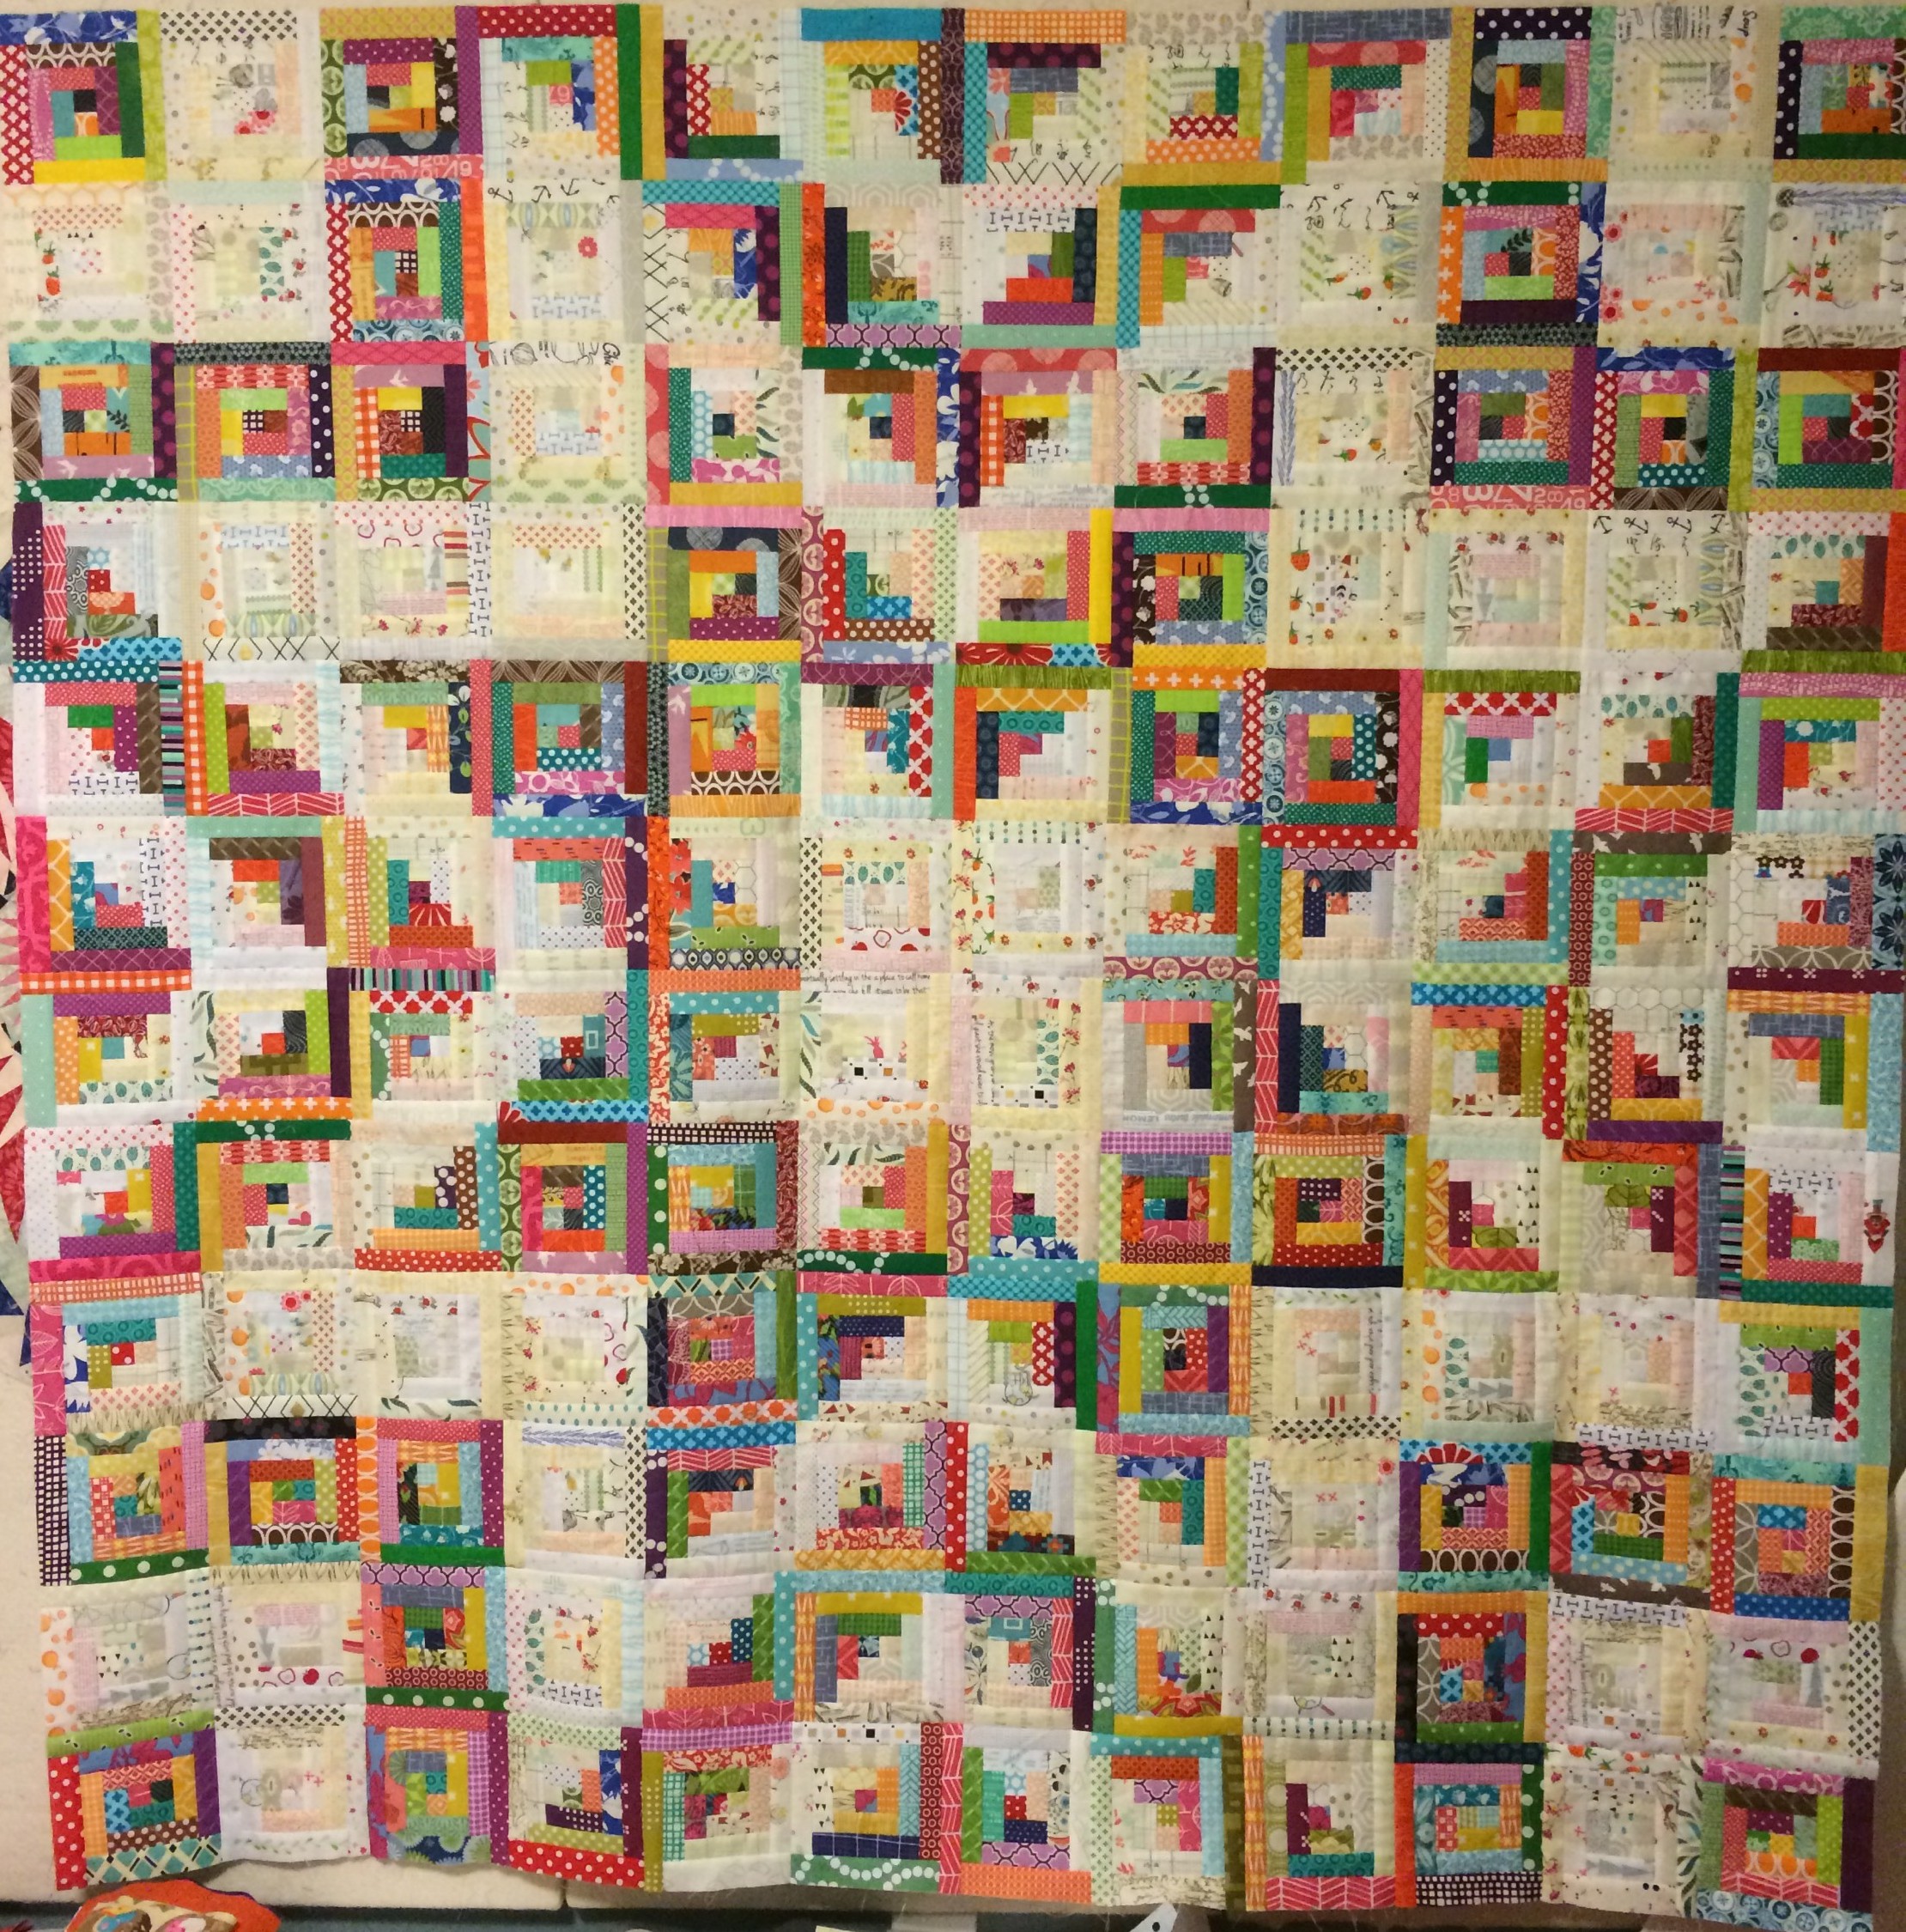
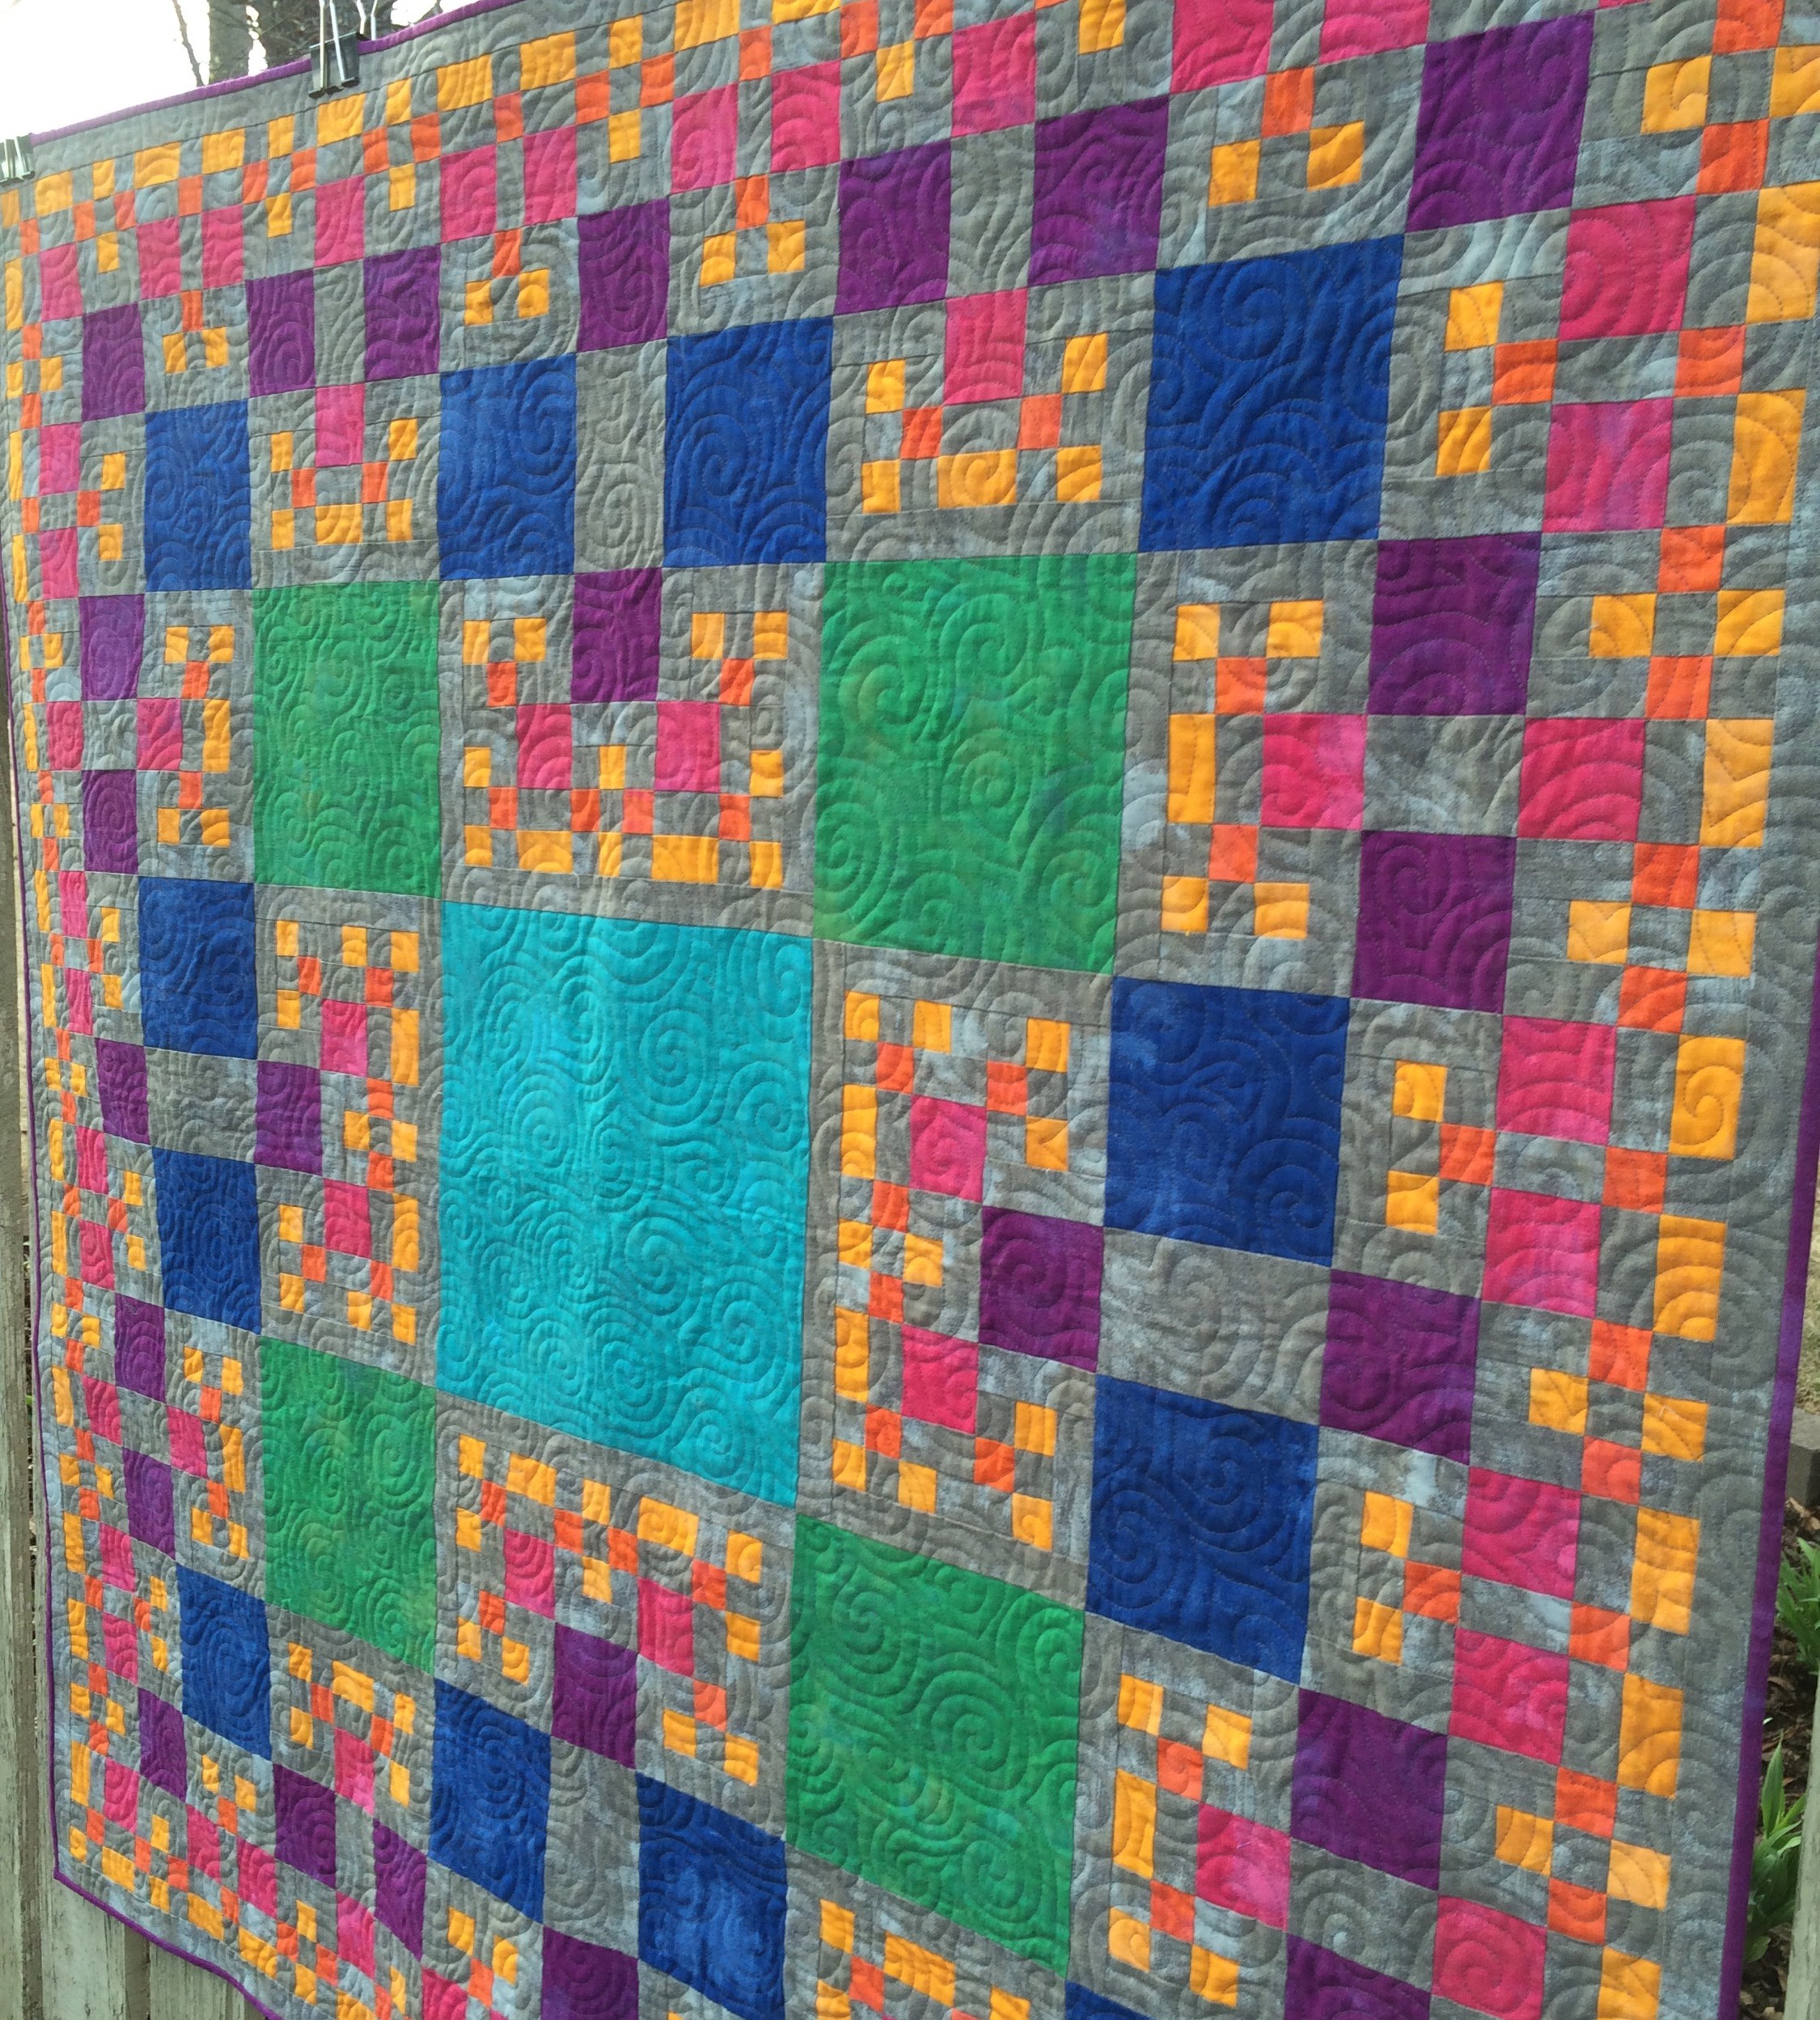
At the end of the weekend, I combined the two piles of blocks and started playing with layout concepts. This one made me happy, so I decided to finish sewing blocks to complete the design.

IMG_8913.JPG

It also took a while.

IMG_8924.JPG

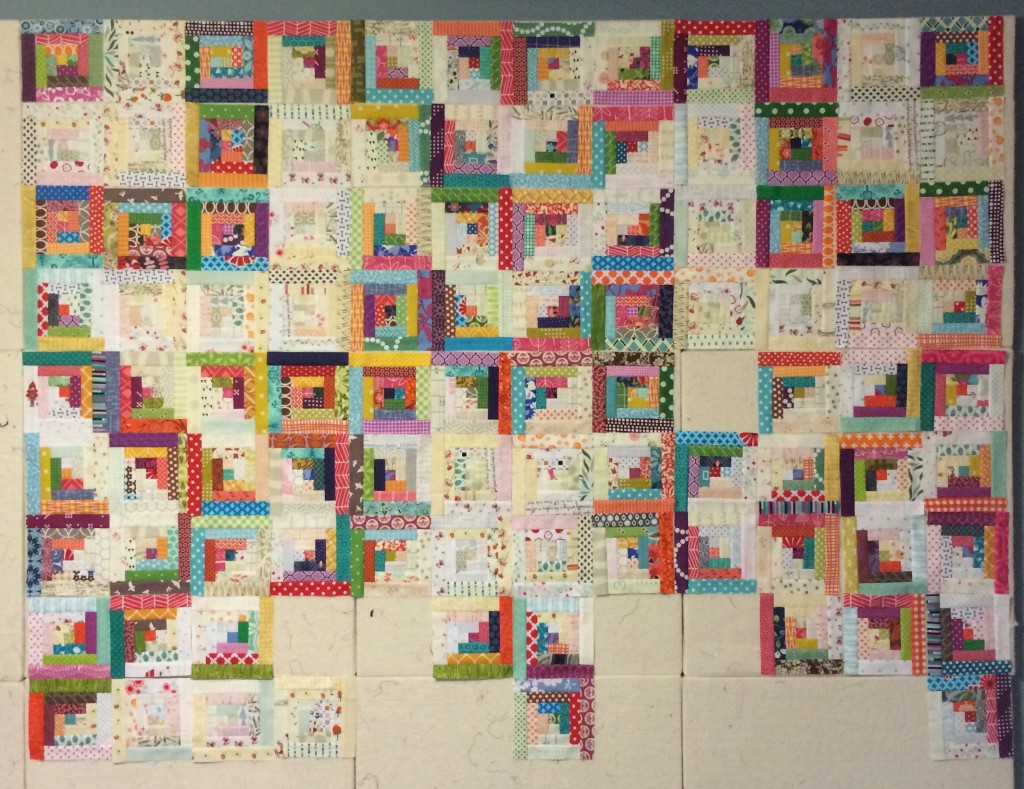
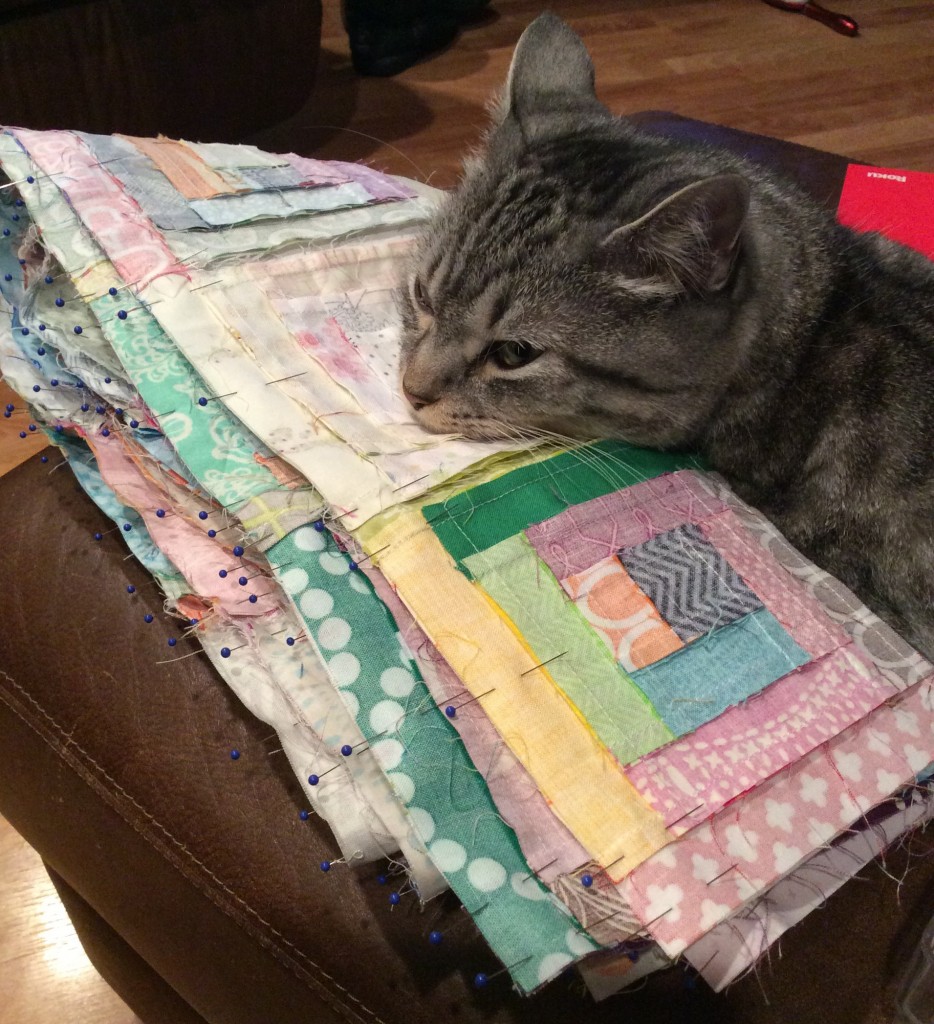
I did finally prevail, and I sewed the blocks into rows and sewed the rows together over a period of about two weeks, between other projects.  Ella helped. 

IMG_0029.JPG

 IMG_9006.JPG

And in case you wondered, Fibonacci is lurking in this one, too– each block has 13 pieces, and there are 144 blocks. Both are Fibonacci numbers, of course. The logs are 3/4″ wide (I trimmed to a precise width after every seam, so that accuracy did not depend on my seam allowance), so the blocks finish to 5 1/4″ and the quilt top will finish to 63″ square.

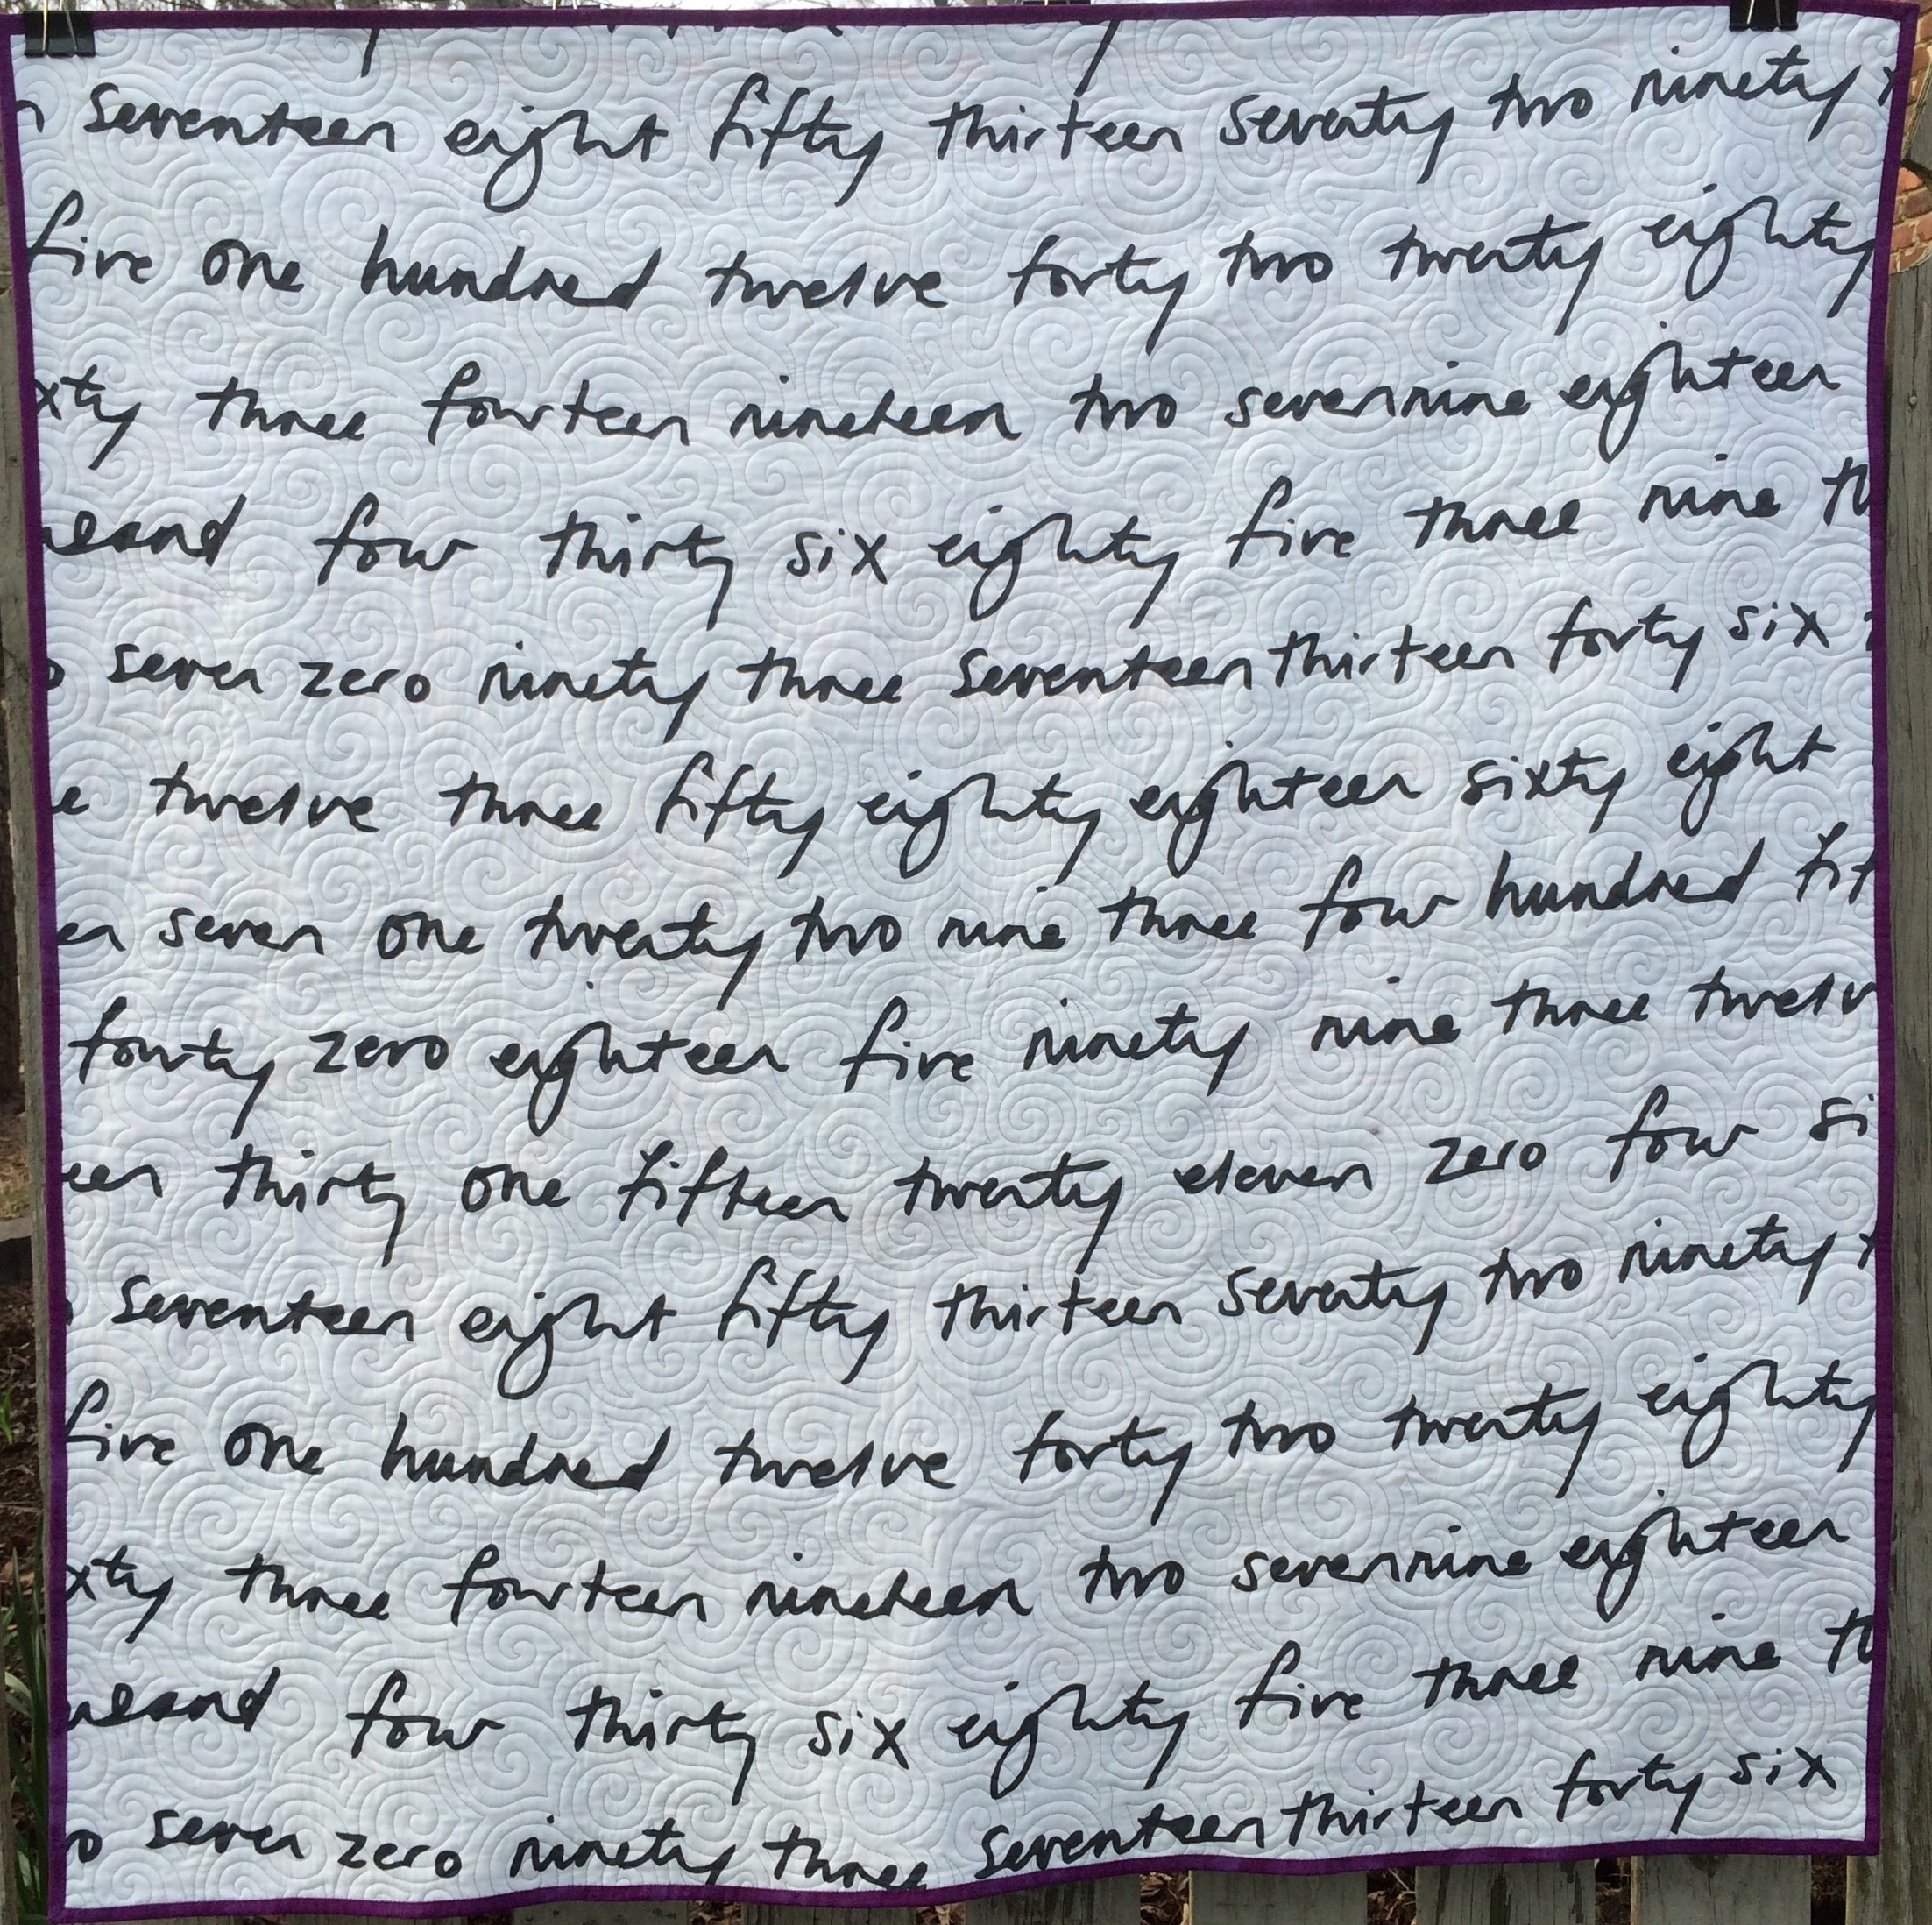
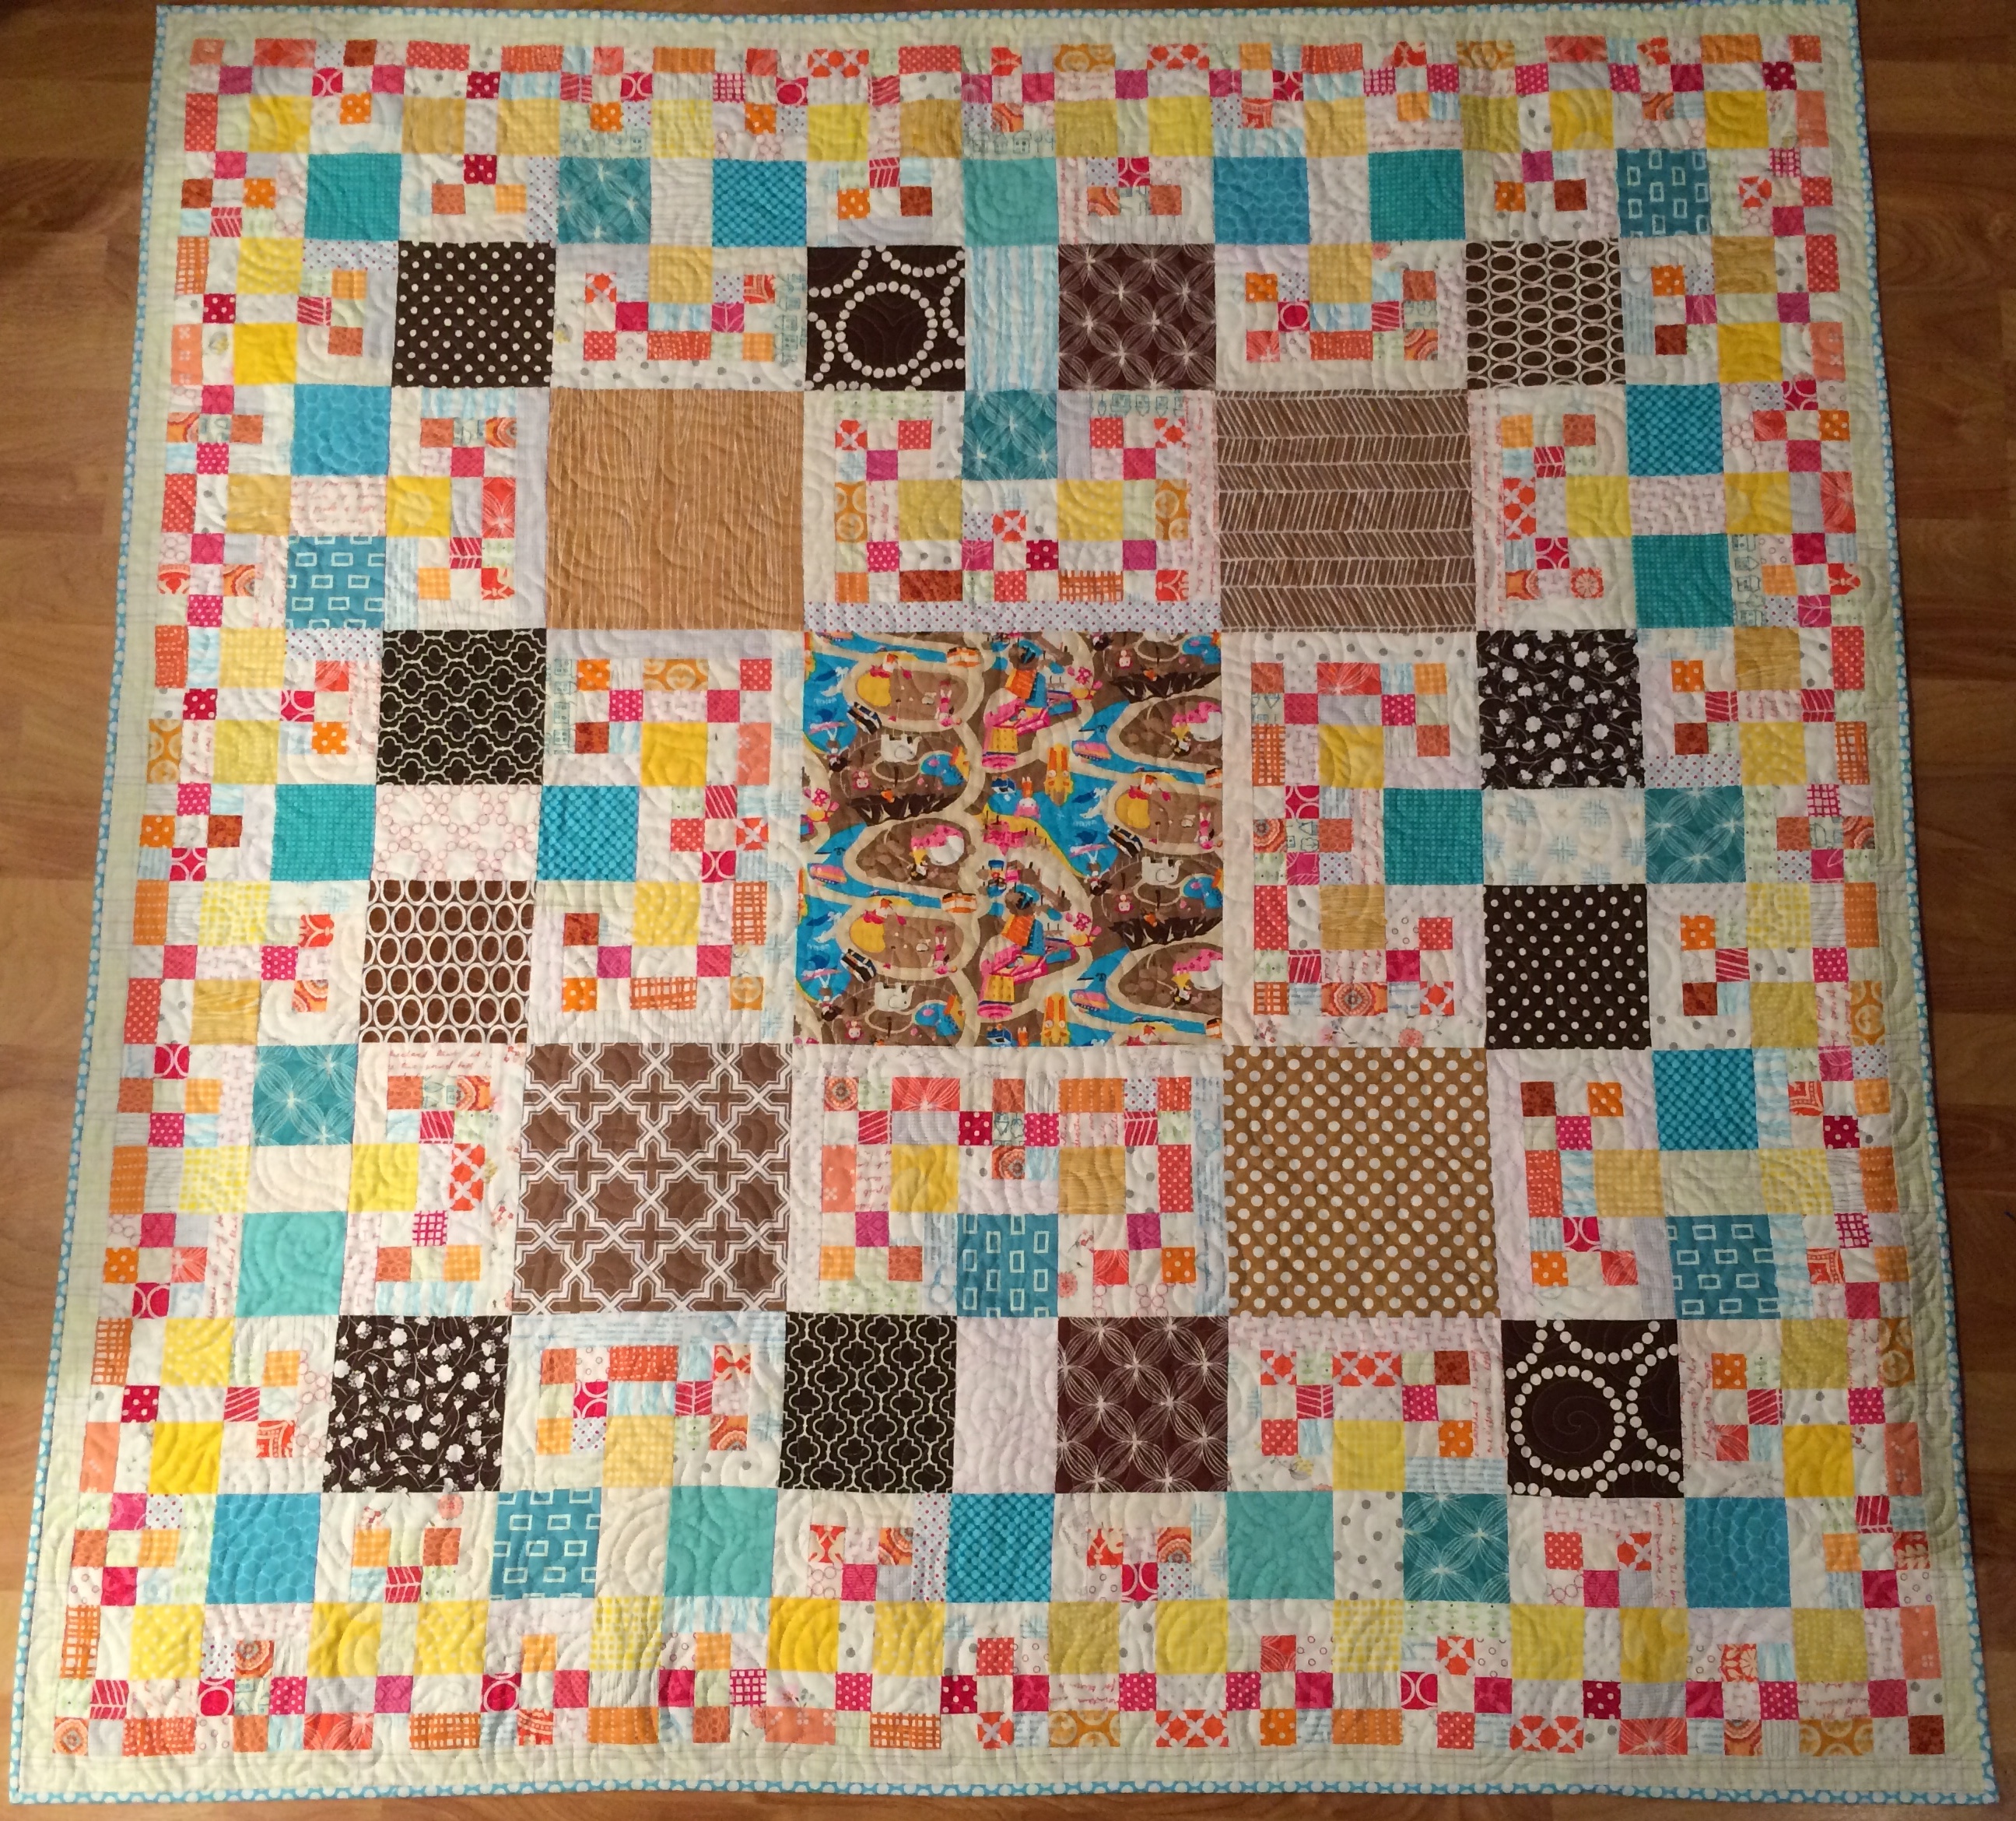
Last weekend I pieced a back for it from scraps that hadn’t been folded back onto boards, and I hope to get it layered and quilted very soon. I love the simplicity of the log cabin design, and the versatility that it affords. Even though it’s not particularly challenging to make, I savored the slow process of making the small blocks, and as a result I’m very attached to this quilt. I already have 35 more log cabin blocks made and more in process, as I’ve continued to pull strips from that bin between other projects. What a fun way to work!

Finished (my part, anyway): Pattern test for an IG friend

Top Secret! Top Secret! #15 from my Q1 Finish-Along Goals for 2015. This one doesn’t really count as a “finish,” as far as the FAL rules go, but my part of the quilt is done. I shipped it back to the designer so that the quilter who is doing all of the quilts in the book can start on it, so I don’t have anything more to do. As far as I’m concerned? It’s a finish.

I can only show you this much now, and these are only a small part of the finished quilt top (and they’re not assembled like this, either– I was just counting at this point and figuring out which combinations I still needed to make), but I did finish the pattern test and I’m excited for you to see the finished piece! IMG_8802.JPG

Finished: Fibonacci Fractal 2

This was #2 on my Q1 Finish-Along Goals.

This is the 2nd iteration of my FibFrac quilt, since the first one didn’t demonstrate the mathematics as well as I wanted. This time I chose to use Moda Grunge tonal fabrics in contrasting colors. I was very pleased with how it came out.

IMG_9339.JPG


I quilted it with a favorite spiky spiral all-over filler design, spaced about 3/8″ apart.

IMG_9337.JPG

Jerry chose the thread color to match the taupe background fabric, and I love the choice — it gives texture without adding another design element to the fabric, which allows the math to stand out finally.

IMG_9338.JPG

And, of course, more Ikea Britten Nummer fabric on the back.

IMG_9341.JPG IMG_9342.JPG


I bound it in plum Grunge fabric, which set off the quilt very well.

IMG_9091.JPG

The plum was also was a good fabric and quilt choice for my binding tutorial, because everything photographed very well.

I’m quite sad that I’m out of the Grunge fabrics now, because they were a lot of fun to work with. I may need to stock up on them for future projects. I like how they play solid without being flat.

IMG_9336.JPG

As I was getting the pattern written for it (in final edits now, and I’ll post when it’s ready and in my Etsy shop), I realized that I made a pretty significant mathematical error in the sections connected to the center square. Here’s a comparison of what I sewed and what the mathematics in the pattern design actually calls for.

IMG_9177.JPG

I’m more than a little annoyed by the error (and especially that it took me so long to even notice — not once until after the quilt was totally finished!), and I’m trying to decide if I should Photoshop those squares yellow for the cover photo of the pattern or just go with it and admit the error in the pattern. Would that be confusing? I’m not sure. In any case, I didn’t make that error in FibFrac1:

image5


Grr. First World Problems, I suppose.

Anyway. I’m happy with how they came out.