In April, my mom and I went to Chattanooga for the weekend to take a class hosted by Spool and the BadAss Quilters Society with Melissa Averinos, who had just won the Best of Show award at QuiltCon about 6 weeks before. The class was called “Making Faces with Melissa,” and you can find work by her students all over Instagram by searching with the hashtag #makingfaceswithmelissa. Go ahead: I’ll wait. It’s worth the browse.
Ok, welcome back. Wasn’t that awesome?
Since Mom is a talented portrait artist and wants to do more quilt portraits of her grandchildren, I thought this class would be perfect for her. When we realized she would be in town that weekend, we decided to sign up for both days and make a girls’ weekend of it.
Here’s Melissa teaching, next to a display of some of her face quilt samples. 
The class started with an intensive face drawing lesson, where she explained facial structures using geometric terms that my little math nerd brain could definitely understand. Mom has explained all of these concepts to me before, but it was very interesting and clarified a few things for me that I hadn’t realized that I didn’t fully understand. We had a booklet for lots of practice drawing. 
Before the drawing class, she had us draw a face in 90 seconds without questioning our abilities, and then at the end of the class we drew another face. She said we would amazed at our growth and we all were. Exhibit A:
After lunch, we started to play with fabric, using the concepts she had taught in the drawing class. 
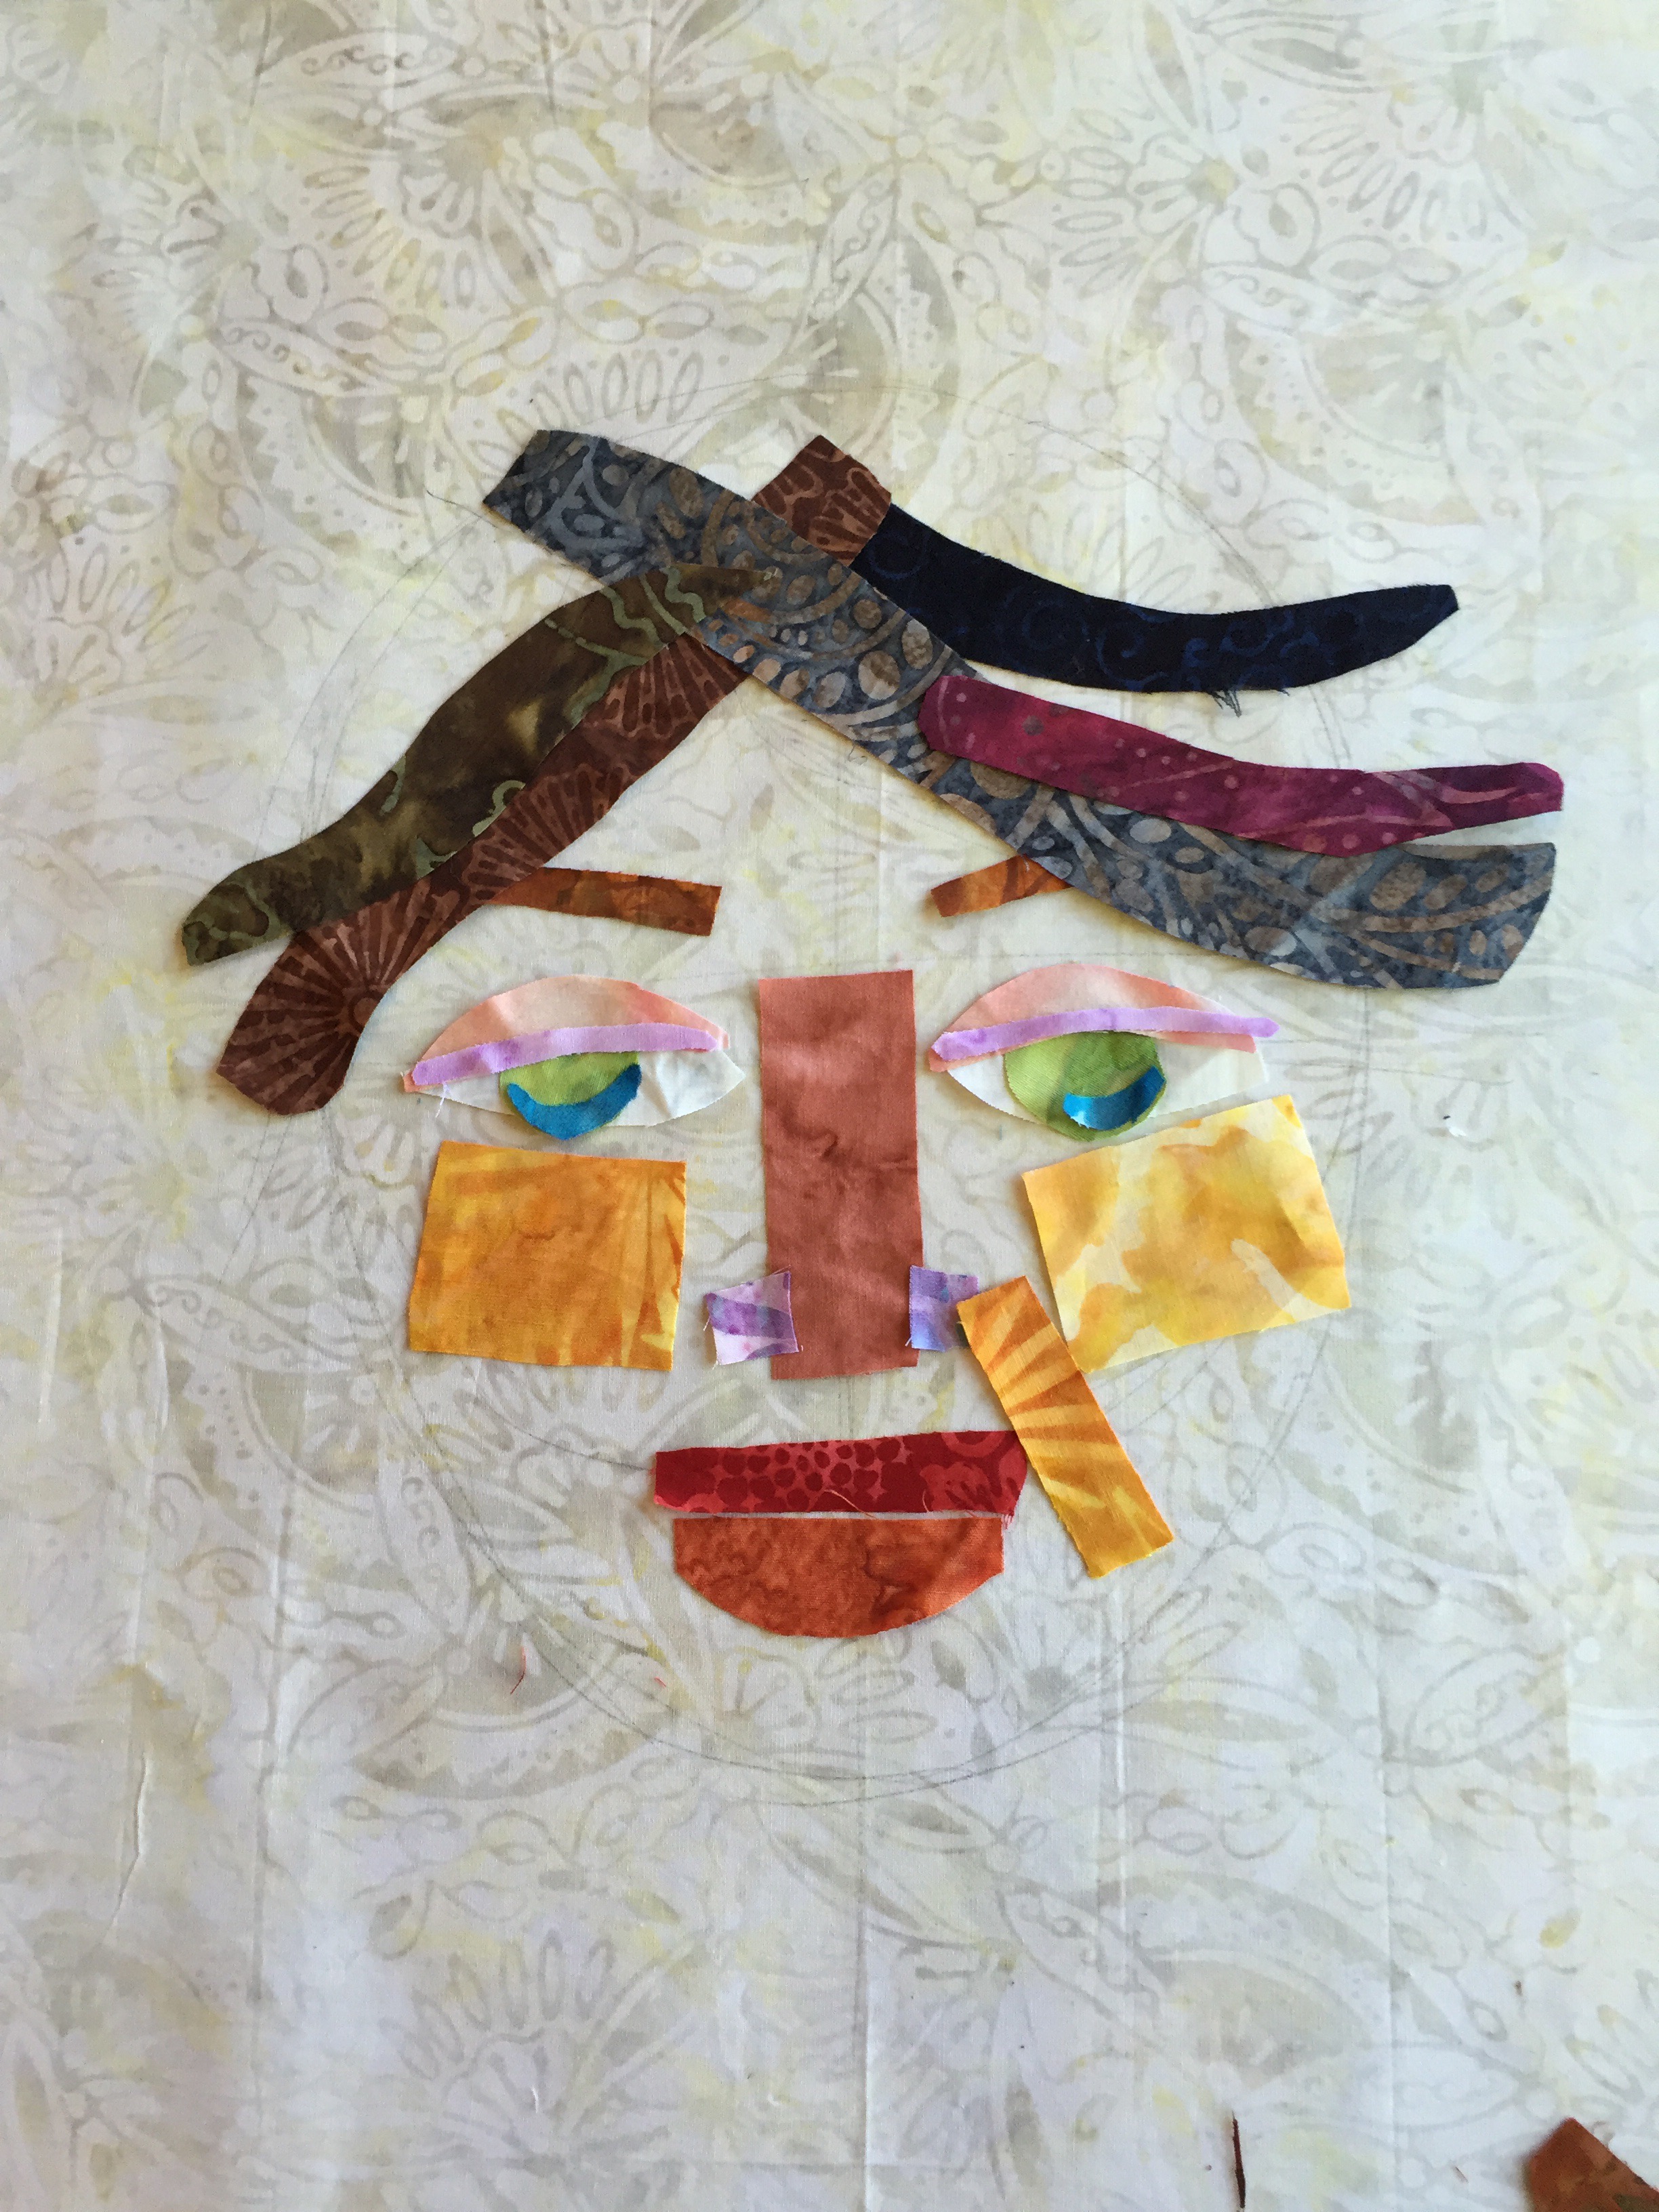
Initially I was going with the stylized look that is Melissa’s trademark, because I love it so. I challenged myself to only use batiks, because my batik stash is so huge and they can be used on either side. I like to give myself little rules when I’m starting a project because I find that I’m less overwhelmed by the blank canvas. 
Melissa encourages students to work on more than one face at a time, so that if you get stuck on one you can shift to another and work until you know what to do next and can come back with a fresh perspective. This proved to be hugely valuable advice. The first face was looking a bit more tribal than I wanted, so I switched to my second face. 
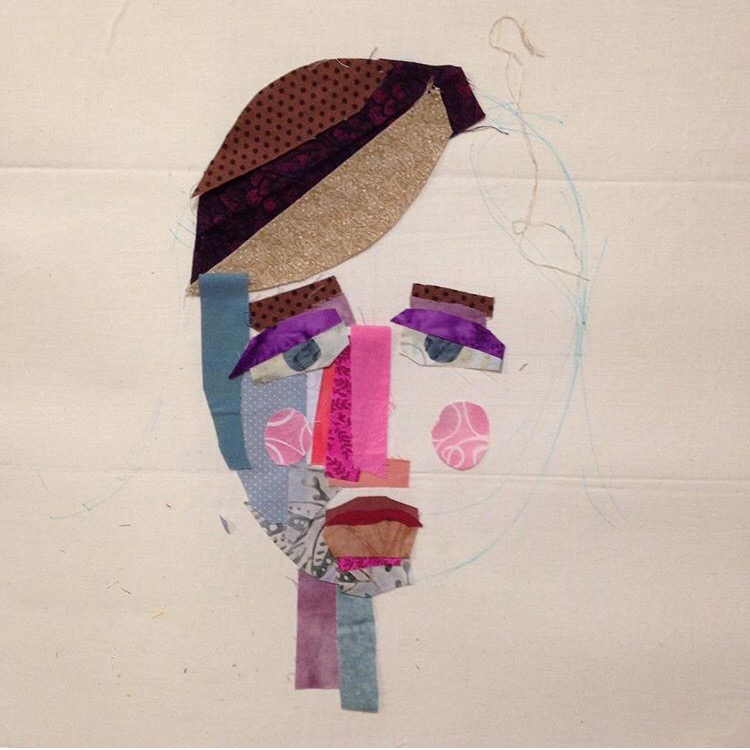
And here I started to find my voice more readily. Using larger chunks for hair made the process faster for me, and was one of Melissa’s suggestions to me as she wandered the room encouraging everyone. 
When I had a moment I went to the front and took photos of some of her faces. These three were a series that she did all at the same time that I absolutely loved.
Before long, the first day of class was over and we had to leave until morning, which was torture. I left my iPad under the only window in the front of the room, so I had to call Maddie to let me back into the venue to get it. Thank you so much! (I was so embarrassed. I’m not usually so flakey but I was in.the.zone. at the end of class that day and struggling to think logically.)
Mom and I checked in at the hotel and then walked to Urban Stack for a Whiskey Smash. Mom needed to experience the loveliness that is a Whiskey Smash (not sure if that’s the recipe they use but you get the general idea). We were not disappointed. 
Then we walked to the Public House and wandered around Warehouse Row until our reservation time. In Anthropologie I did some virtual shopping for friends– by sending photos of things I would buy to give them if I were a gazillionaire. For Laura…  and for Sue and Rene because of the title:
 I love “shopping” this way because it costs nothing, they know you’re thinking of them and you don’t give anyone extra clutter to deal with. Heaven knows I’d rather have the thought than the stuff.
Finally it was time for dinner! We shared a bottle of Tempranillo and ordered the pot roast. I love this picture of my mom. So cute!
And the pot roast. Ohhhh, the pot roast. Have the pot roast if you go to Chattanooga. It’s stand-up-and-slap-your-grandma good. Not that I’d slap my grandma. But still. It’s quite tasty. And I don’t usually like pot roast all that much but Jerry and I were encouraged to try it last summer, and it was i.n.c.r.e.d.i.b.l.e. … and gluten free! Bonus!
That night, we went to bed at a shockingly reasonable hour (9pm! I know!) and then got up bright and early for breakfast and then day two of Melissa’s workshop. This is what greeted me when I arrived back at my table. Hmmm… which to work on?
I decided to play with the “Androgynous Pixie King,” as I was calling him at the time, since the “Ice Princess” had me stumped again. It was so cool to just add more and more layers to get the look I wanted, knowing that none of this was permanent and I could rip it off and move anything. We used Elmer’s disappearing purple glue stick for this part of the process, and glued down more permanently with micro-fine glue tips and Elmer’s School Glue when we wanted to be sure our pieces didn’t shift.
At this point, I kind of deviated from the stylized approach that Melissa had been teaching, because I got an idea for how to conquer a quilt idea that I had started three other times since 2006. All three times have ended in frustration and a trip to the trash can, but for whatever reason, what Melissa said in class and the process of working with these faces gave me a sudden epiphany for what I wanted to do. But before I could do that, I had much more to learn to be certain that this approach would truly work. Melissa was very gracious and encouraging as I went off the path, for which I will always be thankful. This is one of the many reasons that I am very very glad that I took her class.
So I continued working on the Pixie King, adding and subtracting to get the shadows right.
His hair bugged me but I didn’t know how to fix it really, so I concentrated on his face.
More and more details. Oh, man. Yeah, this approach was definitely going to work for that long-dormant project. Very much yes. The rest of the afternoon was kind of a blur. I meant to go around checking out the work of everyone else but I was just a marionette being controlled by the creative muse controlling my strings.
Around lunch on the second day, Melissa asked us to glue down as much as we could so that we could display at least one of our faces with the work of everyone else in the class. So I adhered the Pixie King and pinned him up. It was SO cool to see how people were running with the ideas in class, and interpreting them in different voices. We went around the room and discussed our own work and admired the grouping of faces on the design wall, which was a really great thing to be able to do in a class. So often I leave quilt classes wishing I could have seen what everyone else was doing with the same instructions. You can learn a lot from people that way.
Then we had lunch, and I left the Pixie King in this state and returned to the Ice Princess for the remainder of class.
She got more and more layered, too, and I had fun adding some wild colors to her hair.
And then we did a guided construction of a face using Melissa’s directions, so I did get to go home with a more stylized face at the end of class too. I’m glad she did that, so I don’t forget her approach — it’s fantastic. (I cannot for the life of me get this photo to orient properly, even though it seems to THINK it’s upright in the file… Stupid picture. Maybe I’ll reload it. In the meantime, turn your head sideways. Kthxbai.)
Here’s my mom’s “Dude,” as he looked at the end of class. He had a theme song: the main theme from “The Good, the Bad, and the Ugly,” doesn’t he?

Mom also worked on this as her second face in the class. It was amazing to see how different the facial expressions could be just by slight adjustments in the angles of the eyes and brows.
Here is where my two faces were at the end of class. We glued everything down to secure them, rolled them up, and drove home. I could not wait to get back to them.

The next night, I added a lot more to the hair of the Ice Princess, and made some subtle changes to her face to get the shadows how I wanted them. I debated making her eyes a more reasonable size and less Disney-like, but ultimately decided to let her be a little stylized since that’s how she had started in Melissa’s class.
Once I had her face the way I thought I wanted it, I decided to deal with the background. Having a floating patterned head on a solid background bothered me, so I hacked up a bunch of neutral batiks and spread them out around her face. I sent this photo to Mom, who wrote back, “Are you going to bring her hair back to the front? I liked her hair.”

Very carefully, I released the wisps of hair from the solid fabric and brought them in front of the batiks, which I was definitely planning to do.
A bit more tweaking as I fixed her jaw shape and nose, and then it was time to quilt. I chose a pale green thread, as it was the least distracting on all of the colors in the piece and gave a really nice texture. I quilted organic lines about 1/8″ apart, adding pebbles to give variety in the background area.

The slivers of fabric presented some issues as I quilted, because the glue would pop loose and tips would shift. I spent a lot of quality time stopping the machine and pushing the shards back under the needle so they could be quilted down. As a result, a few things shifted out of place or broke off entirely, but I still liked the final piece. Helen recommended binding it in a pale green to give a low-contrast border to the piece. I love that choice, especially since I had used a similar green for some of the shadowing on her face.
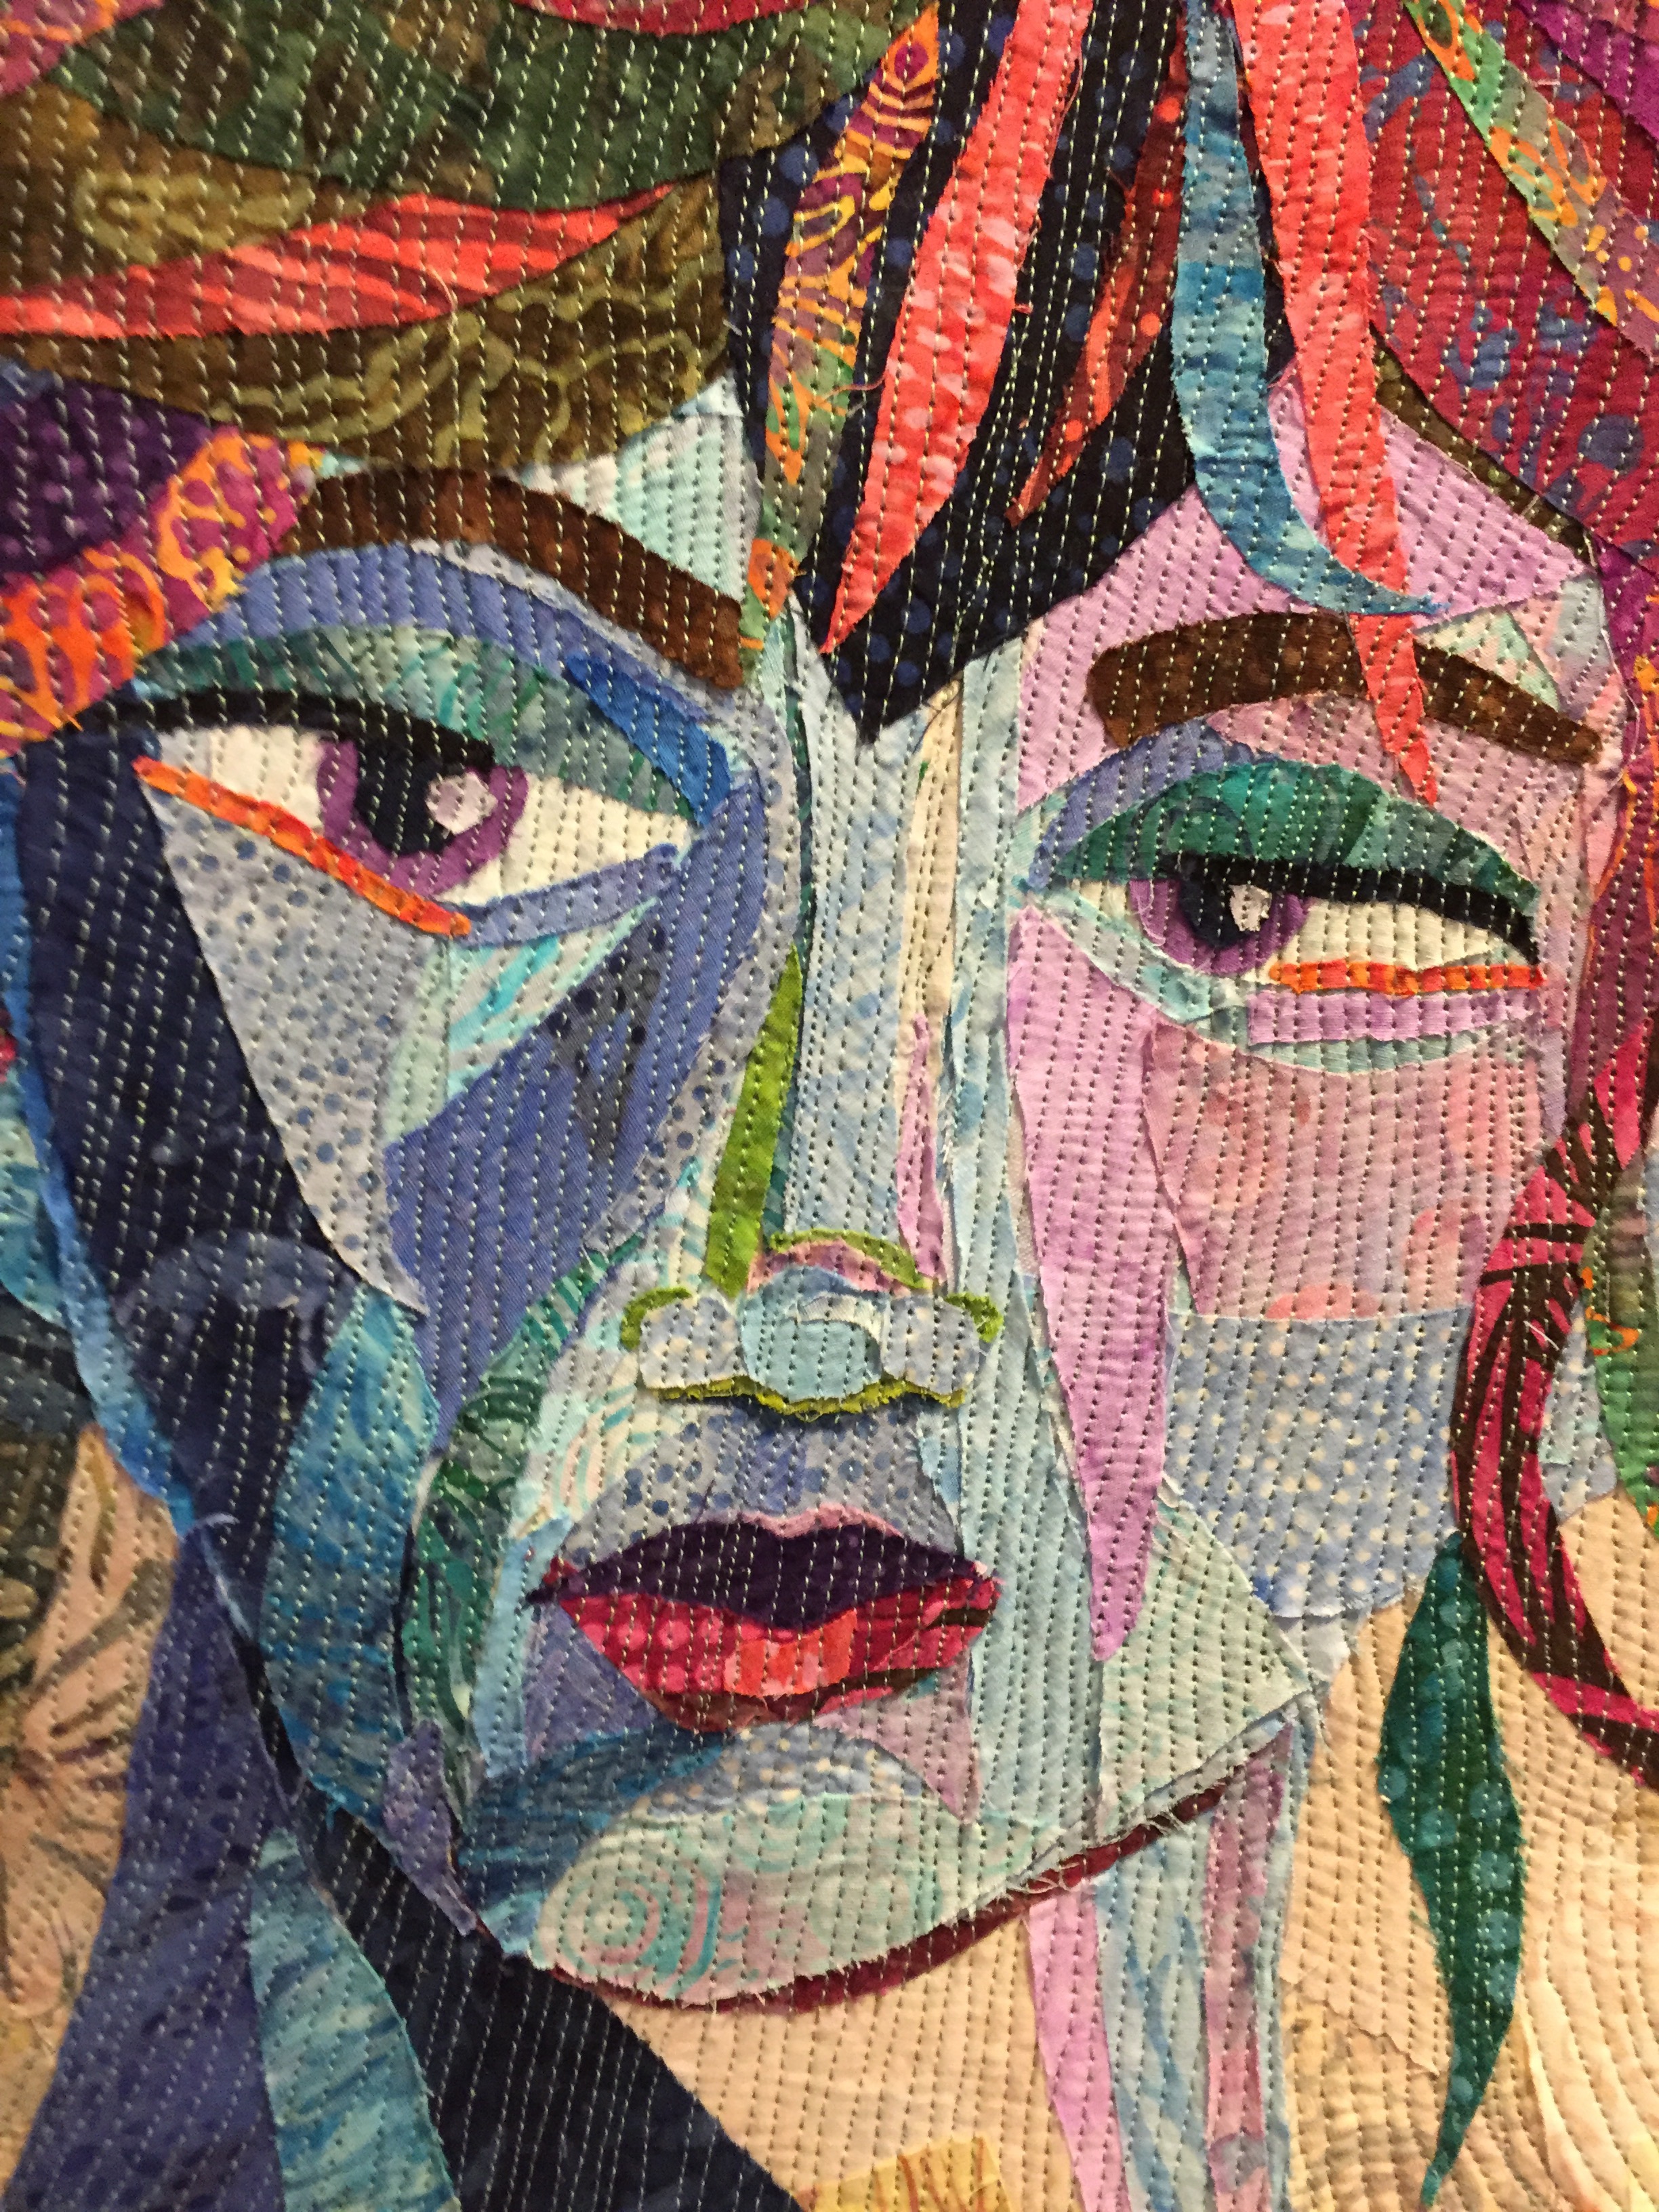
Here’s an extreme closeup of the quilting on her face.
Meanwhile, Mom was making adjustments to her Dude and we were both sending pictures back and forth to cheer each other on. She realized that she had accidentally omitted his ears, so here she was auditioning ear colors.
A few nights later, I worked on the Pixie King again, first adding his background before too much more hair got added — I learned my lesson from the Ice Princess that adding the background after the fact was difficult and somewhat destructive, so I changed my approach.
Then I decided that perhaps it wasn’t a Pixie King at all — but a girl. Specifically, I wanted her to have a braid like Katniss Everdeen, and more specifically like the one in this photo:
So I just started building a braid and adding more hair on the sides of her head. Farewell, Pixie King!

Allrighty then, since it was a girl and the eyelids were looking a little washed out (especially as compared to the Ice Princess), I gave her some smokey eyes and she seemed to come alive.

I quilted her with the same thread and style, and trimmed her to the exact same size so that they can hang together. It wasn’t until after I was finished that I realized that their colors were reversed — which wasn’t originally intentional but makes them work together so much more.
Again, quilting on a stationary machine over shards of fabric presented challenges, because tips would shift and have to be readjusted as I worked. I knew that I would need to find a work-around for this issue because of the type of quilting machine I’m working with. Melissa takes her pieces straight from her work table to her longarm quilting machine, so it doesn’t get manhandled the same way as mine do with the back-and-forth motion of quilting with my stationary machine.
Even so, I think that both faces turned out very well, and I learned a tremendous amount in the process.
And, as always, Friday was happy to test the quilts for comfort as they were finished and laid out for photos. He does love his Internet fans.
The most exciting thing for me was knowing without a doubt that the process that I had used to create the faces would very definitely work to finally make the Linus Photo Quilt, which was first mentioned on this blog on January 1, 2006. The three times I had started it before left me very frustrated because they weren’t going to turn out the way I could envision the final quilt in my head.
I kept the large-scale enlargement of the photo from 2006 and all of the (many) tracings that I had done, even though I threw away each fabric attempt when I knew it wasn’t going to work, a decision I do not regret.
This time, I knew exactly what to do and had figured out the medium and style in which to do it, and what modifications I would need to make to the technique Melissa taught in her class so that a project of this scale would be manageable with the materials I have available.
I cannot wait to show you the process of building the quilt honoring our sweet Linus, but that will be a post for another day… I’ll post it very soon, I promise — as soon as I get good photos of the finished quilt from the photographer. We have an appointment for a photo session tomorrow!


7 Responses
I loved reading about your journey and I know I want to try this process one day soon. Thanks for so much inspiration!
Thanks for sharing your and your mom’s process. I’m taking a class with Melissa this coming weekend when she comes to KCMQG. I appreciate you calming my fears about being able to do this. Although I can’t do what you do, I’m looking forward to doing the best I can at this time.
[…] http://messygoat.com/2016/06/02/making-faces-with-melissa/ […]
Hello beautiful faces. I am interested in upcoming workshops. Can you help. Thanks
Holy mackerel! These faces are fabulous, and I love how you showed and described each step along the way. Thank you so much! ?
I’ve been toying with buying Melissa’s book as I’m in the UK and can’t get to a class. Thank you so much for this comprehensive post which has decided me on the book purchase. Your quilt portraits are wonderful!
Wow! Thanks so much for showing this art making, accompanied with your thought processes! And how special with your mother ?
Sincerely ??