I love a great-looking binding on a quilt, but I’m not the type to measure and measure and measure and pin and torture myself to get it perfect. I’m obsessive about using pins during every other aspect of the quilting process, but I use very few while making and attaching a binding.
That said, I have developed a process for binding my quilts over the years that never fails to get positive commentary from NQA-certified judges at any of the shows where my quilts have hung. I finish all of my pieces the same way, without giving “special attention” to quilts I intend to show, so I can tell you that this particular approach to binding quilts is very consistent, and consistently produces good results.
Warning: LOTS of pictures ahead.
Note: I do not use the grid lines on my cutting mat and I never have. I find that depending only on the markings on my rulers makes my work more accurate. And my mats last longer.Â
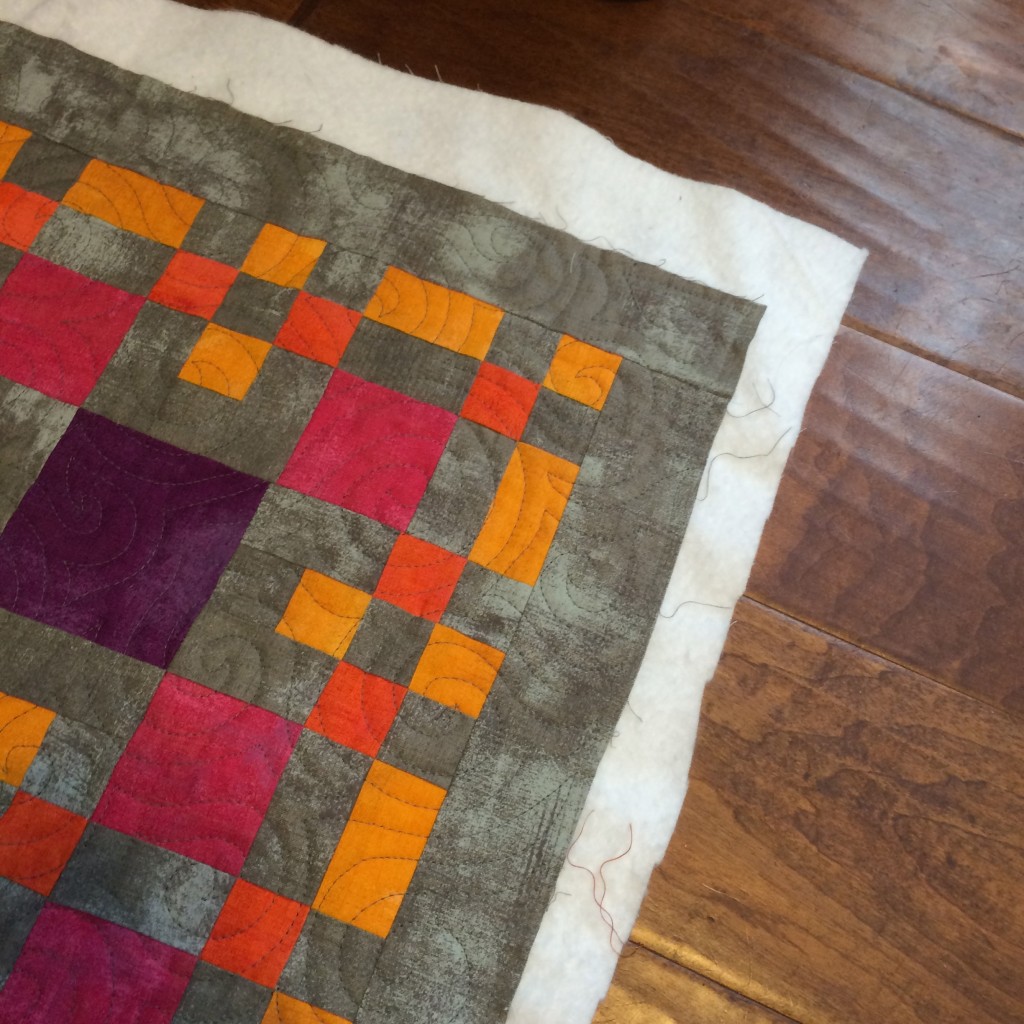
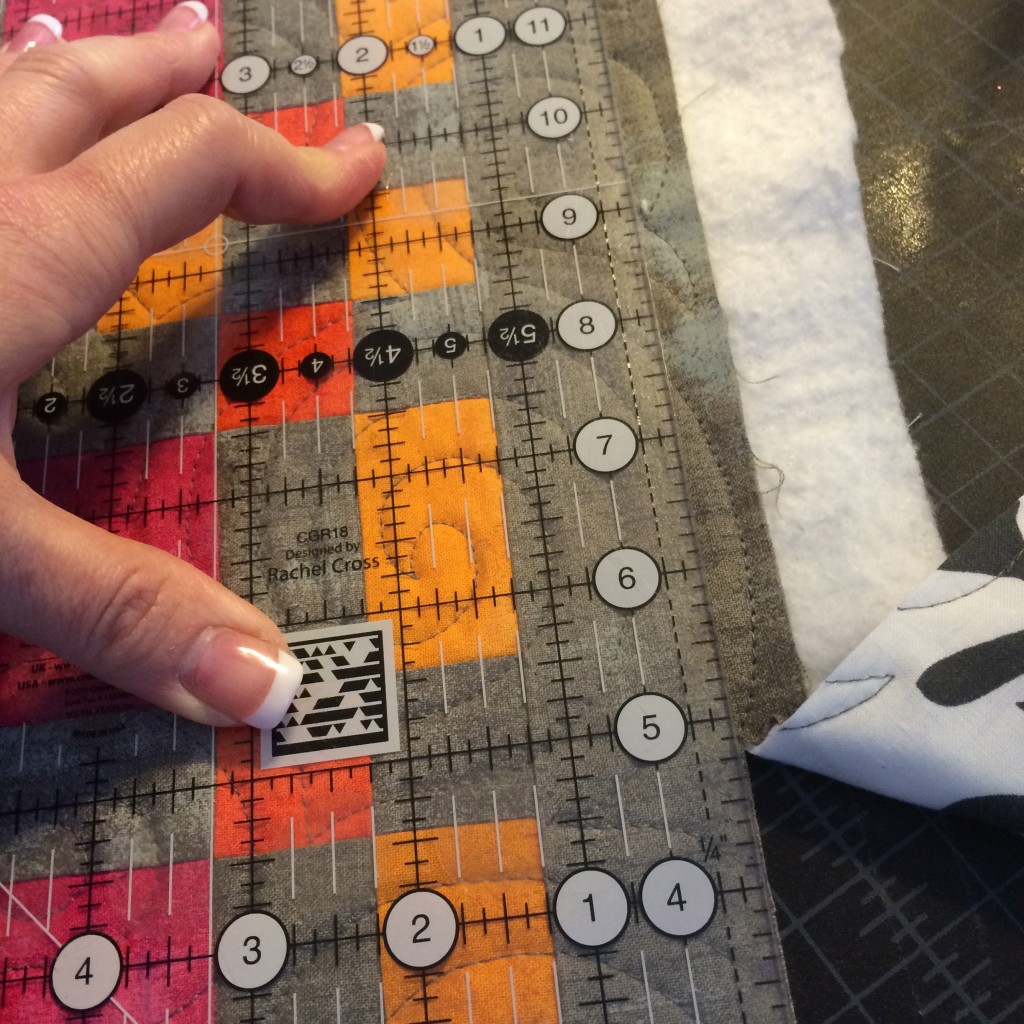
Begin with a quilted piece and trim the quilt square, to the exact finished size (including the binding) that you desire. I use square rulers for the corners, to make sure that my corners are exactly 90 degrees. I have a friend who always trims her pieces so that she has an additional 1/8″ of binding beyond the quilt edge because she likes her bindings to be “fuller,” but that’s too fiddly for me so I don’t bother. For this particular piece, I had intentionally made my final border a bit oversized so that I could trim it to an exact width after quilting drew it up.
I square up the edge of a quilt with every single cut, to be sure that I’m getting as precise an edge as possible. The eye will see a wonky cut if all the patch edges are straight, so I’m careful with this step.
This piece finished at 56″ square, so I needed at least 224″ of binding. Because this is a small quilt that will probably be displayed on a wall, I’m using binding cut on the straight of grain. If this were a more utilitarian quilt (such as a baby quilt or child’s quilt) that would see a lot of wash wear, I’d recommend bias binding. I’d also use a bias binding for any quilts that aren’t rectangular. I’ll have to do another tutorial on how to make bias binding — it’s SO easy to do that you won’t be intimidated anymore, I promise!
Anyway. After much experimentation and trial and error, I have found that I like to cut my binding strips 2-1/4″ wide. I’d probably like 2-1/8″ even better (narrower on the back), but the math would be harder and even though I’m a math teacher by day, I’m lazy when it comes to arithmetic. 2-1/4″ is easier to find on my ruler. 2-1/2″ is too wide for my taste because there’s too much binding visible on the back. No matter what width you prefer, this procedure would be the same.
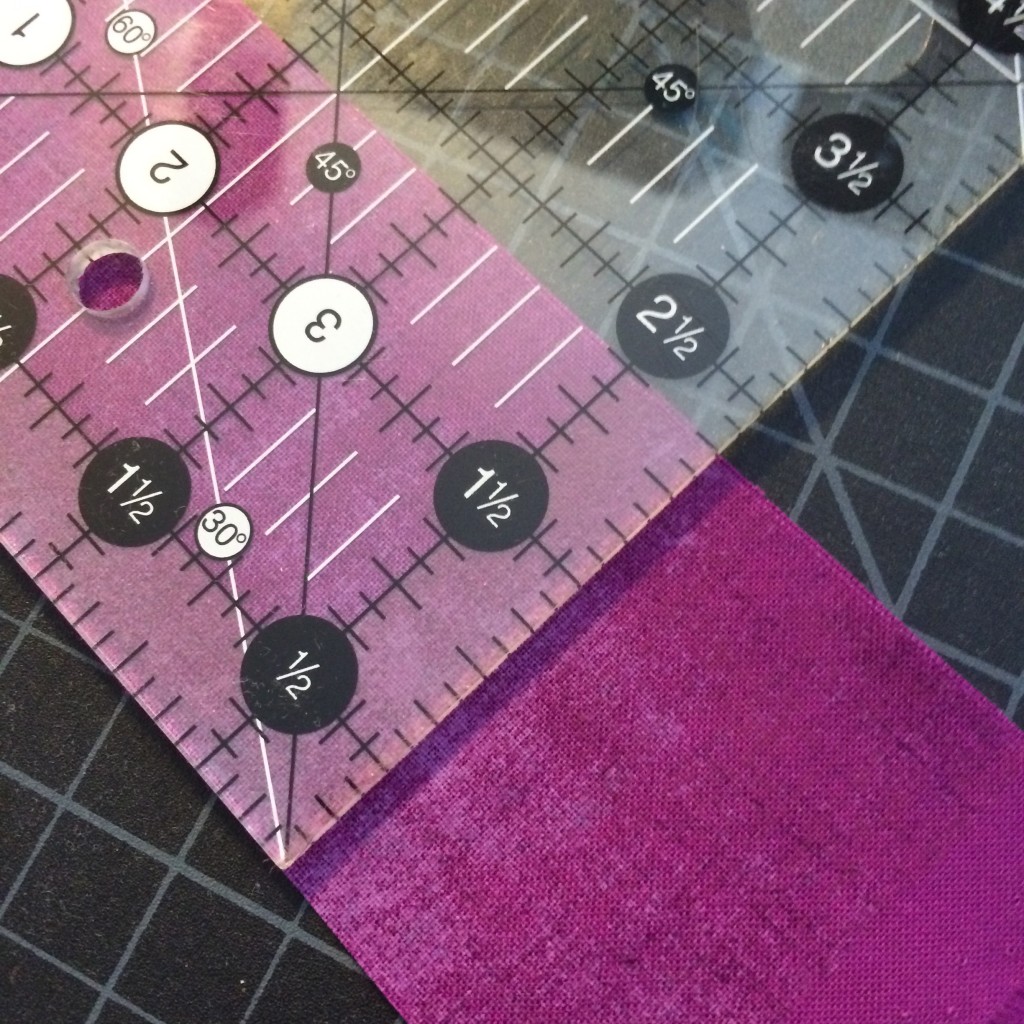
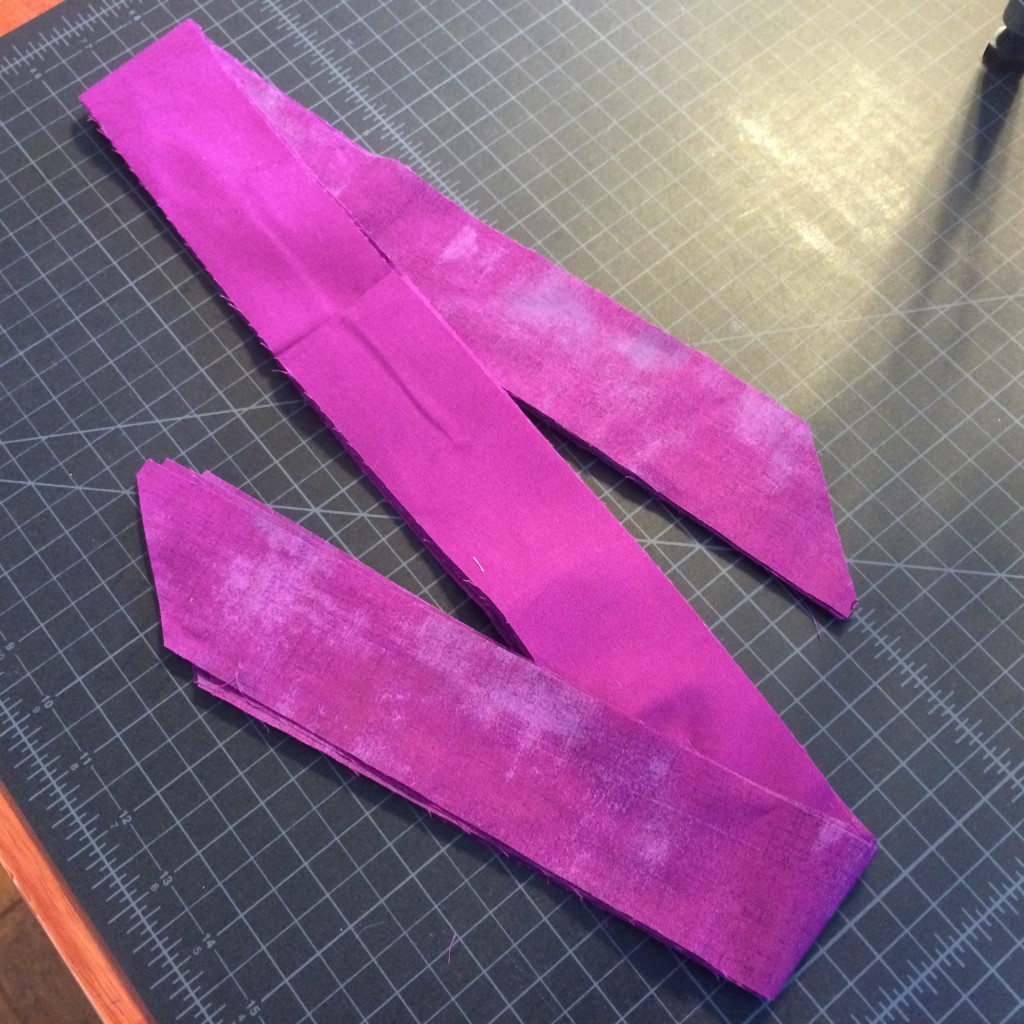
I trim each end of the strip at the same 45-degree angle, to make sewing the strips together easier. Why sew binding strips together at an angle instead of straight end-to-end? If you butt them end-to-end, you’ll have a lumpy binding because the seams will have more bulk, and all of that bulk will add layers of fabric that can be hard to make smooth as you work your way around. Angled seams will distribute bulk so that you will not be able to see the seams as readily when you admire your finished piece. Yes, I lose 2-1/4″ of usable fabric per strip, but it just looks better. Trust me.
I also nip off the corners so I don’t have to deal with them when I’m sewing the ends together.
When I sew binding strips together, I pin. Why? Because I’m sewing on the bias and I don’t want to stretch it with my clumsy big fingers.
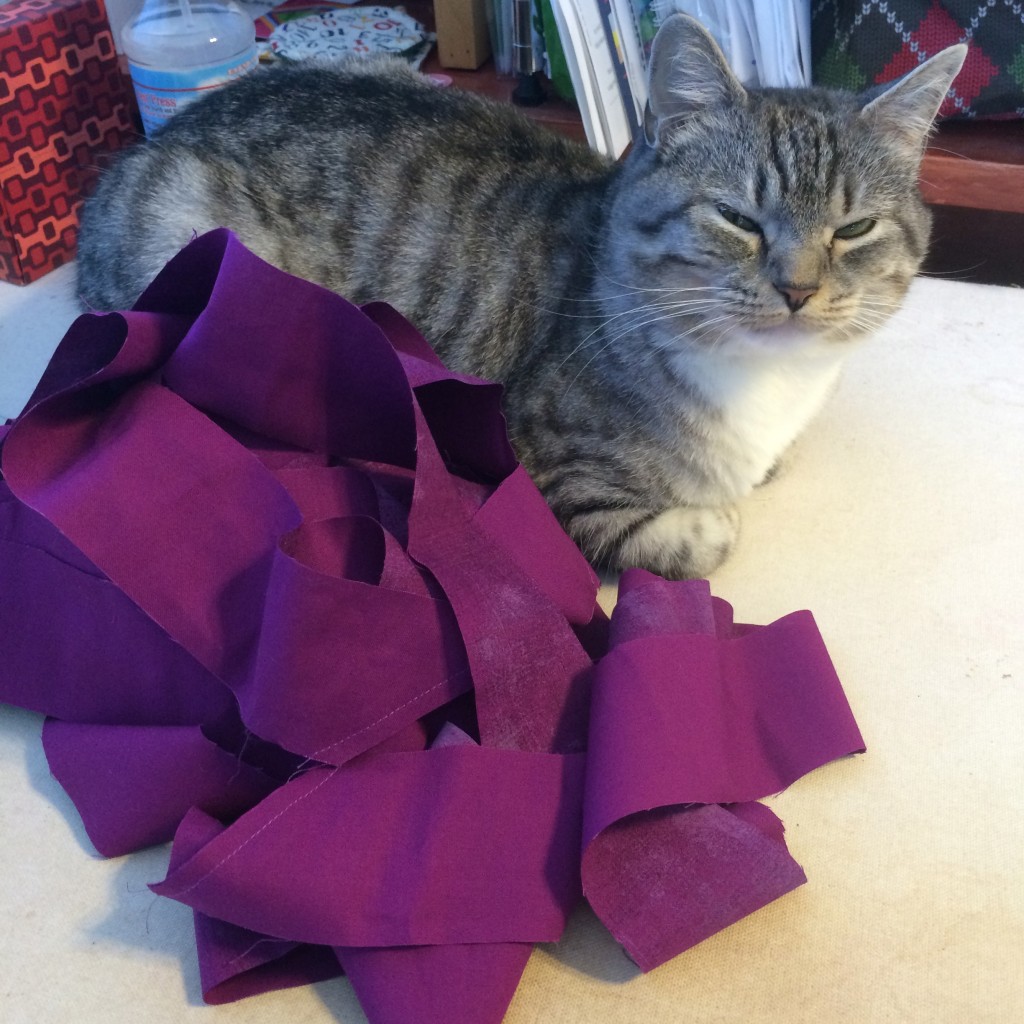
All of my binding strips are sewn together, end-to-end, until I have a really long strip noodle. And a cat. Apparently. She was insistent upon “helping” and wouldn’t get out of my way today.
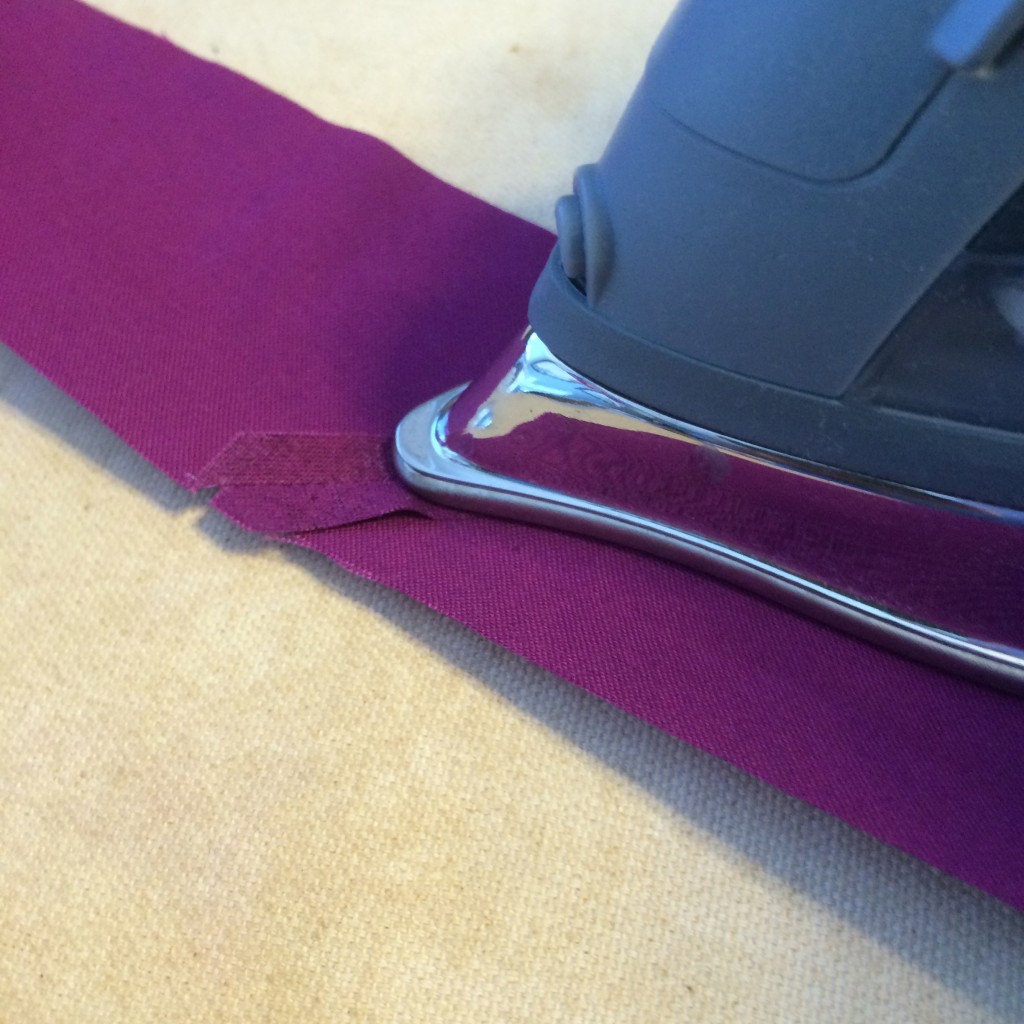
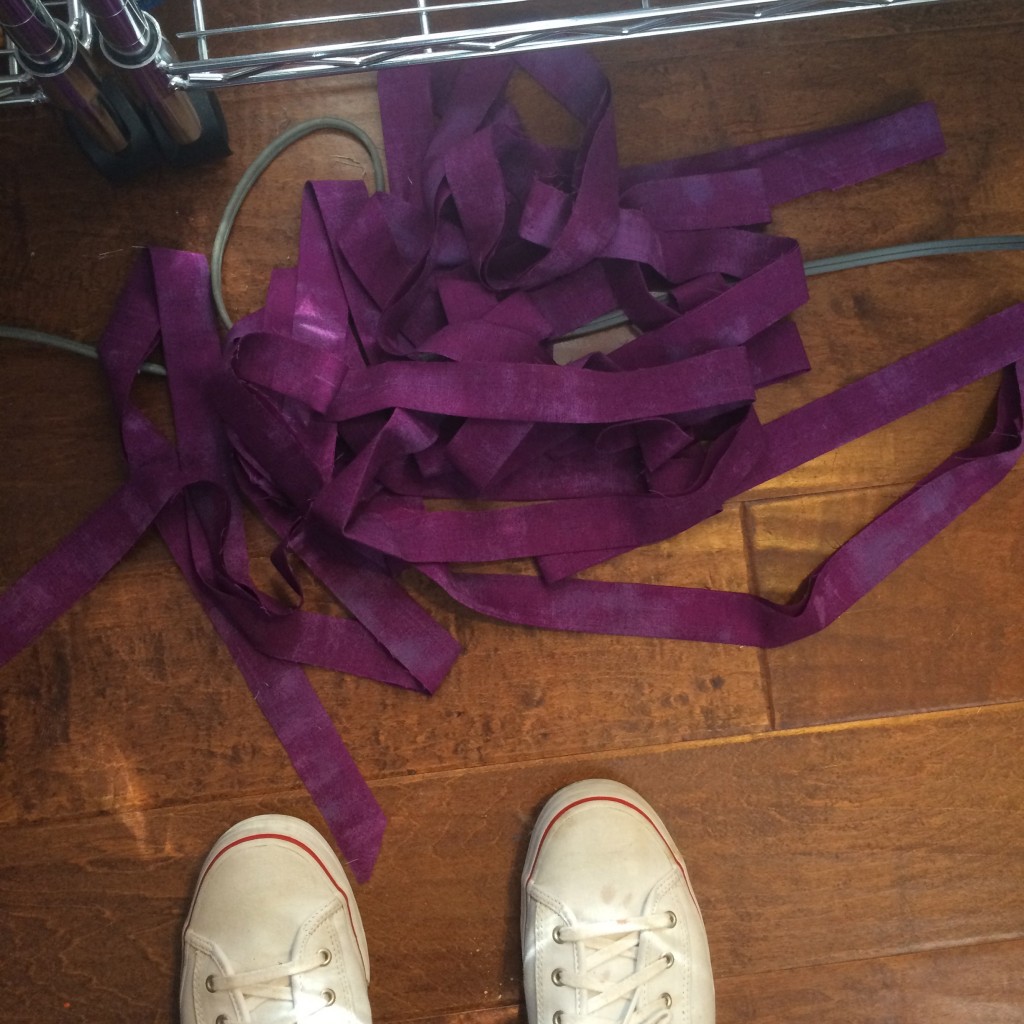
I pile the noodle onto the left side of my ironing board, and then grab one end of it. I press the binding strip in half lengthwise with a hot, dry iron, wrong sides together, pressing the seams open as I get to them. As the binding gets pressed, I just let it pile up on the floor at my feet.
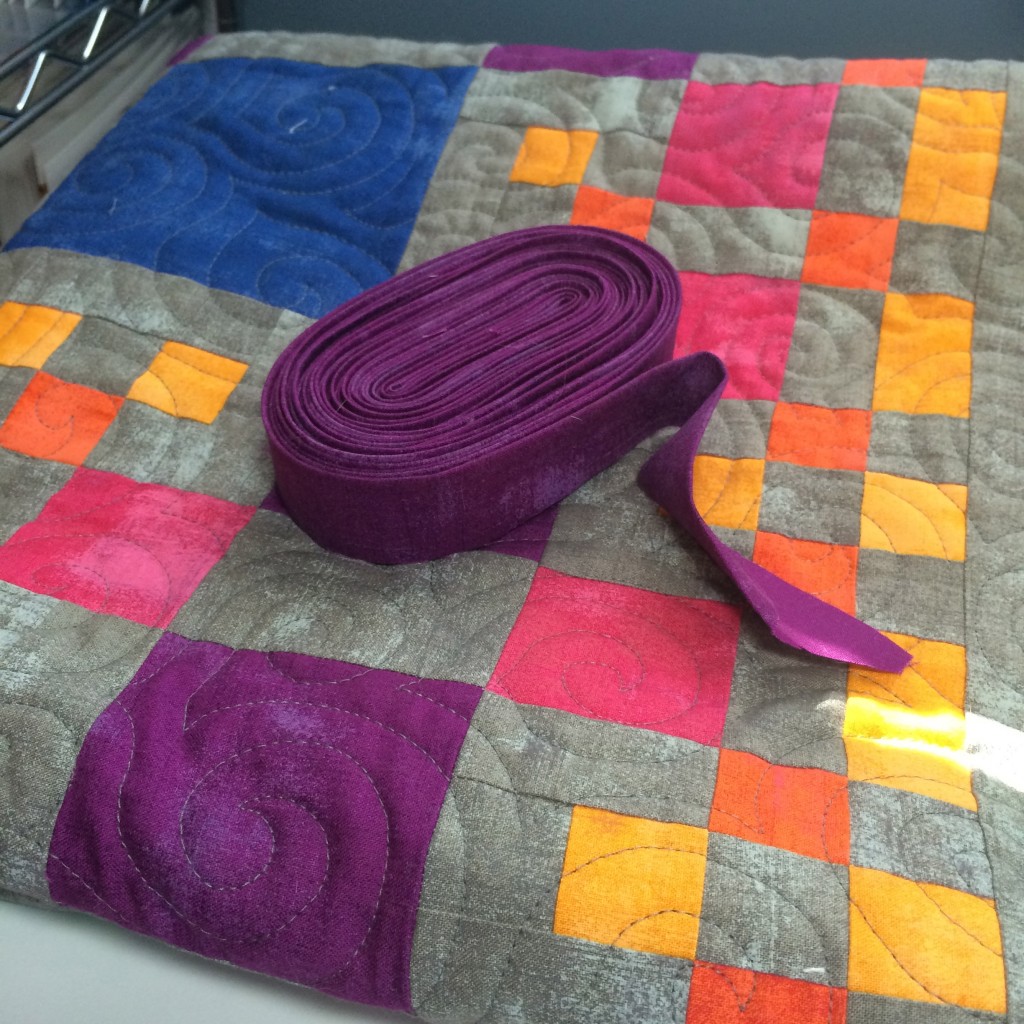
Some people prefer to coil the folded binding so that it’s neat and tidy, but I’ve found that this actually causes annoying twisting issues for me when I’m trying to actually attach it to the quilt. It does make a lovely staging photo for advertising this tutorial, however.
I much prefer this seemingly tangled mess — which isn’t tangled at all. The top end is towards the left, going off the photo. I’d grab that and start with it first, and not have to untwist or untangle at all while I attach it to the quilt.
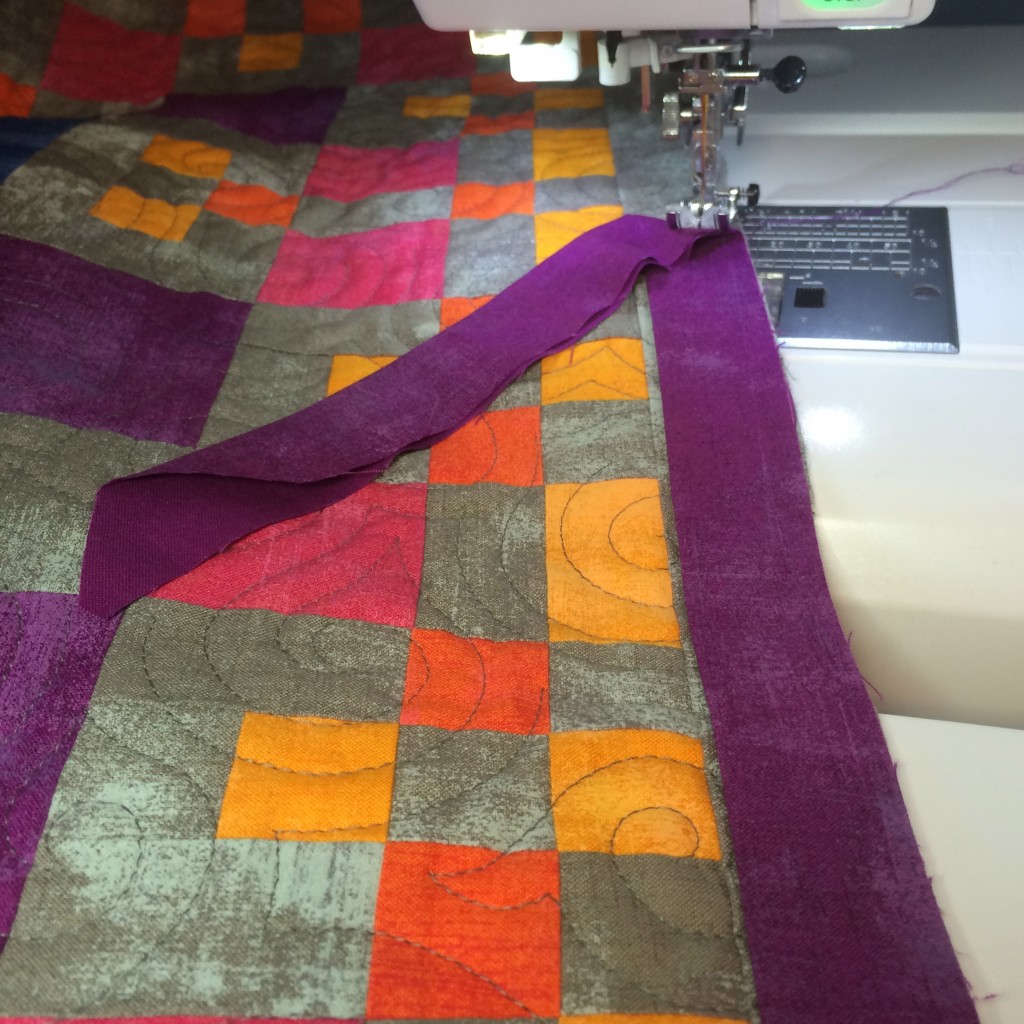
So. I grab the end of the binding, and grab the quilt, and sit down at the machine. I use a regular stitch length (my Janome defaults to 2.2) and cotton thread that matches the binding (or a warm gray in the same color value, which will trick the eye). I start attaching in the lower left-hand side of the quilt, leaving a tail of about 10-12″ of binding loose. Why start in the bottom left? The eye will naturally “read” the quilt from top left to bottom right, and most viewers will follow that pattern when they look at your quilt. So if there’s a place that’s “safest,” the lower left is it. I don’t want to start too close to the corner as that will make finishing harder, but just south of the center point is good enough.
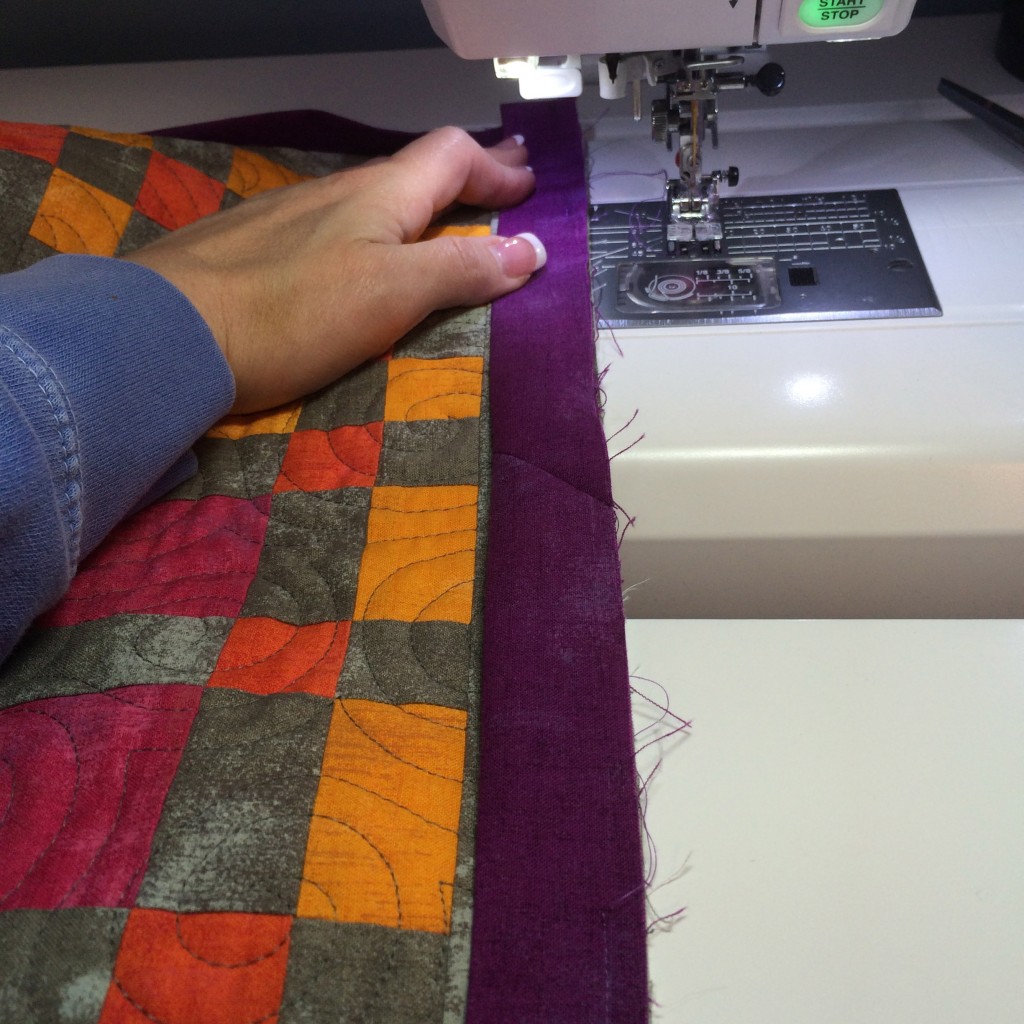
I don’t measure, and I don’t pin. Leaving a 10″ tail of binding, hold the raw edge of your folded binding to the raw edge of your trimmed quilt, and stitch with a scant 1/4″ seam.
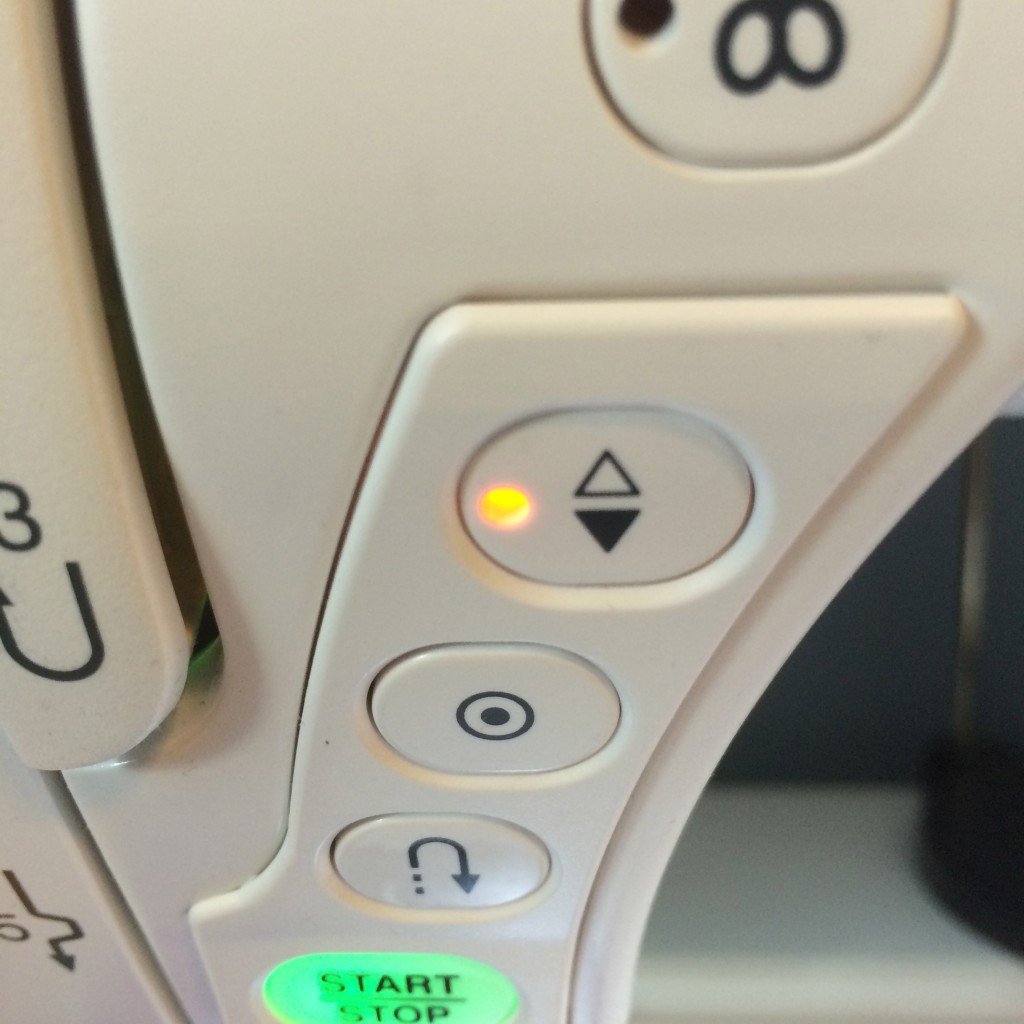
Once the first few stitches are in, I make sure my machine is set to the needle-down setting, because that will be very important as I approach the corner.
I don’t pin when I’m attaching the binding to the quilt, because I need to be able to adjust as I go. I eyeball before I start to try not to have seams at the corners, but even that’s manageable. It happens, and if you’re careful, it won’t be obvious. I have friends who pin all the way around just to be certain that their binding strip seams end up in the best places, but to me that just seems like a waste of my time. Or maybe I just like the gamble. Hard to say. But I don’t pin. I do work slowly and only about 5″ ahead of the needle, making sure that everything is lined up nicely as I go.
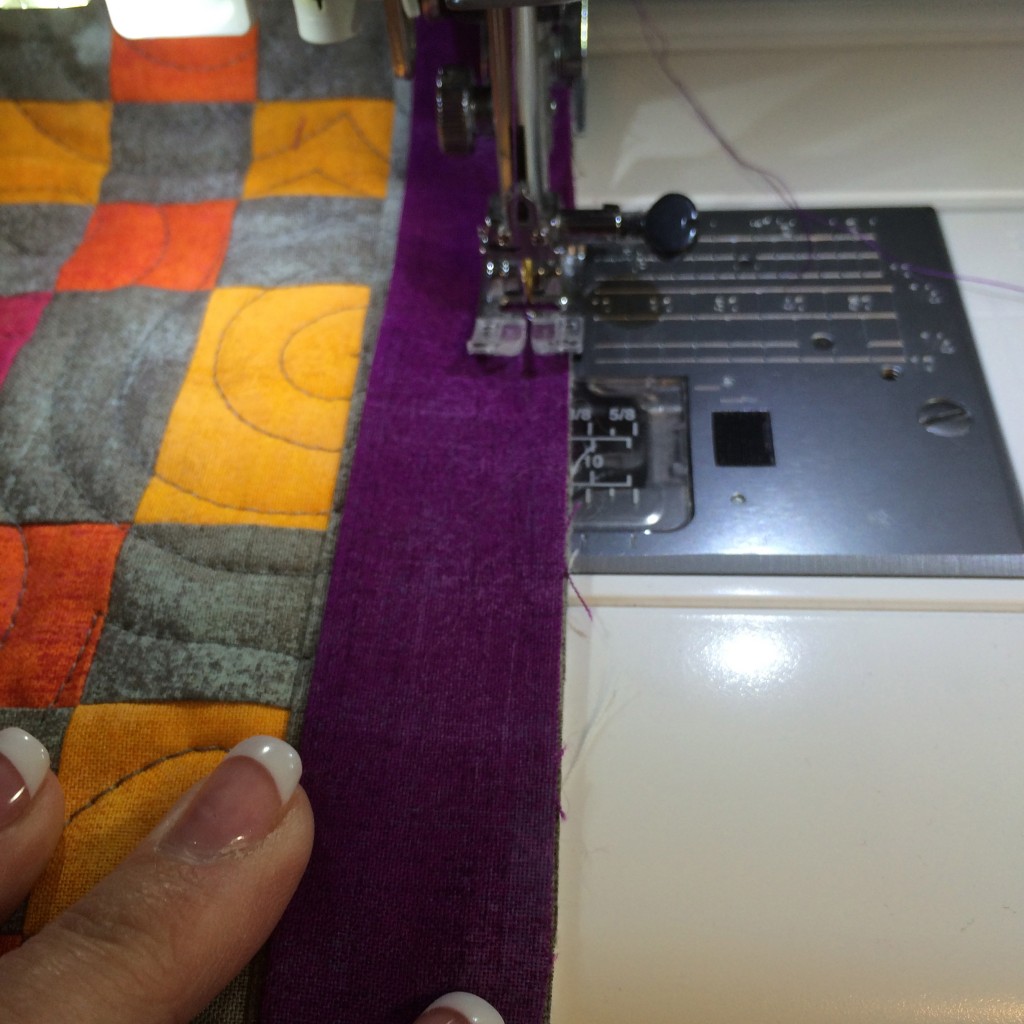
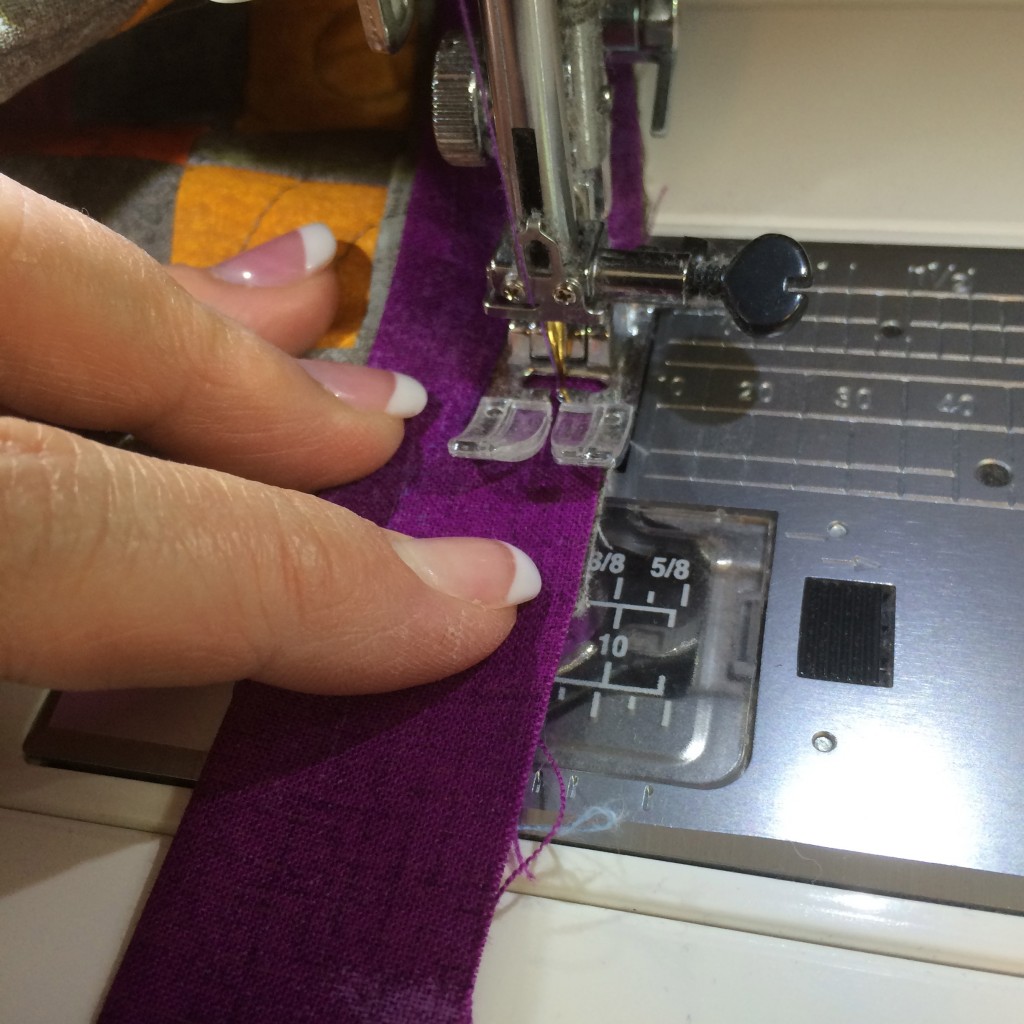
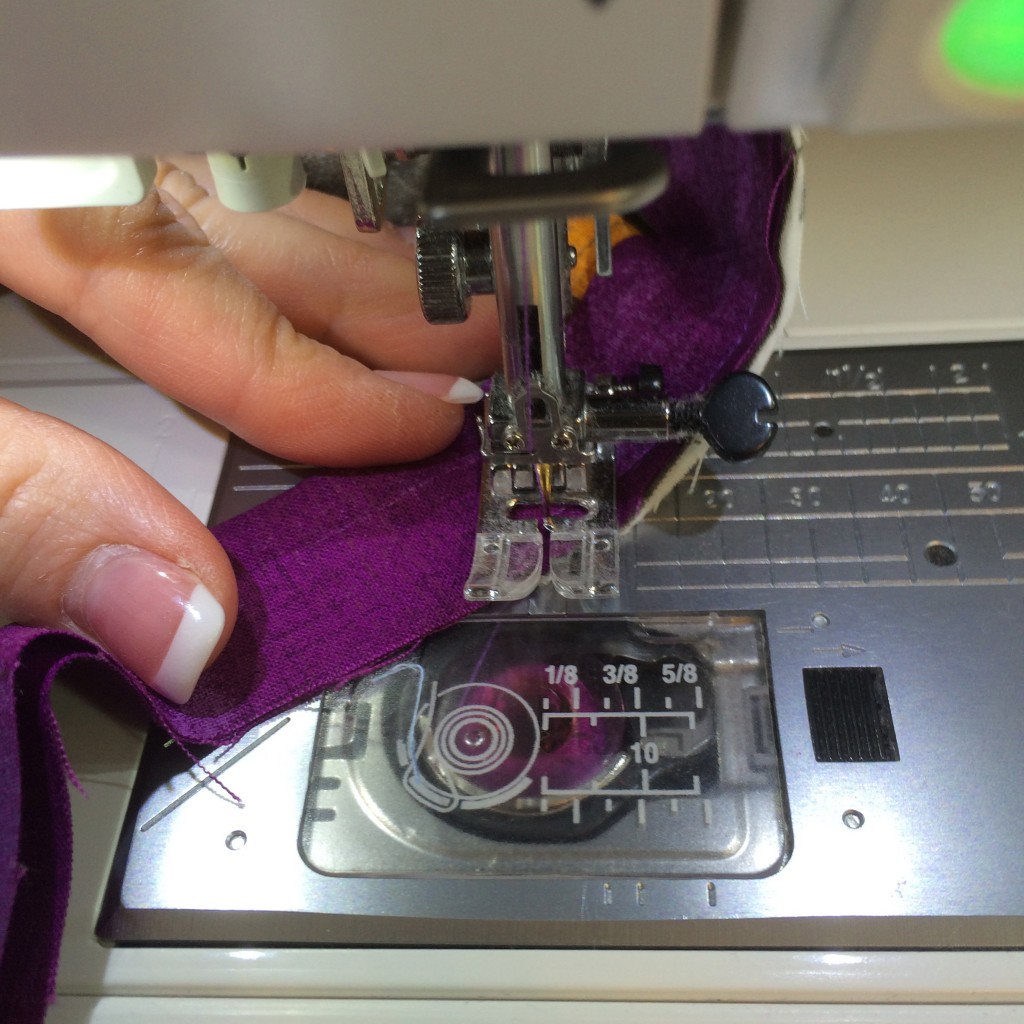
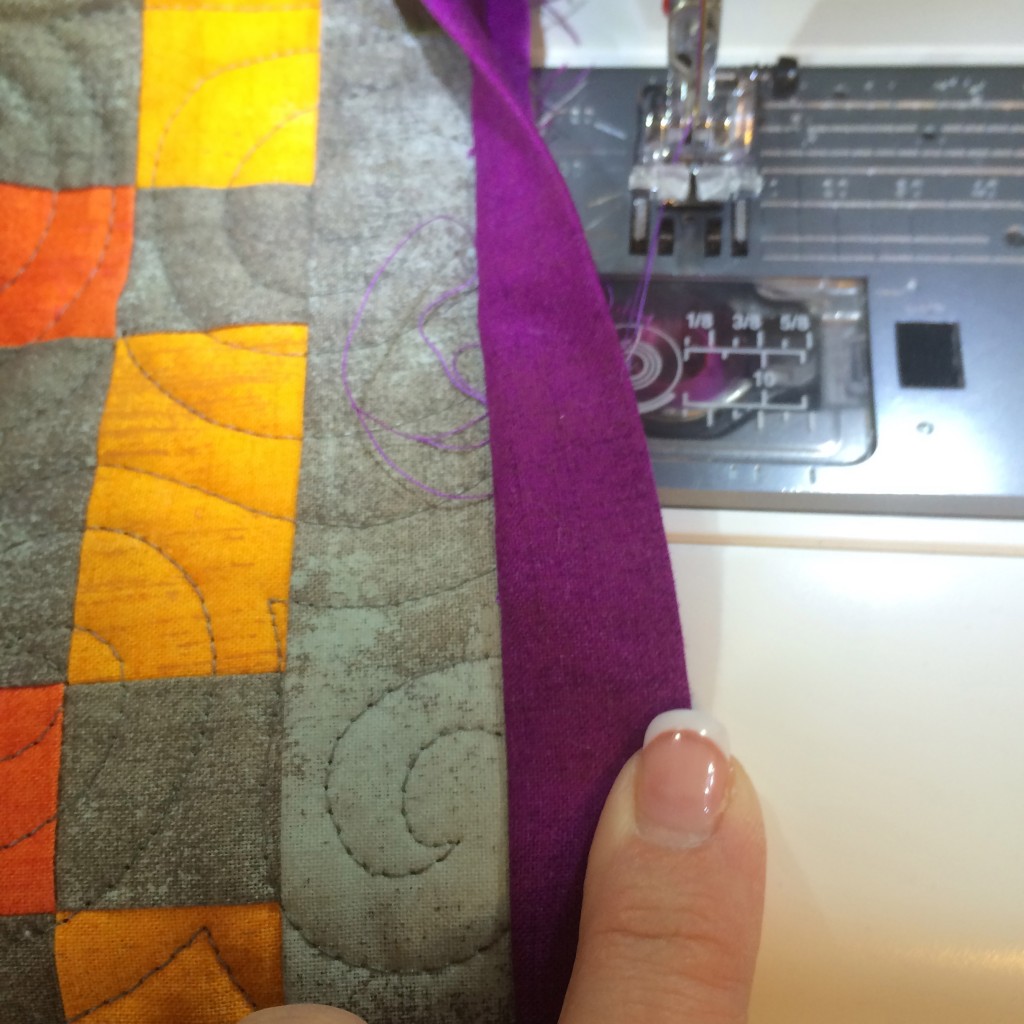
As I near the corner, I slow down and watch carefully. The corner is just under my index finger in the photo below.
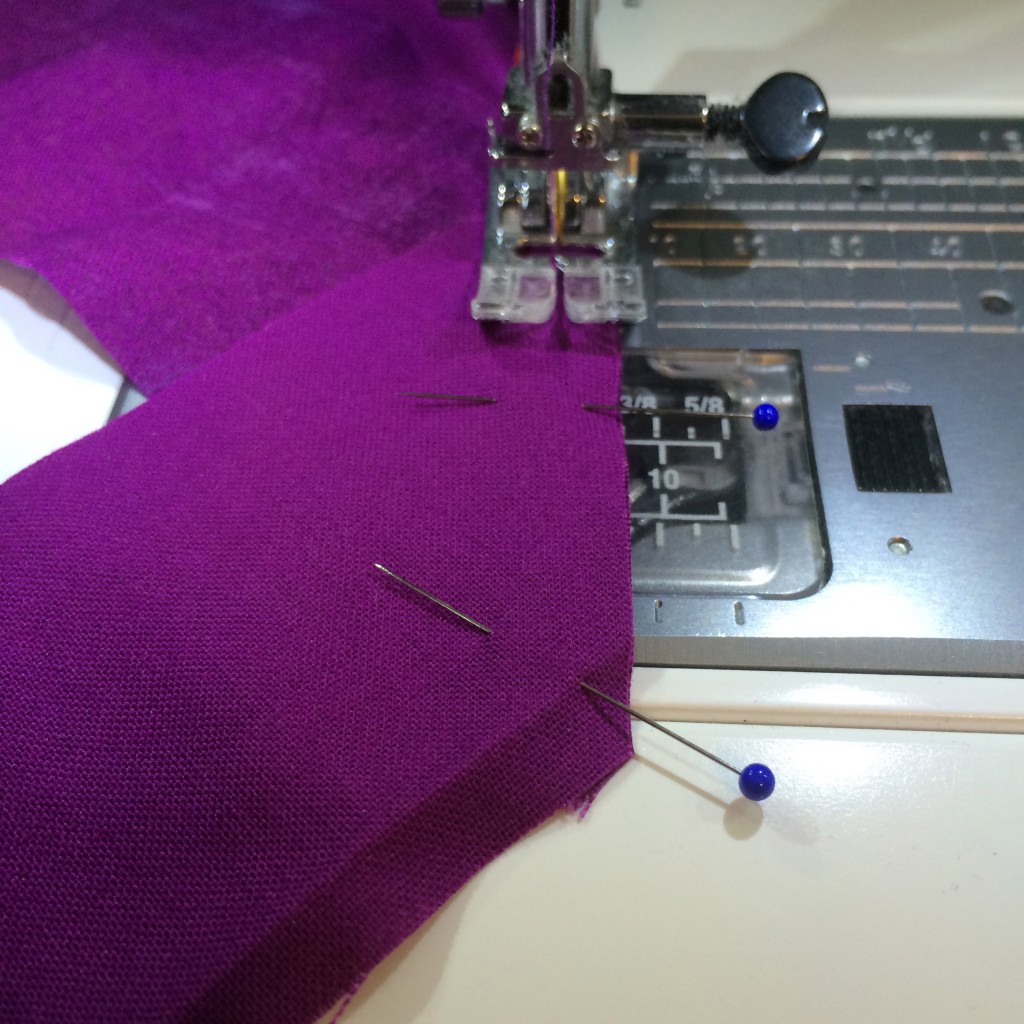
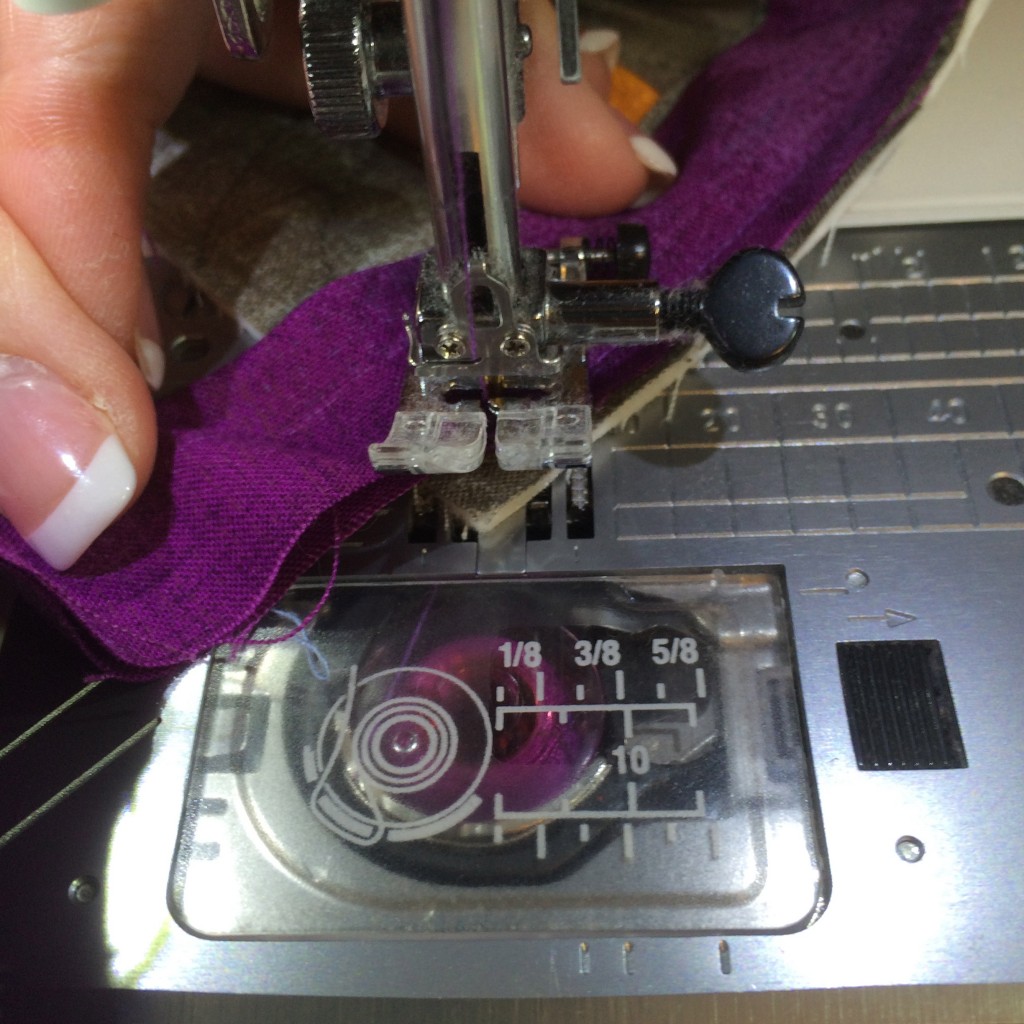
When I get close to the corner, I stop, lift the foot, and pivot the quilt so that I can see the corner pointing straight out. If the point of the corner is to the left of the strip of metal between the feed dogs (as it is below), then I need to pivot back, lower the foot, take another stitch, and check again.
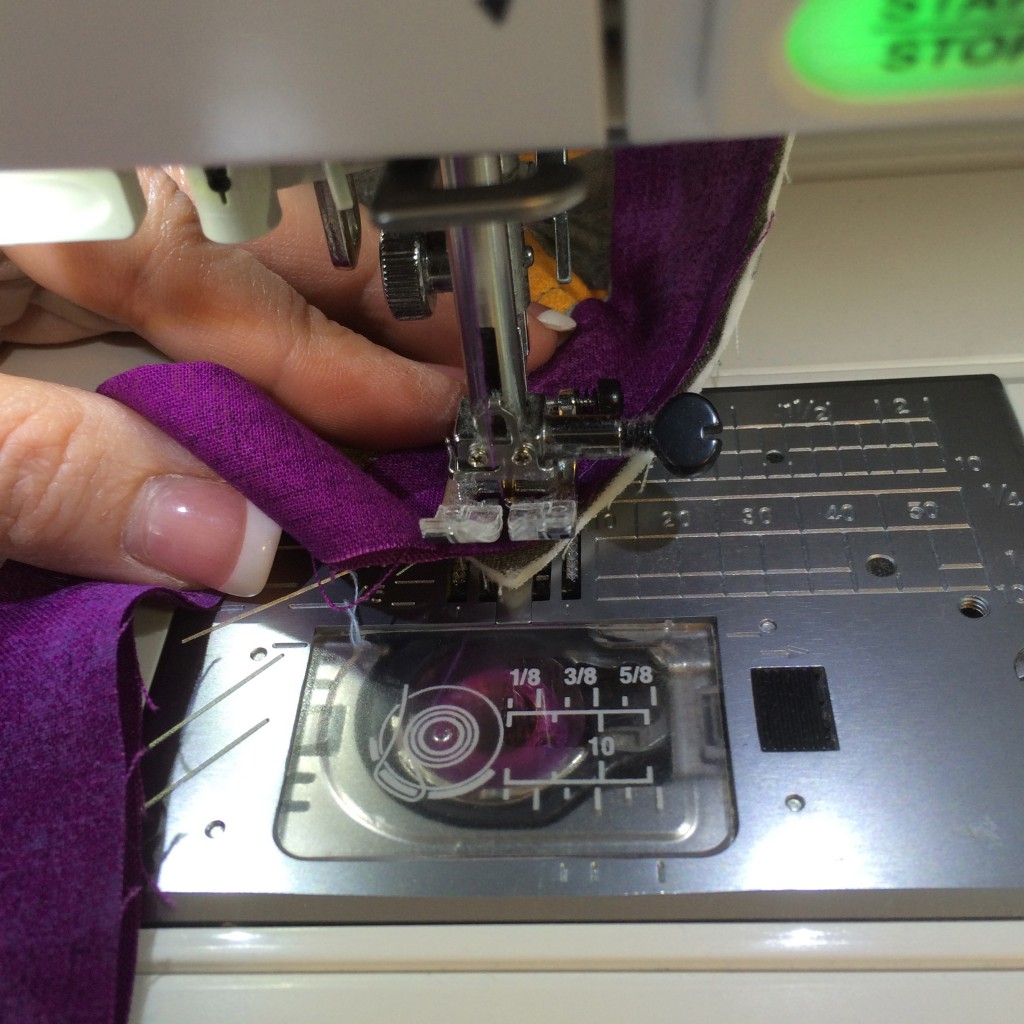
Closer this time, but still a little to the left. I need to take one more stitch. Because my needle is down, I can pivot and check without having anything move, and then pivot back to do the needed stitch.
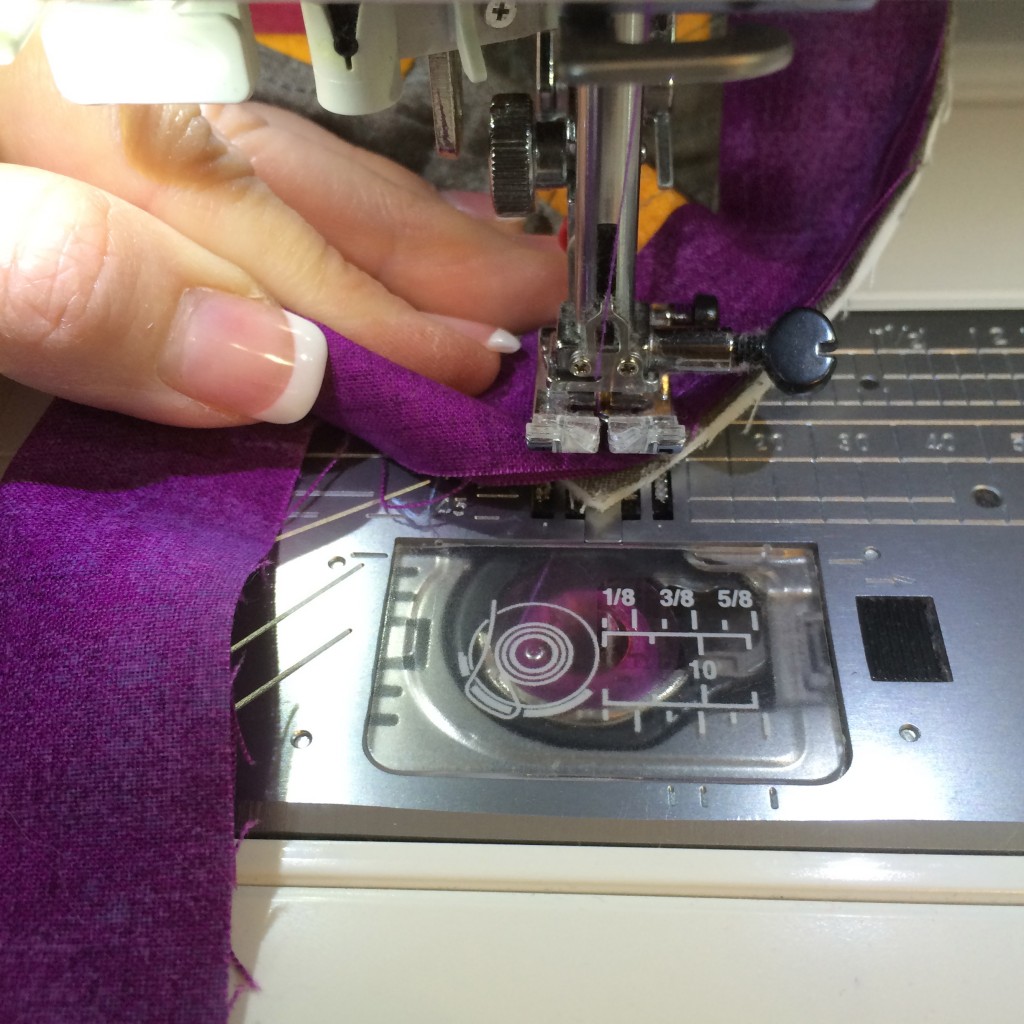
Yay! Perfectly centered when I checked this time!
Leave the corner pointing towards you, smooth the binding under the foot, lower the foot, and stitch directly off of the corner, and break thread.
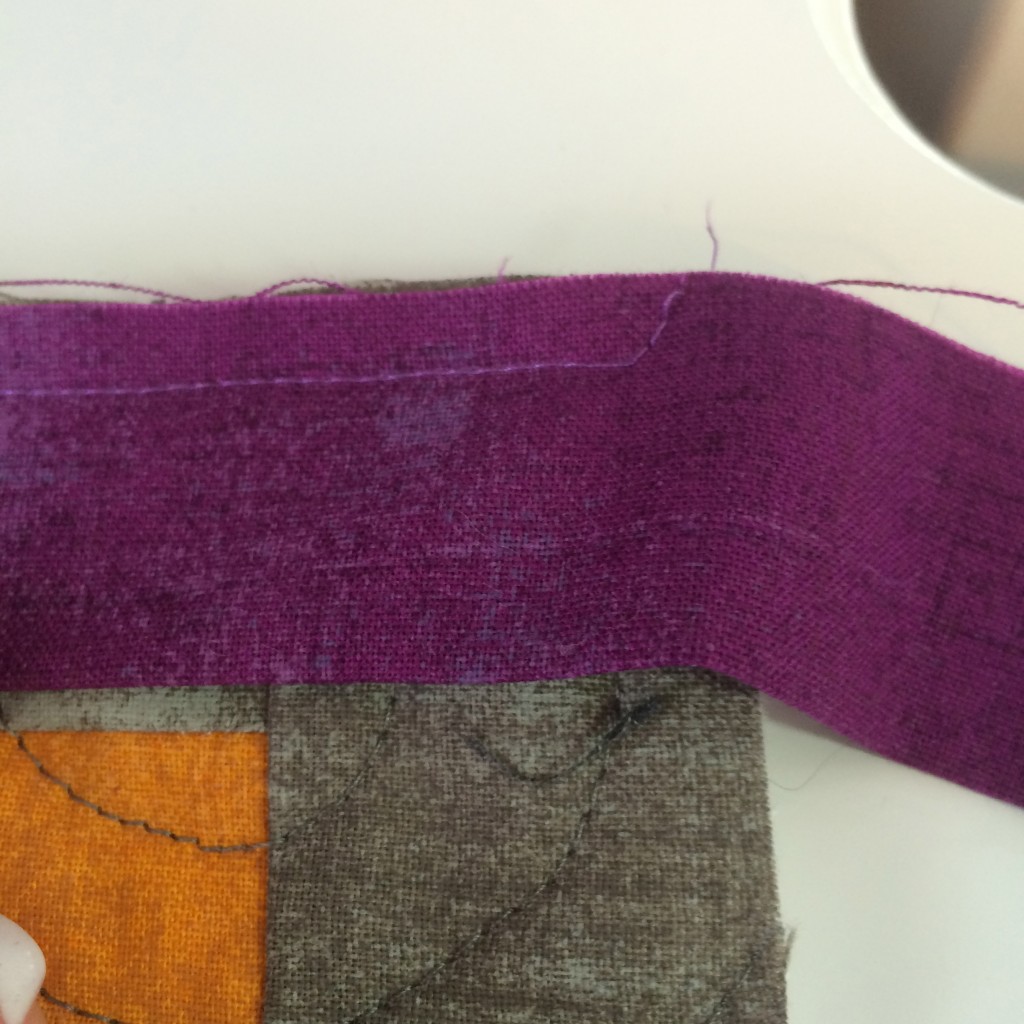
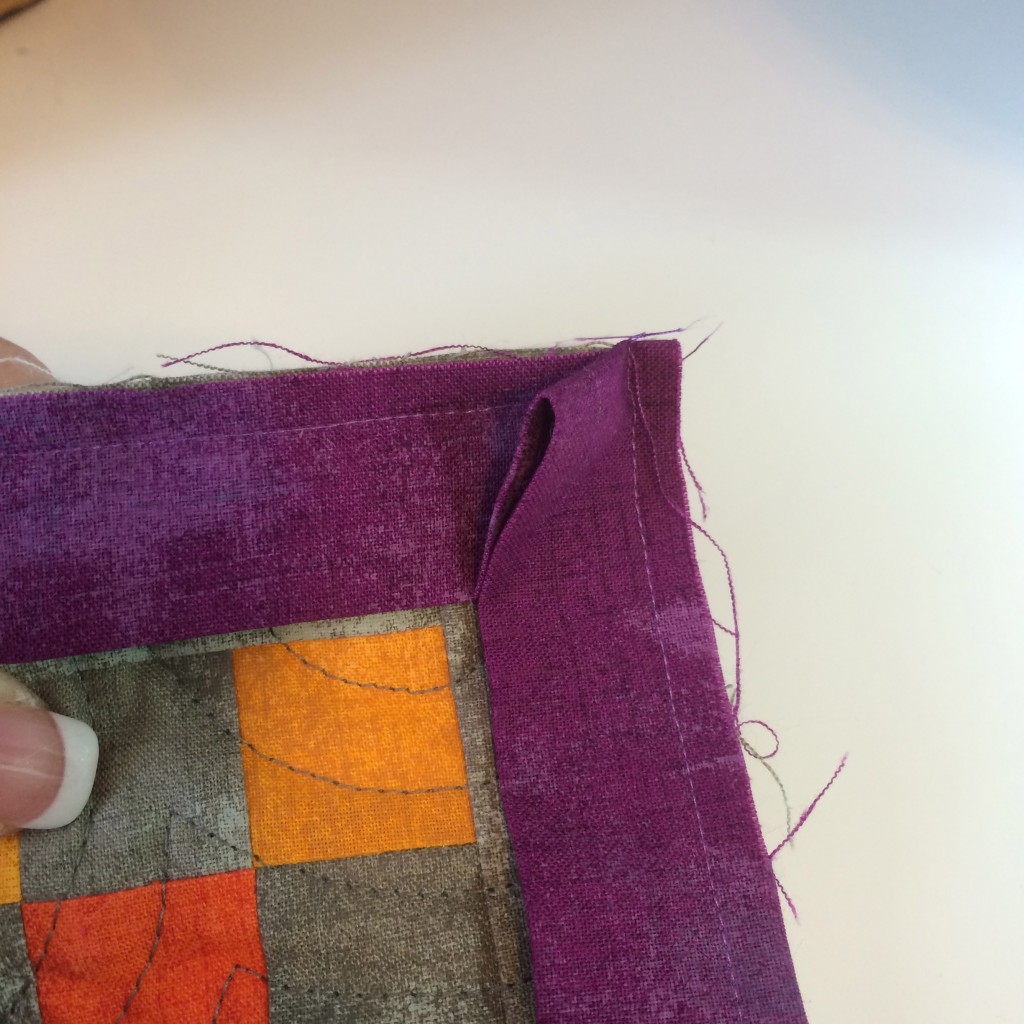
This is what that corner will look like on the front. It’s ok that the last stitch going off the corner is coming loose — only the first one really matters anyway.
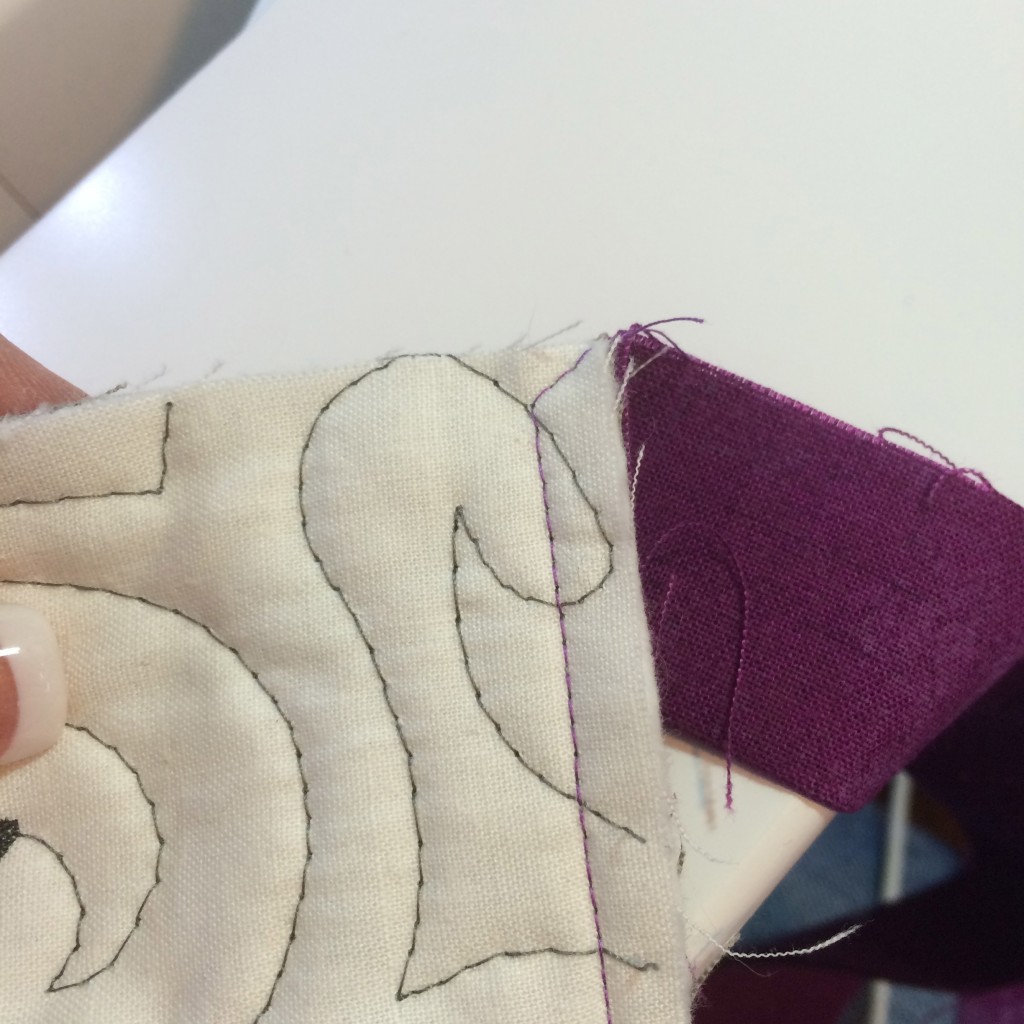
This is what it looks like on the back.
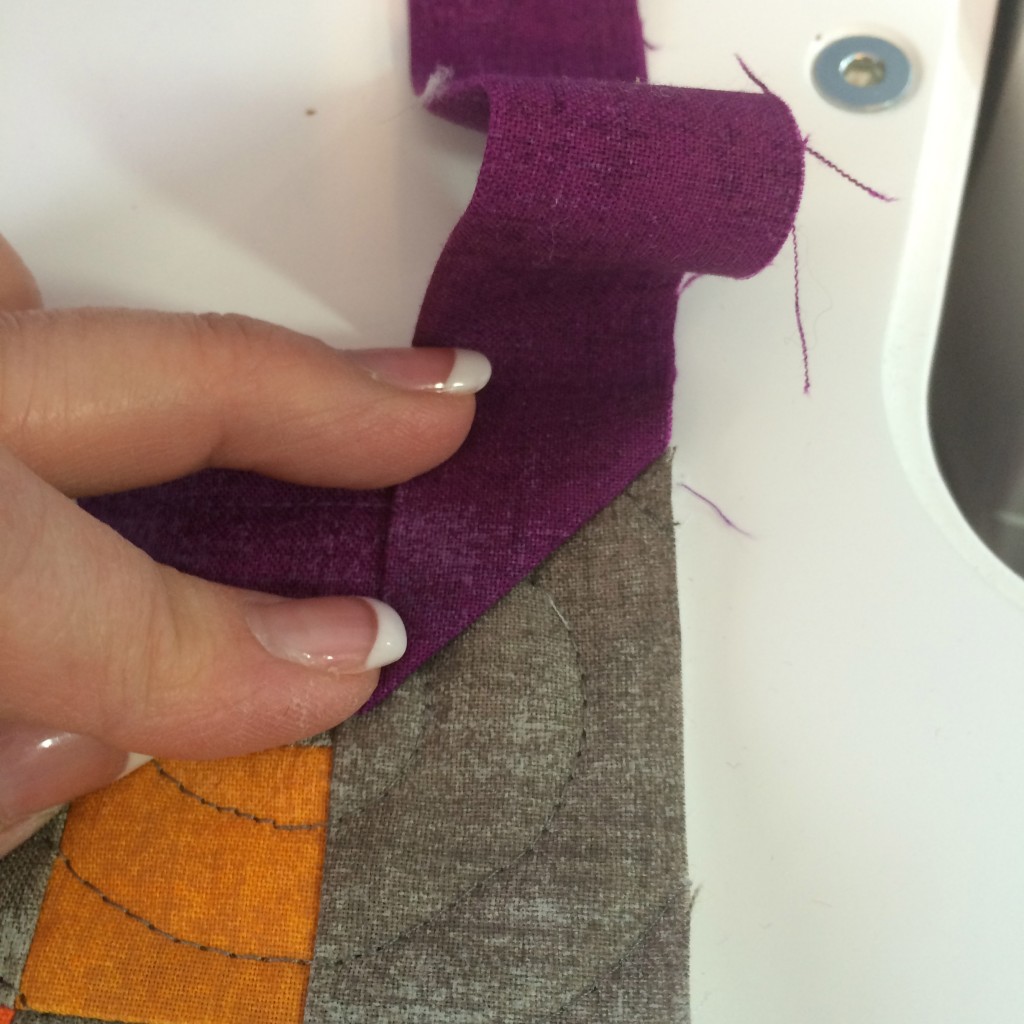
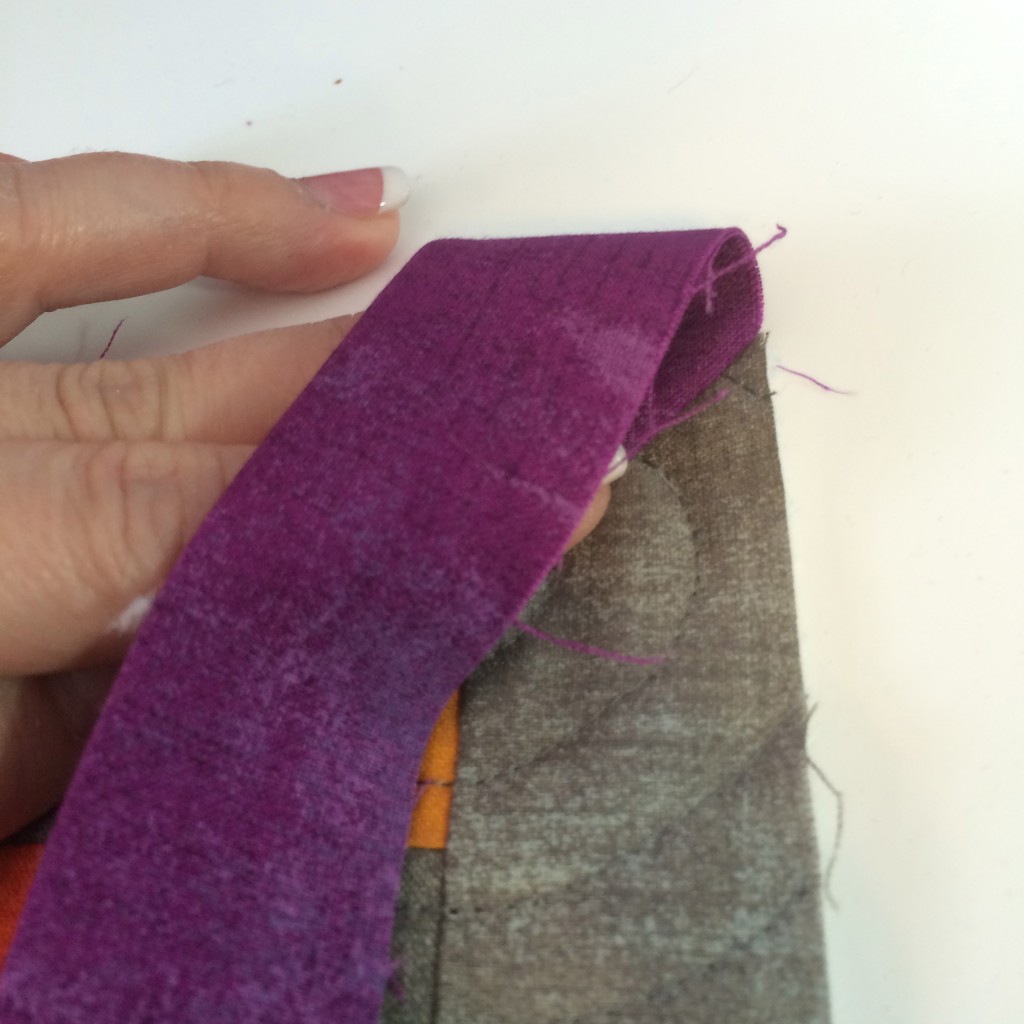
On the front of the quilt, fold the binding strip up so that it makes a perfect 45-degree angle into the corner. Turn the quilt so that the side you just sewed is on the top, and the next side is on the right. The raw edge of the loose binding strip will now be a long continuous line with the next side of your quilt. The stitches out the corner that you took will help facilitate this fold and make sure it’s in exactly the right position.
Next, bring the loose binding strip back down over your fingers. I keep my fingers in place to hold that 45-degree angle until I have the next part ready.
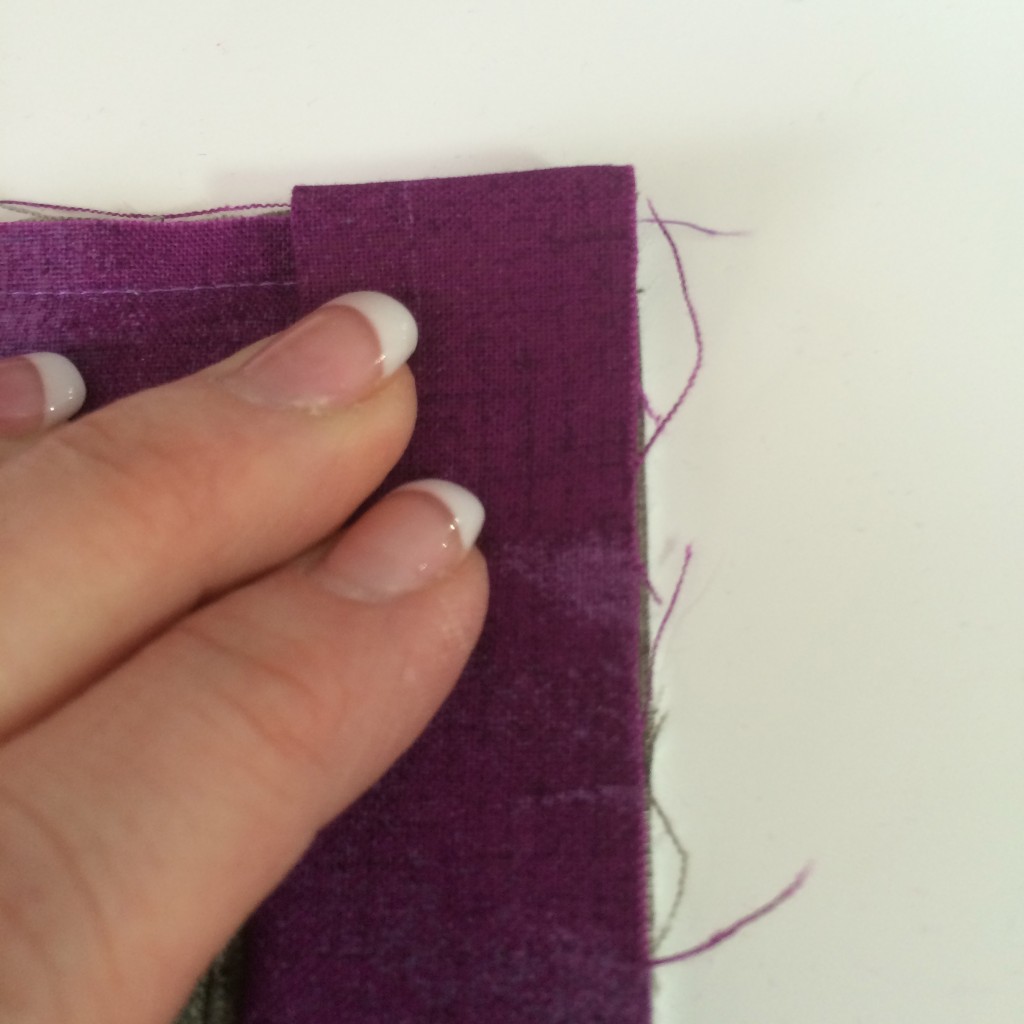
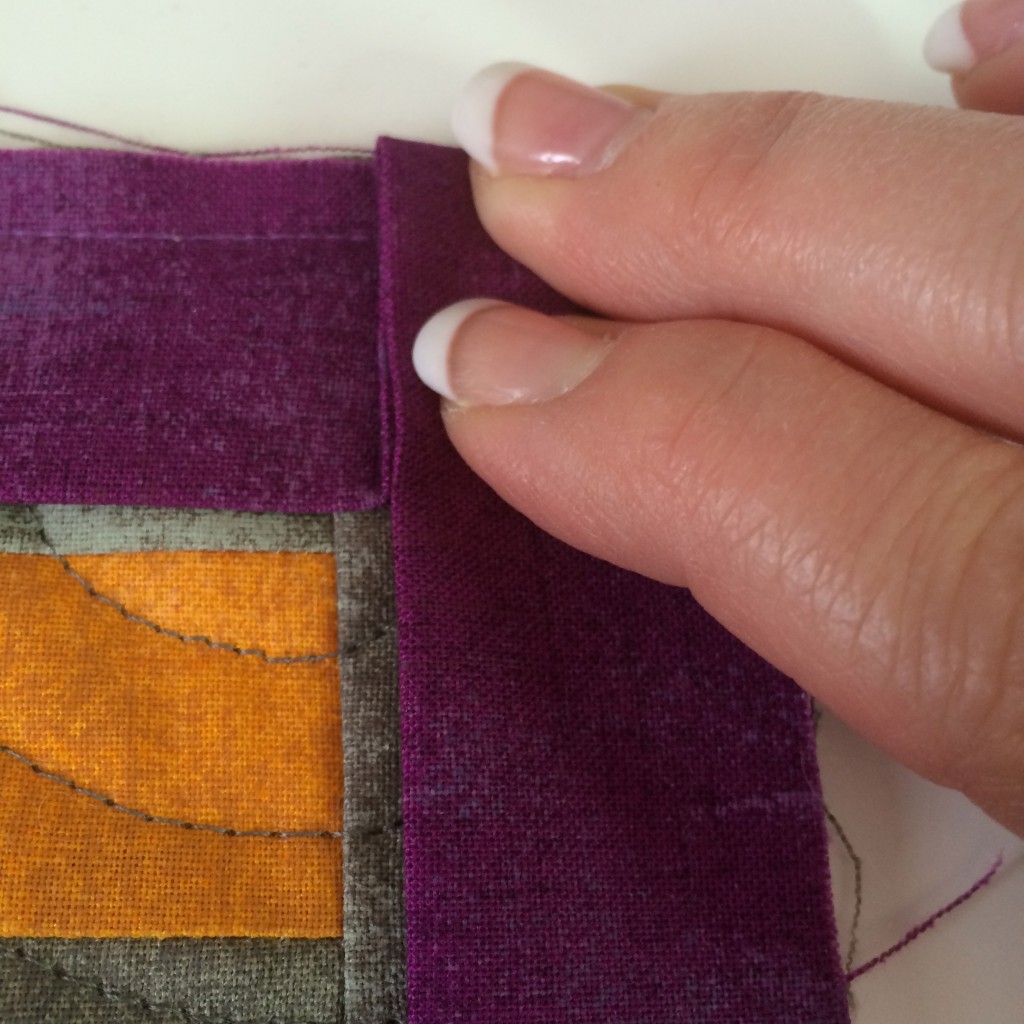
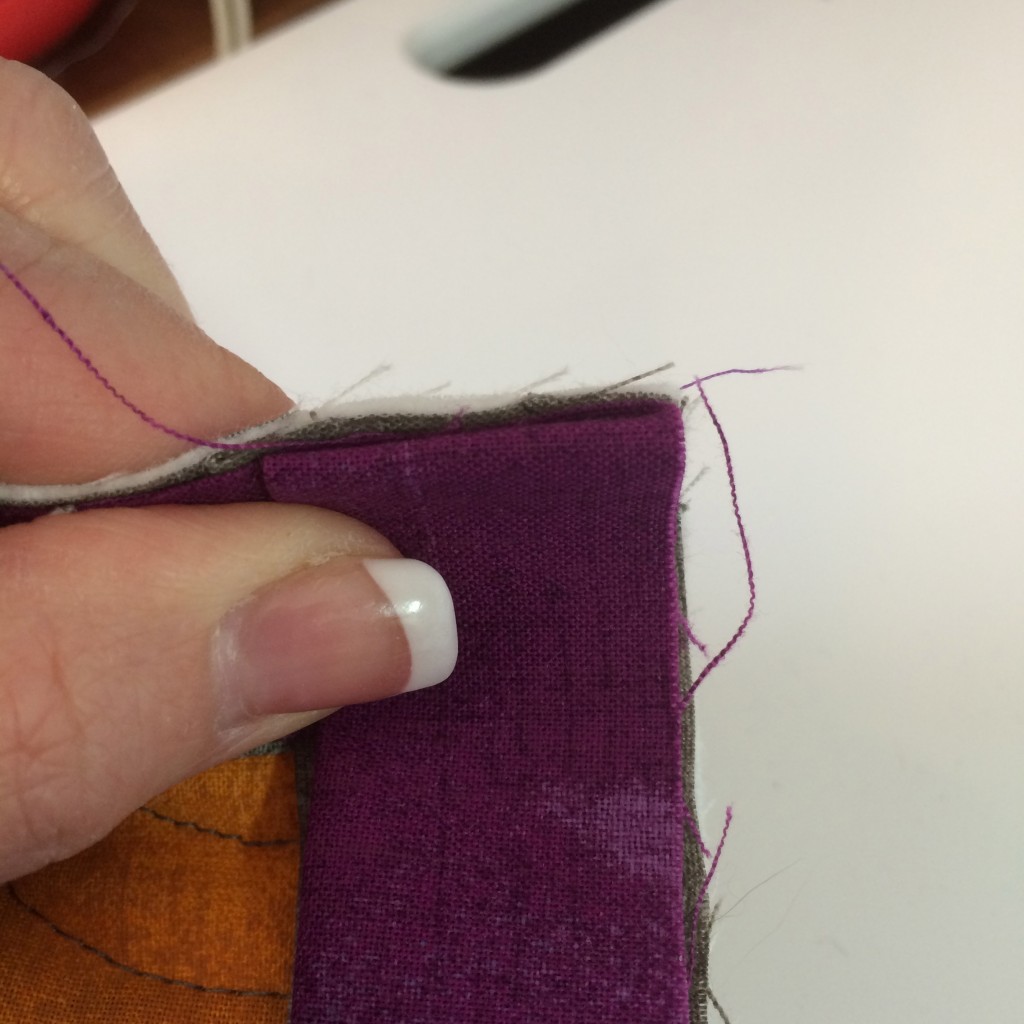
Fold the loose binding strip so that it lines up perfectly with the top edge in front of you, and the raw edges are together down the right side. The next three pictures show the right, left, and top sides so that you can see how it’s all held together. Â The top and right edges are all even in these photos, though the camera angle tries to tell a different story.
Right side lined up:
Left side lined up:
Top edges lined up (I promise, they are!):
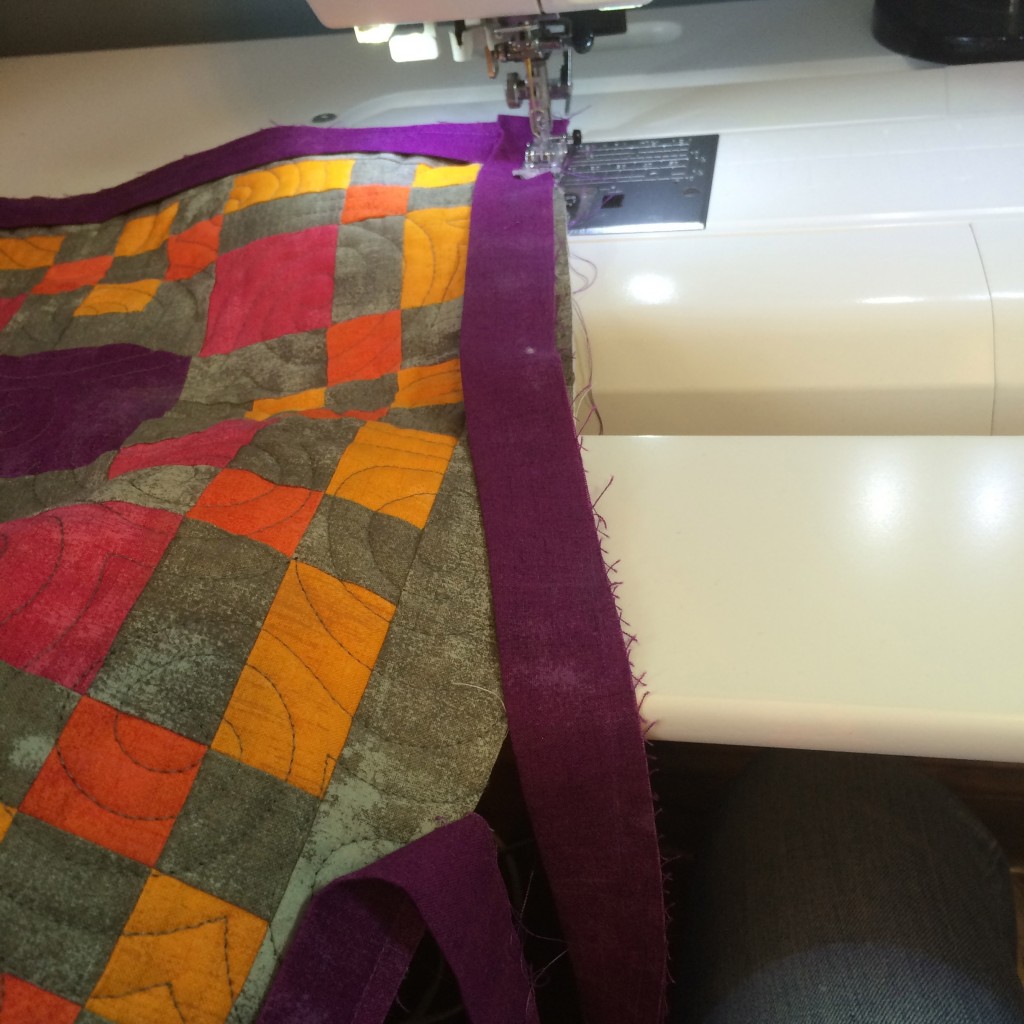
Back to the machine I go…Â I have found that I have to reset my Janome into needle-up as I start a new edge or it will unthread itself, but your machine might not be as persnickety. I do put it back into needle-down as soon as I can, though.
Here’s what that corner will look like after you sew it down. The first few times, you will be absolutely positive that you messed up, but you didn’t!
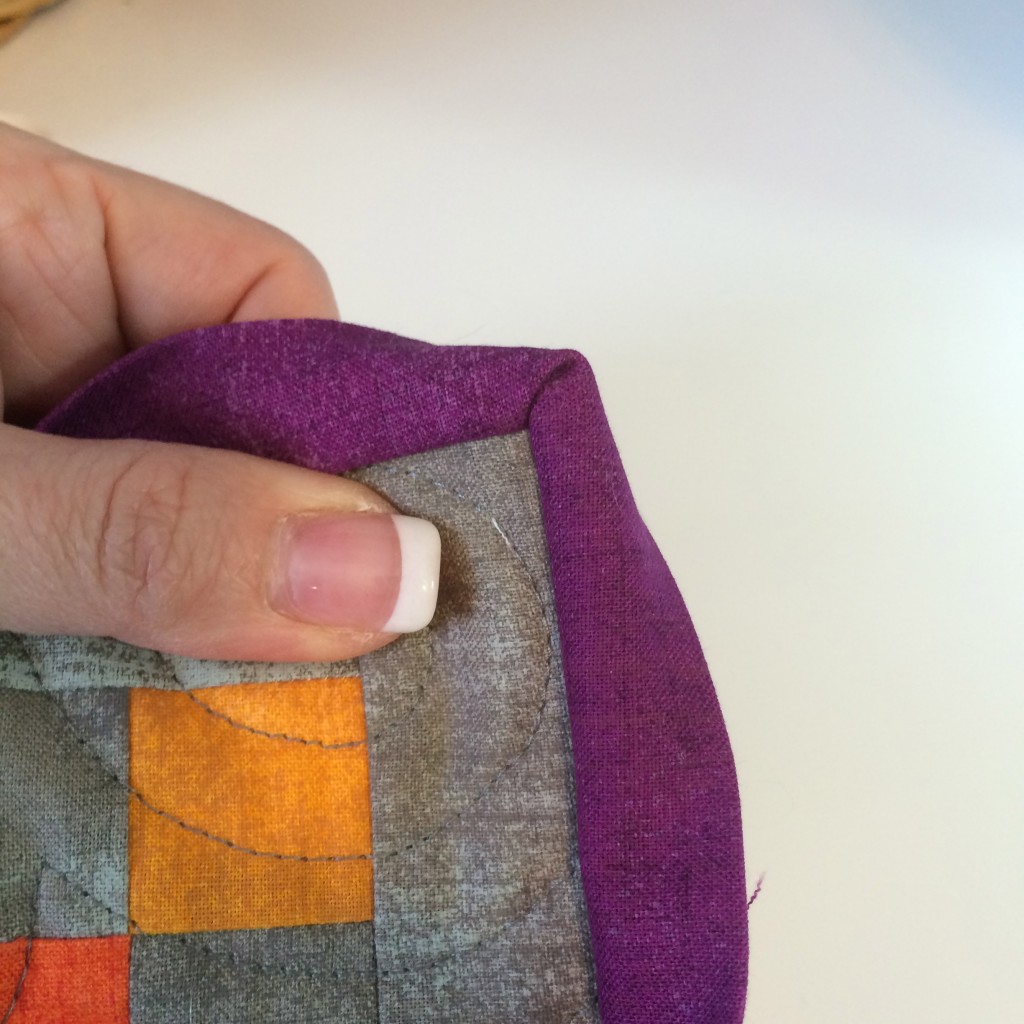
Flip that binding edge around to the back to see what just happened — you created a perfect miter on the corner on the front of your quilt! How cool is that!?
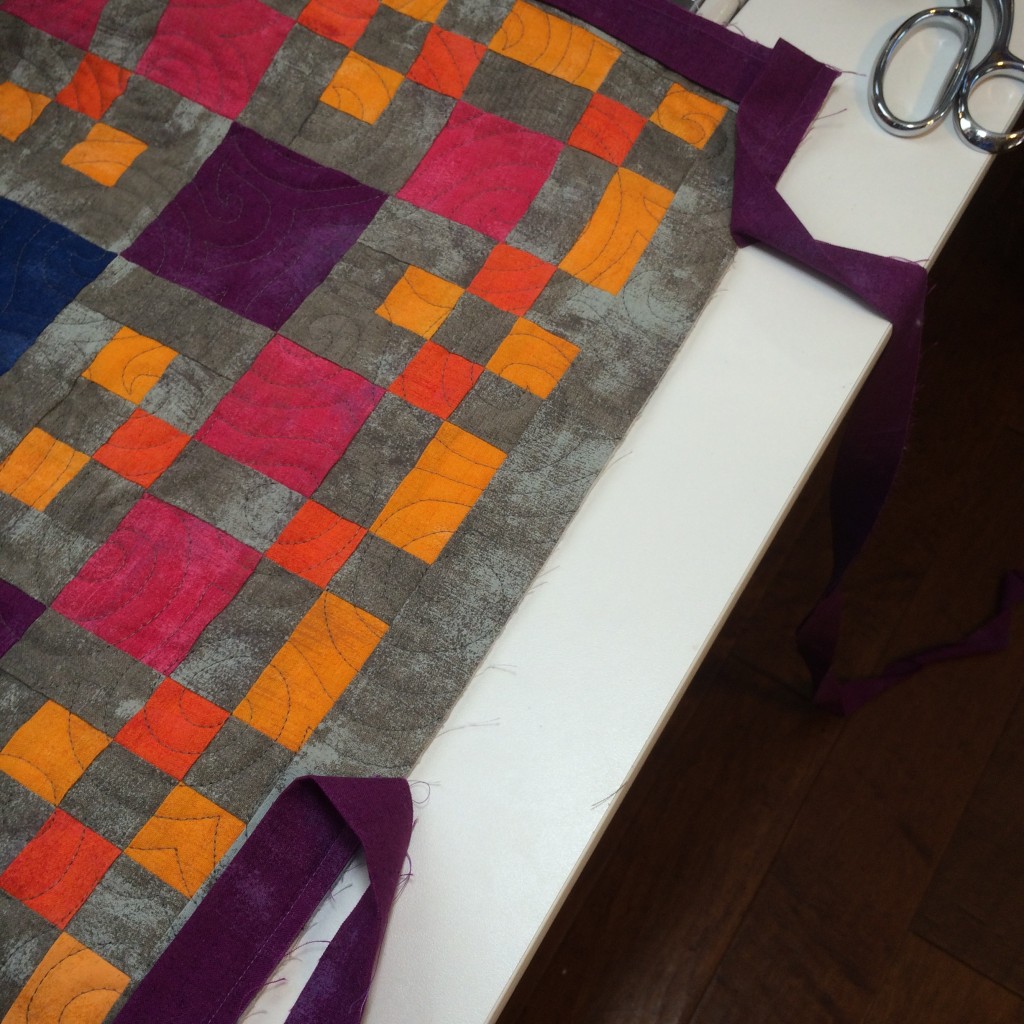
Keep going around the quilt until you’ve turned the last corner and get close to where you started. Leave about a 10″ opening and backstitch 1 or 2 stitches and break thread.
This is a little closer to the corner for a binding finish than I recommend for a beginner, but it’s not so bad. You want about a 10″ opening between where you just stopped and where you started attaching the binding.
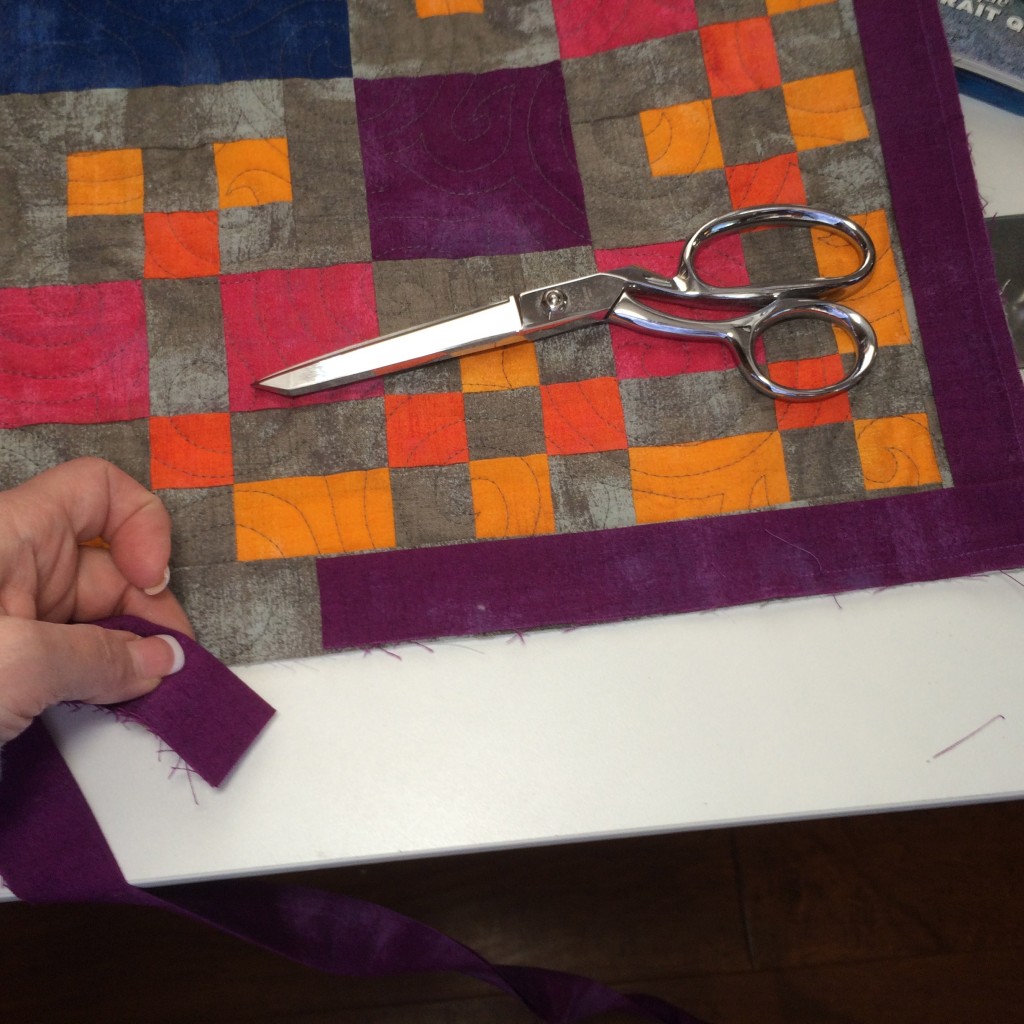
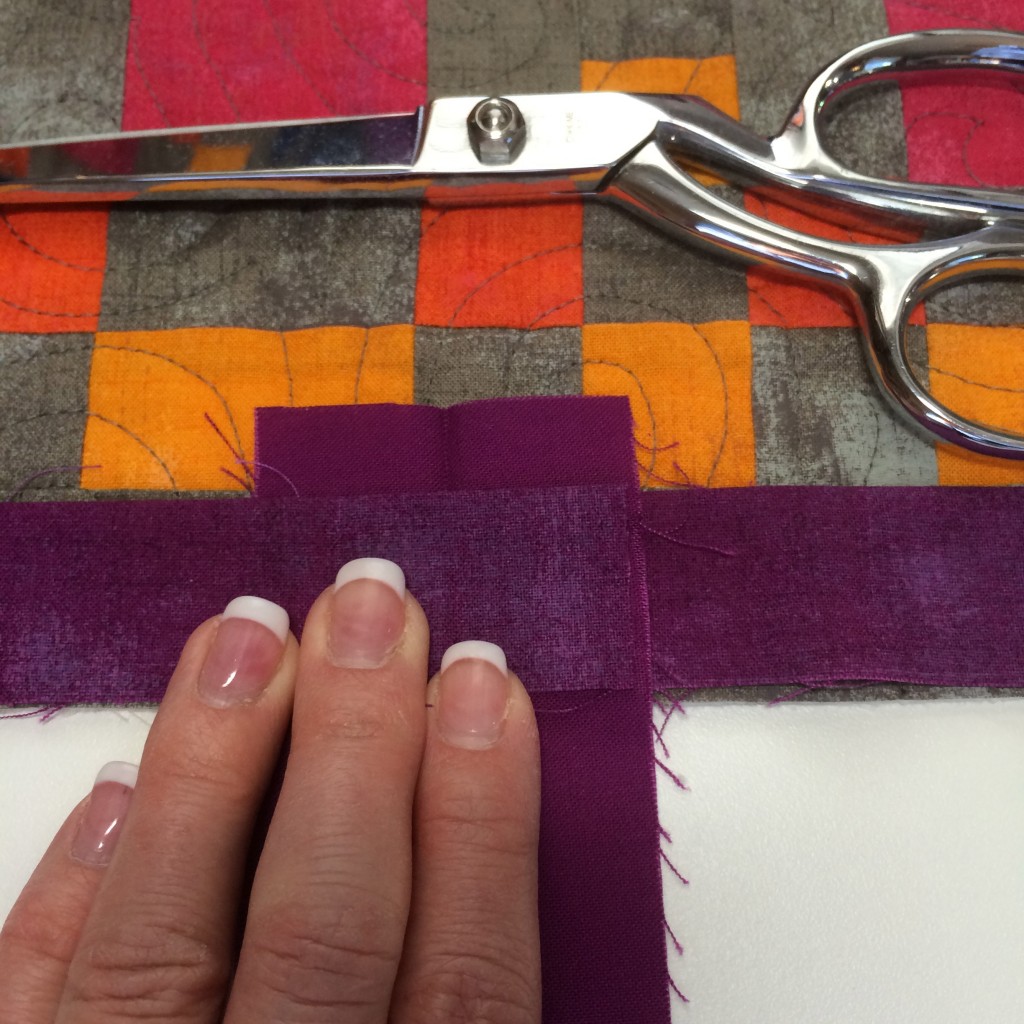
Lay the loose binding end down against the edge of the quilt, and trim with scissors straight across the strip about 1-1/4″ beyond halfway point of the opening. No need to measure — just eyeball it. I don’t use a rotary cutter at this point because I just know I’d sneeze and there’d be a huge disaster. Scissors are safer for the clumsy.
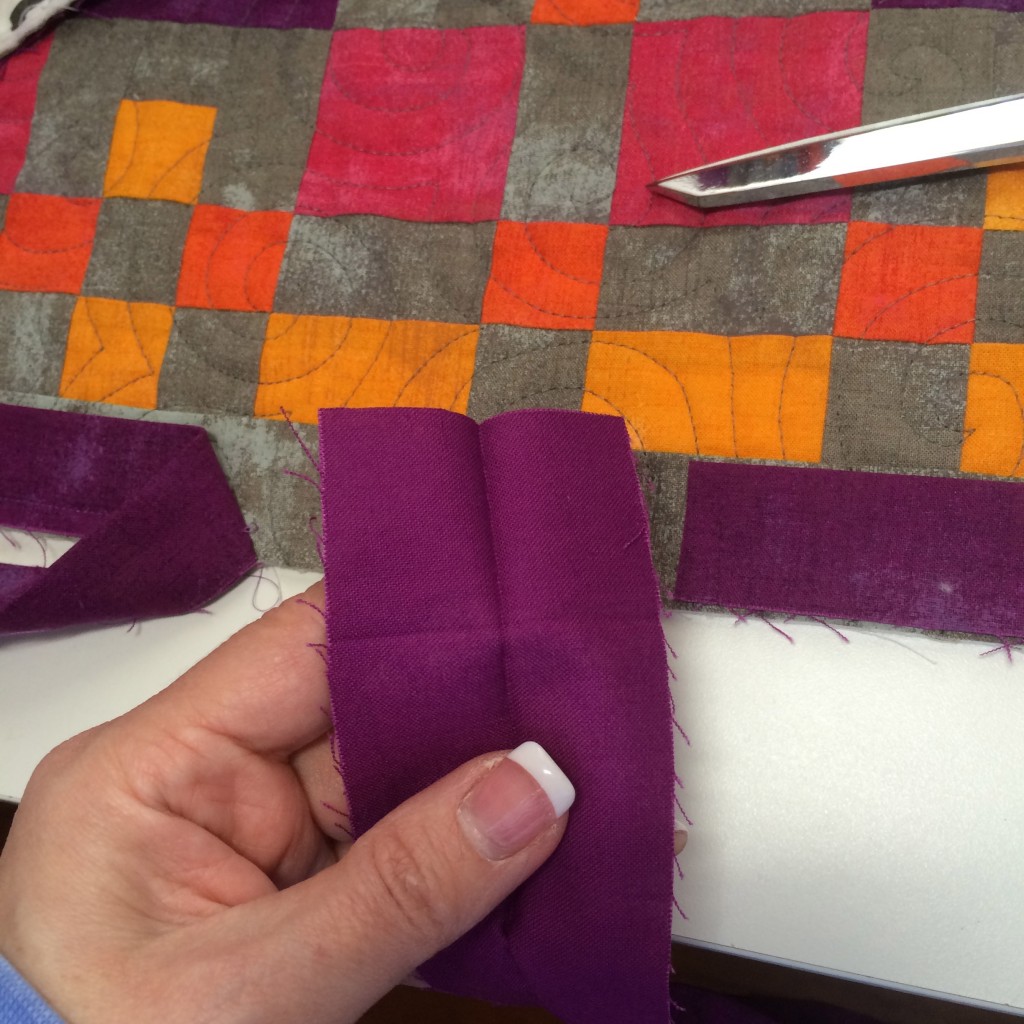
Now you have a piece of binding that’s not attached to anything. Open it out. It will now become your measuring device. Behold: it is exactly the same width as your binding strip because–SHOCKER–until just a few moments ago, it actually WAS your binding strip.
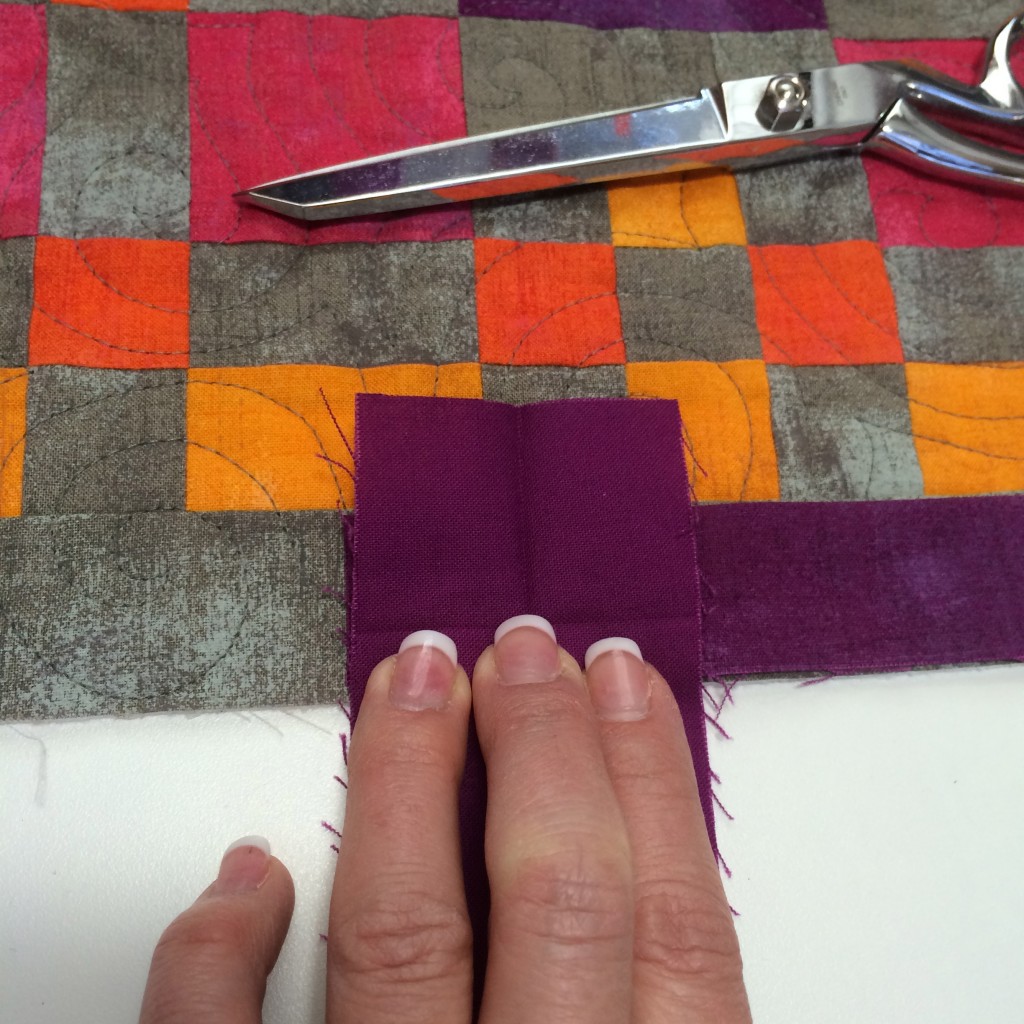
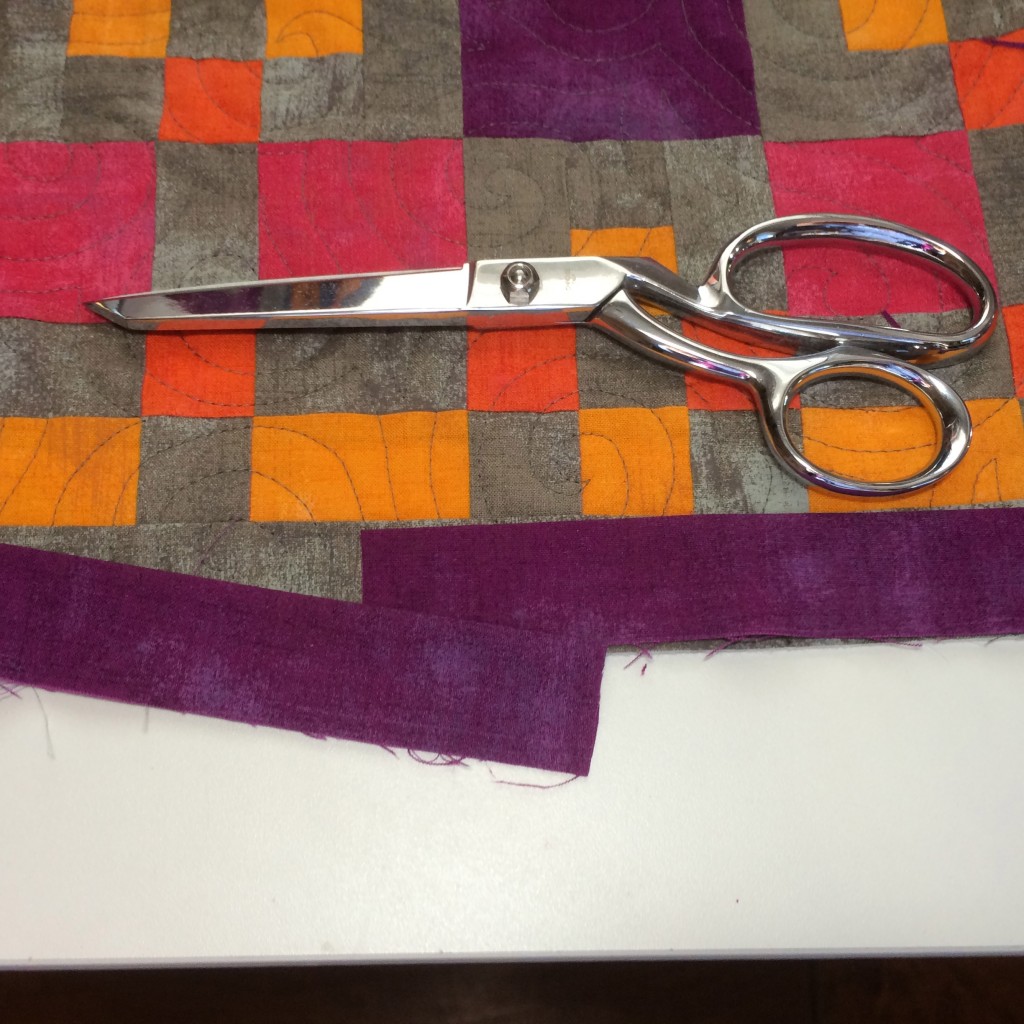
Lay it down, wrong side up (so you can see it against the real binding), on top of its freshly amputated brethren. Line it up neatly against the part you just cut.
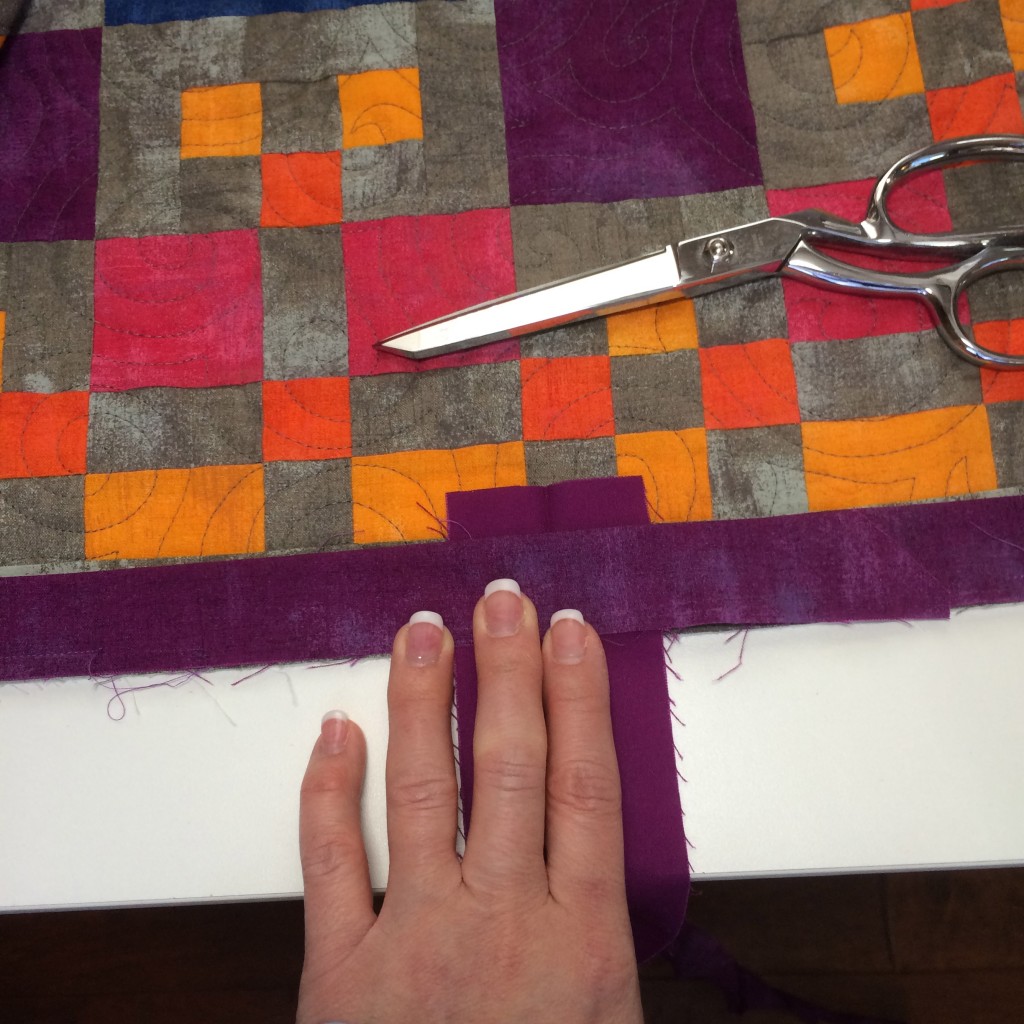
Now lay the other loose end of binding over the top of your fancyshmancy measuring device, lining up raw edges of the binding with the raw edges of the quilt. Get the parts as smooth as possible.
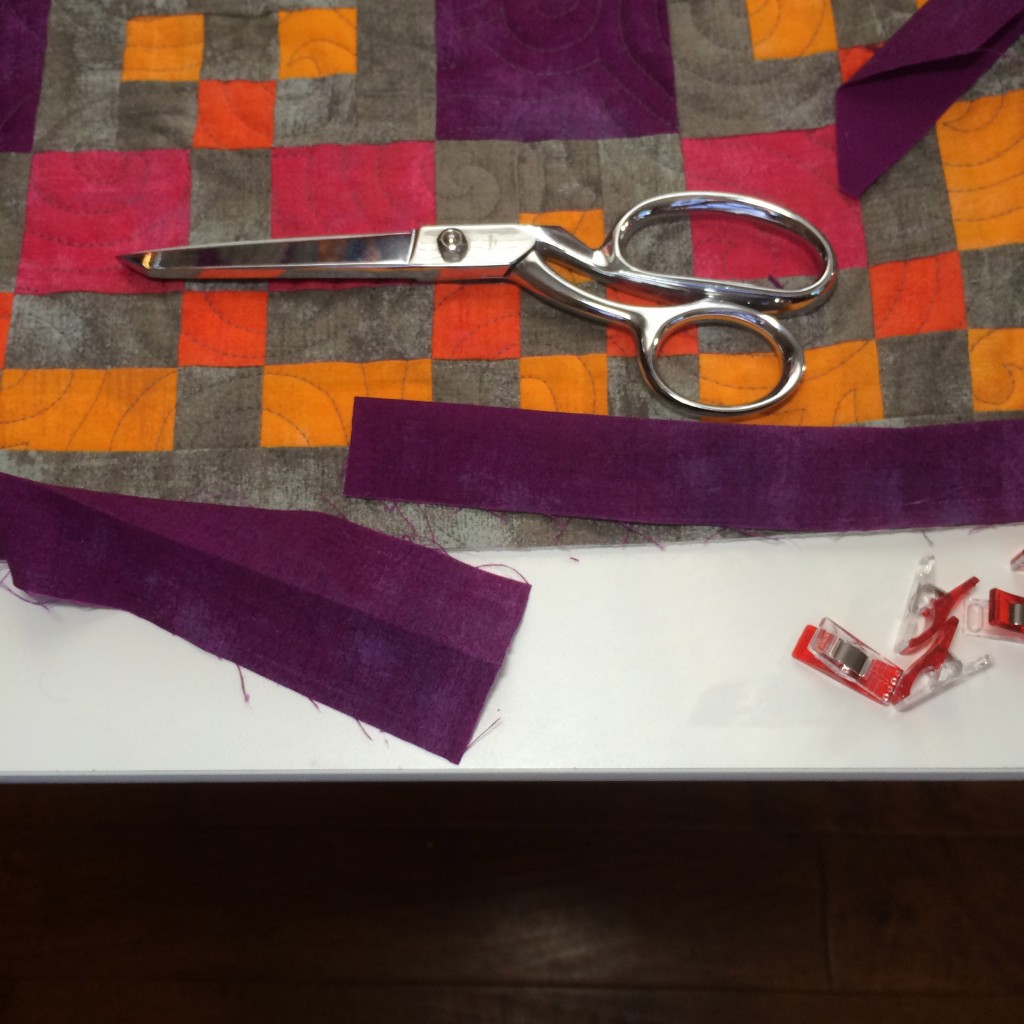
Using scissors, cut straight across the top binding piece (AND ONLY the top binding piece) about one blade-width shy of the measuring device. Why? Because you’re going to sew this on the bias and it’s fabric, not wood. Seams on the bias are stretchy, and you need this thing not to stretch too much because that will make your binding lumpy. It might still have a little pucker (again: fabric, not wood), but we can manage small variances. If there’a ANY extra fabric, you’re about to find it.
Remove your measuring device, and observe: You have about a 2-3/16″ overlap of binding now. Now comes the kinda tricky part, but you can do it! I believe in you!
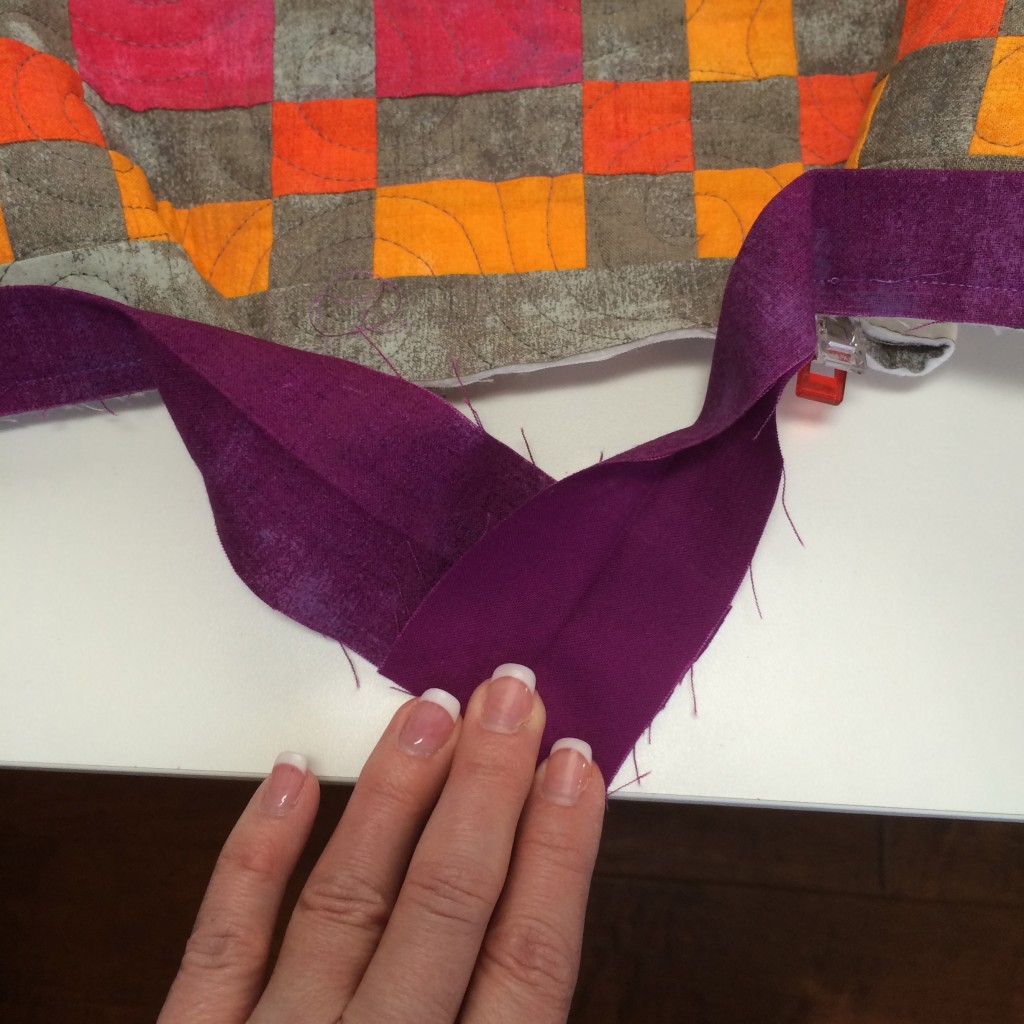
Open out the starting side so it’s right side up. Don’t twist it as it comes off the quilt!
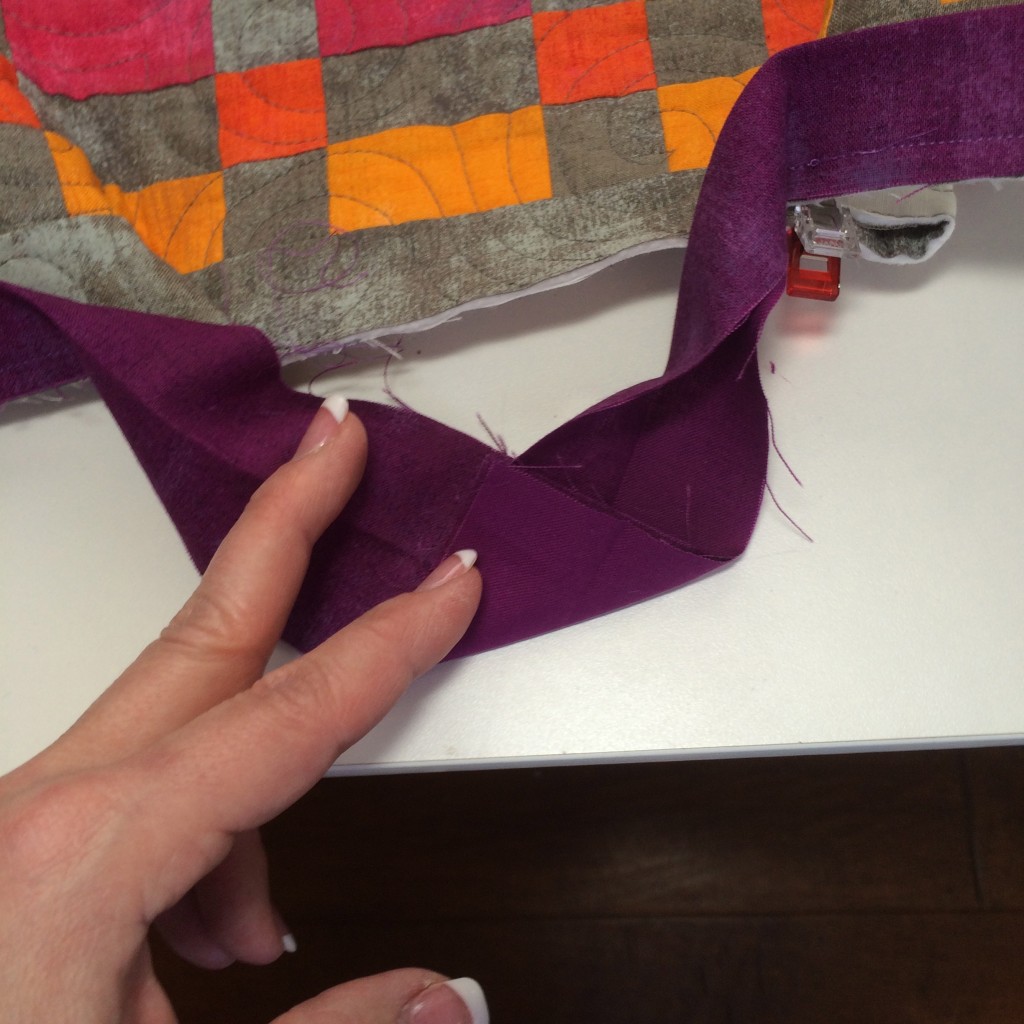
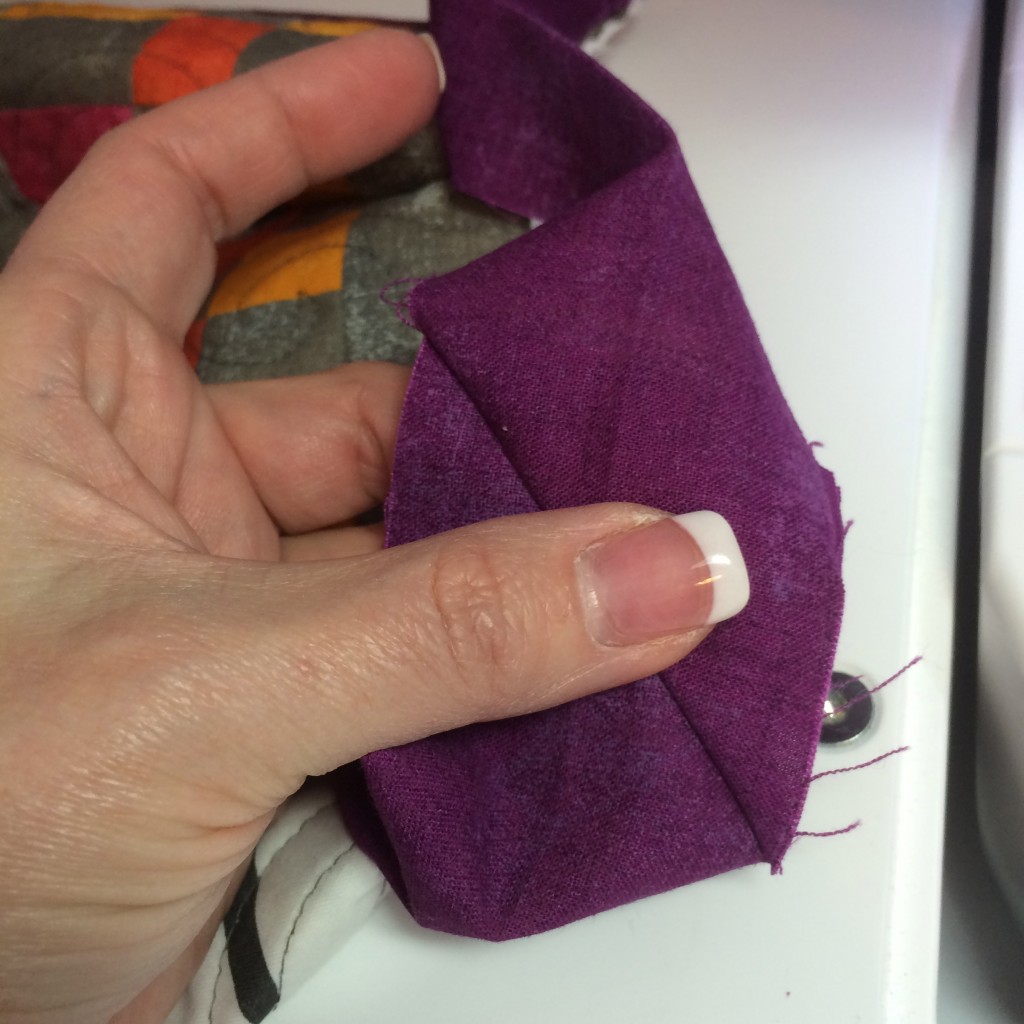
Open out the ending side so that it’s wrong-side up. Don’t twist! (It looks like I twisted it, but I promise I didn’t!) Bring the pieces down and off the quilt, right sides together, so that they make a “V” shape. Notice the little Clover Clip under there? it’s pinching the quilt together so that the heft of the quilted piece doesn’t fight me and pull these two sides apart. Clover Clips are amazing. Seriously. If you don’t have them yet, GET THEM. This is my totally unsponsored opinion: I *love* Â Clover Clips. Anyway. Make a V with your overlapping ends, like so:
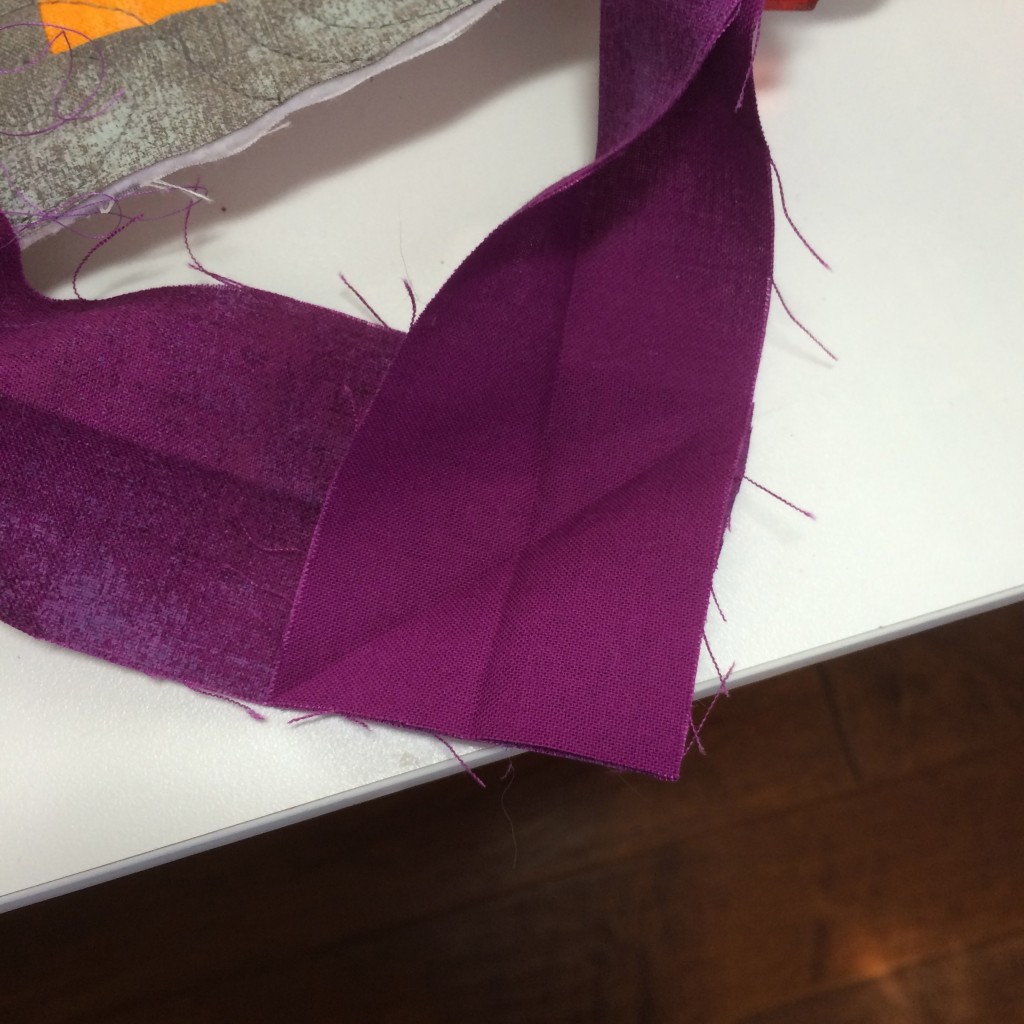
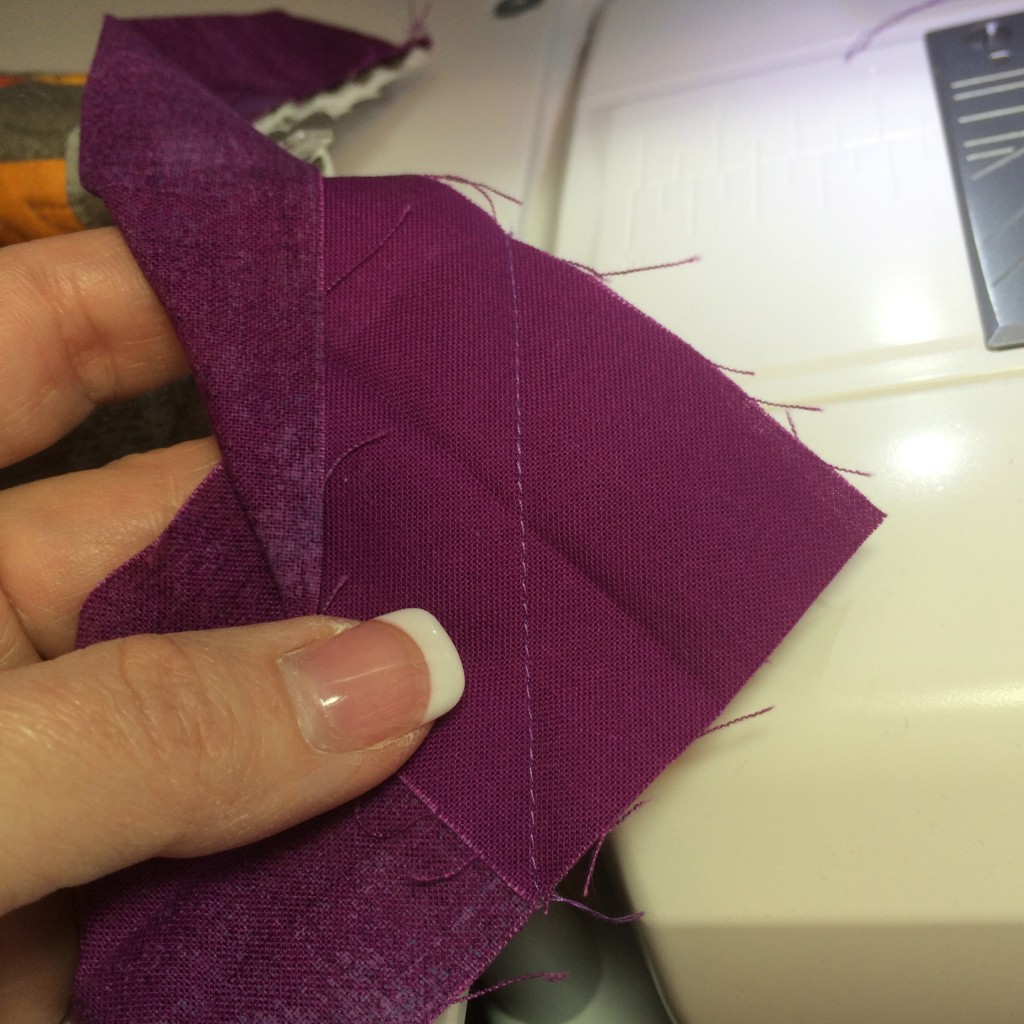
Fold the bottom of that V up to meet the inside corner, and crease crease crease. You’re creating a guideline for sewing so that you’ll be able to see what you’re doing.
Perfect little seamline guide!
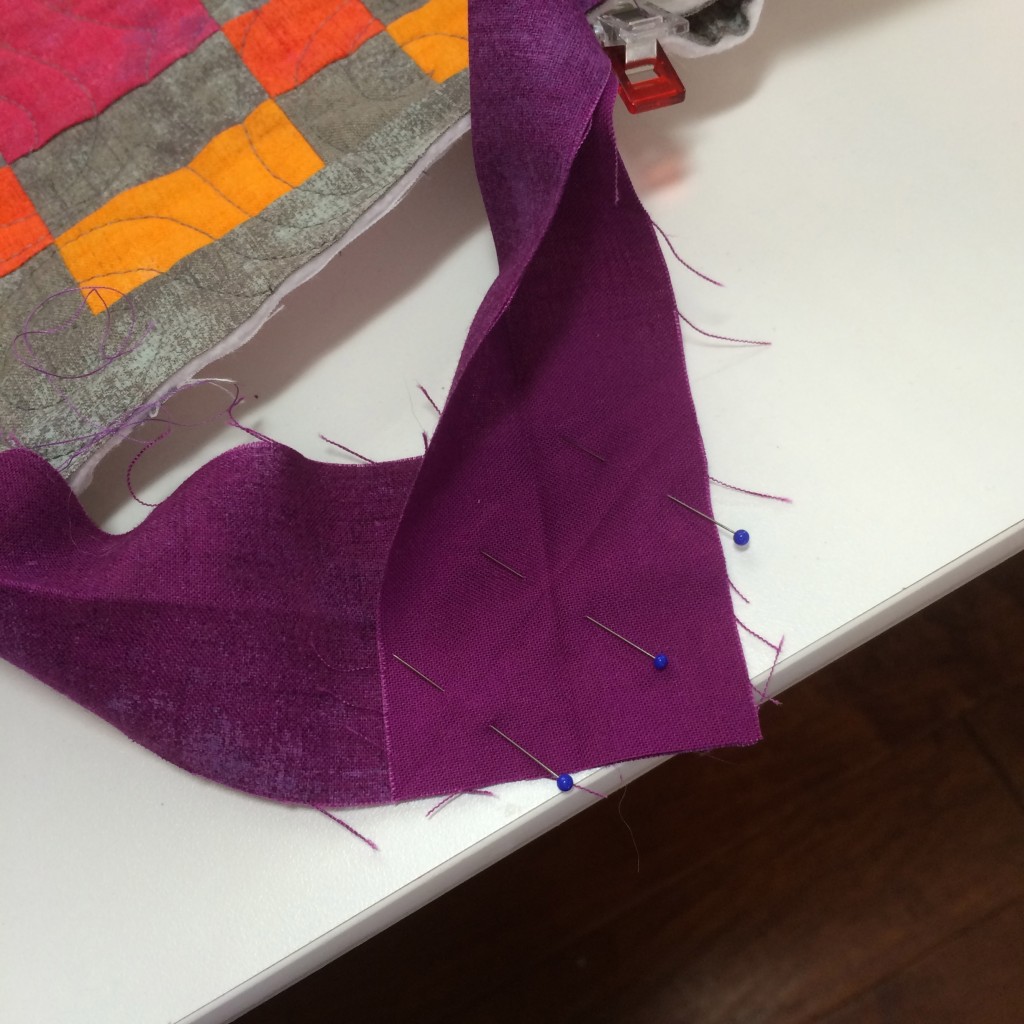
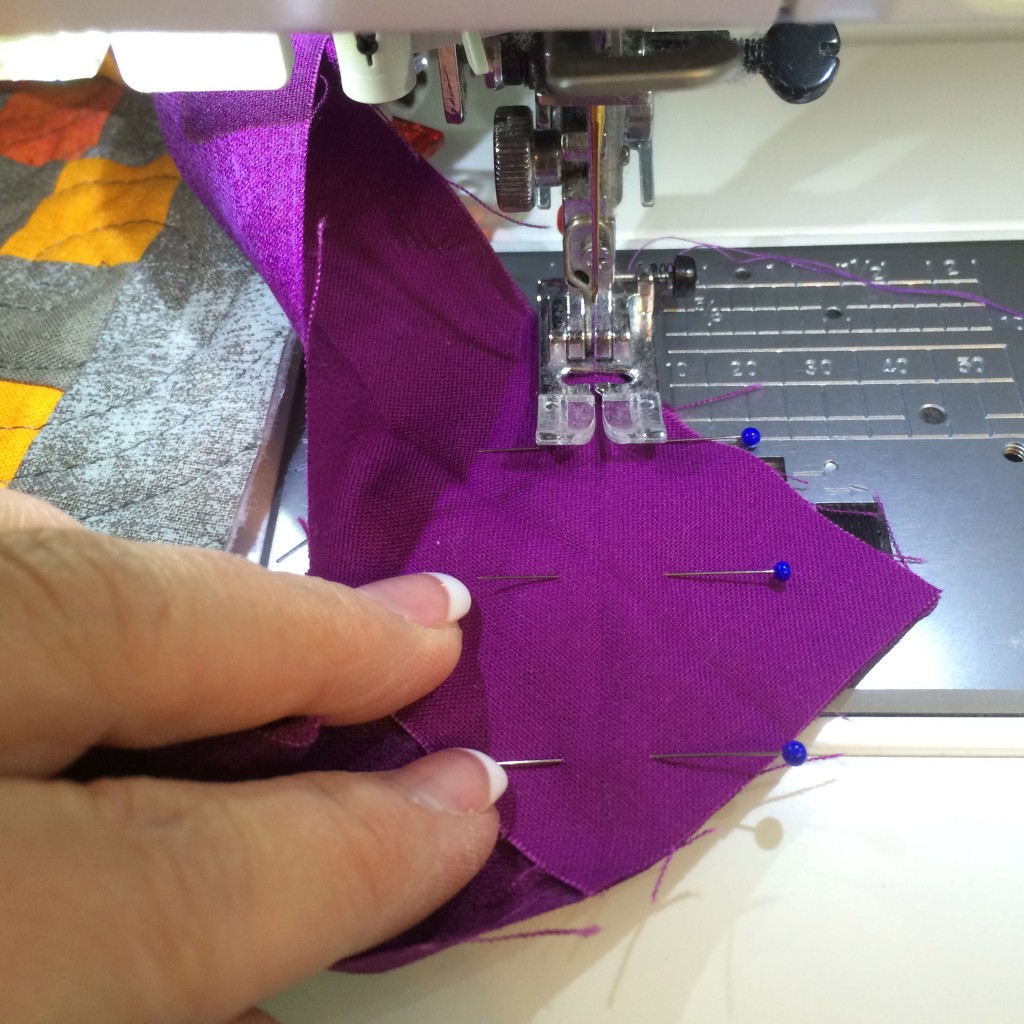
I do pin at this point, because the weight of the quilt — even if it’s a mug rug — Â will make this difficult if you don’t.
Go back to the machine and sew that seamline.
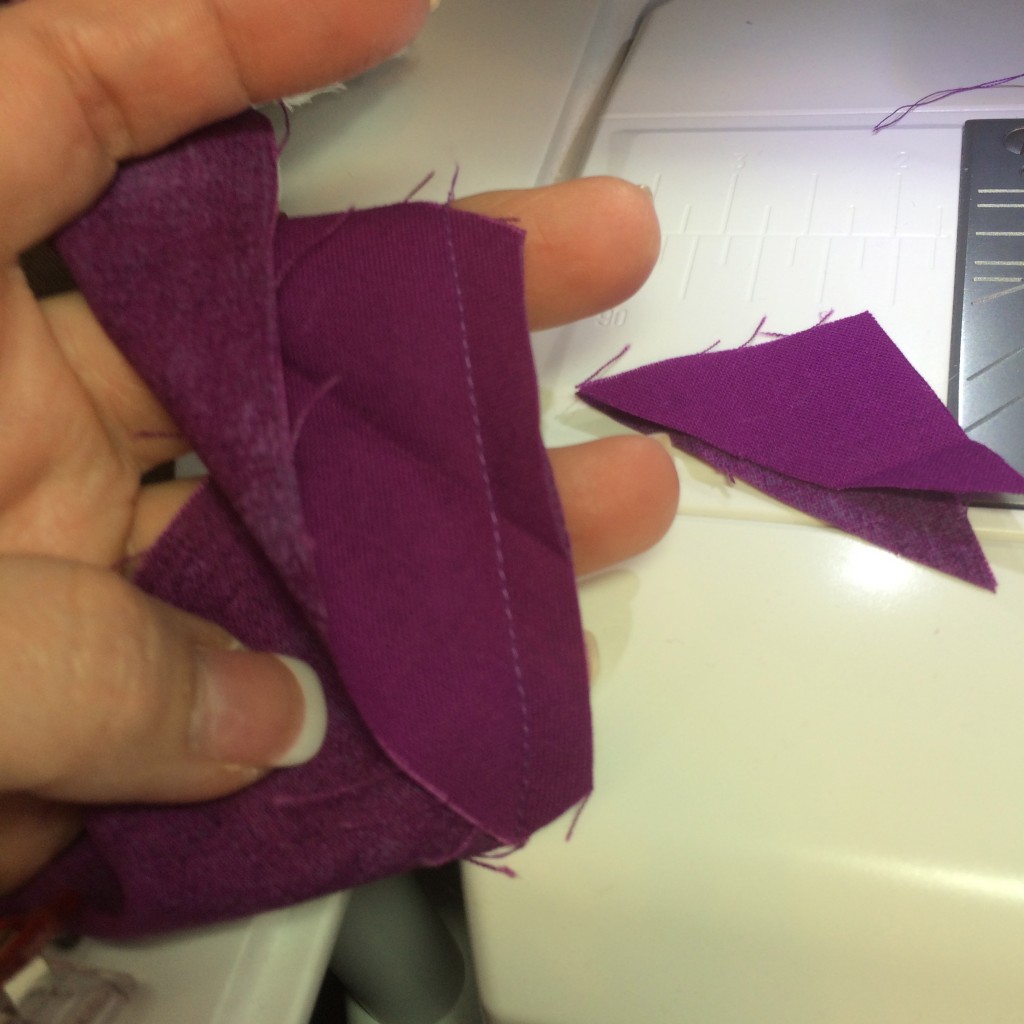
Open it out, remove the Clover Clips that are pinching the quilt together, and make sure it looks right. If it doesn’t, pick out the stitching, adjust, and re-sew the seam.
If it does look good, trim off the excess fabric in the corner.
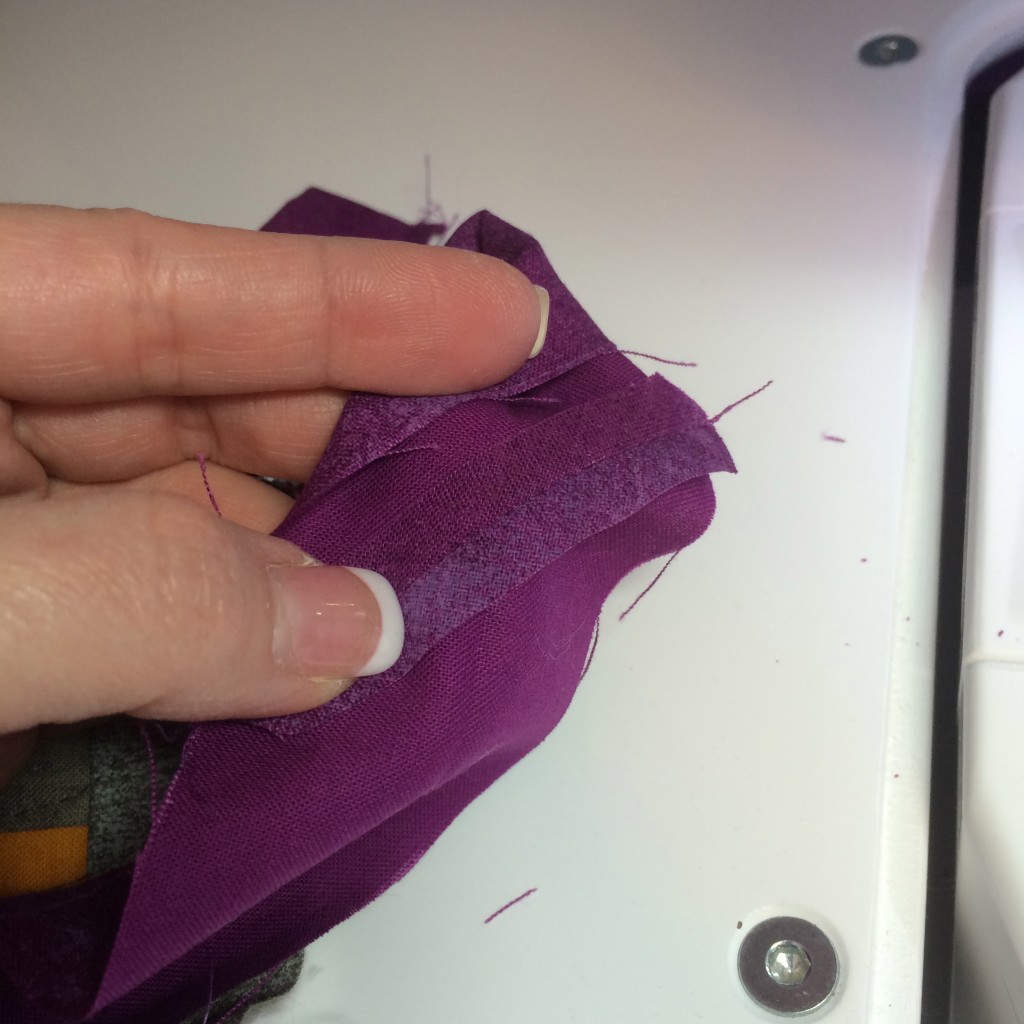
Fingerpress that seam open You can try to hit it with the iron, but it’ll be difficult. I don’t bother anymore. Fingerpressing seems to be enough.
Fold your newly joined binding in half, wrong sides together, and lay the binding flat against the quilt. Finish attaching it to the quilt. Ease as necessary so that you don’t have puckers.
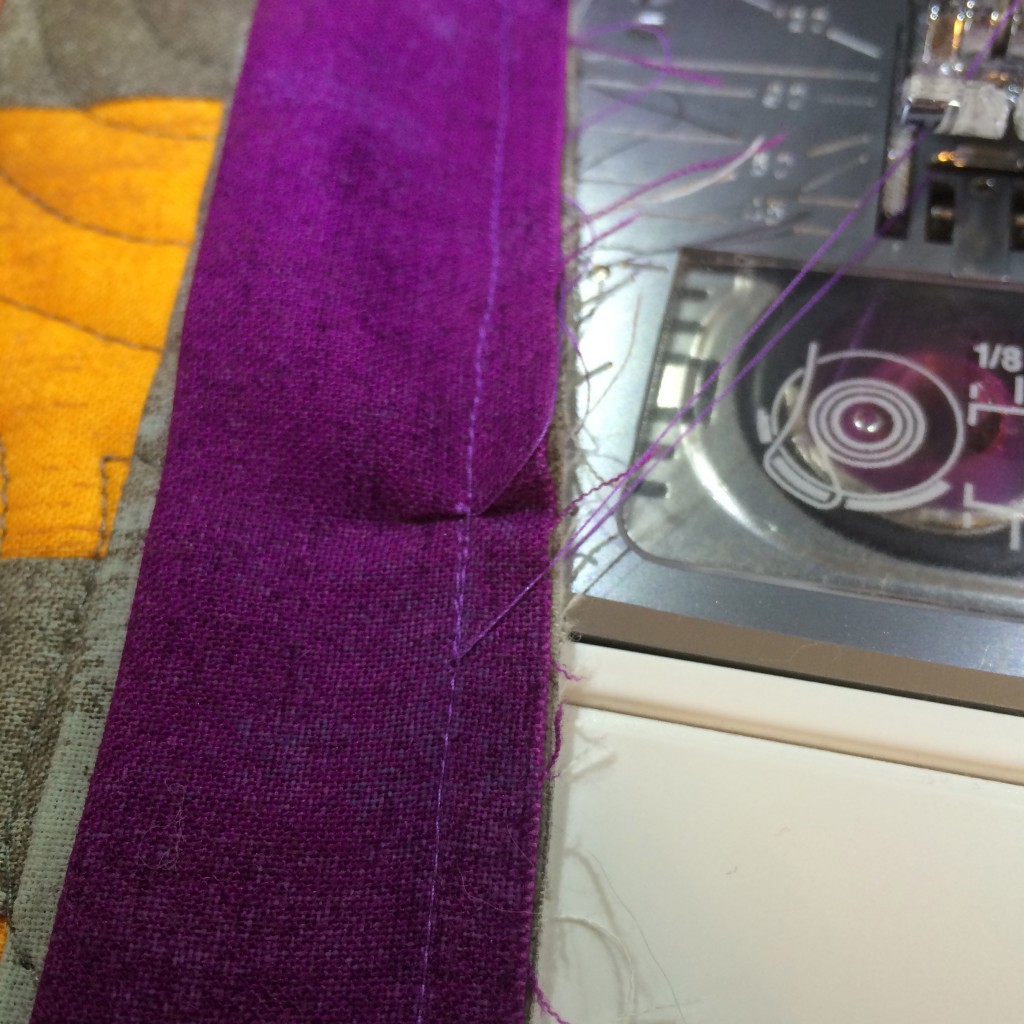
But if you do have a (mother)pucker, it’s not the end of the world… There’s a small pucker here, but only on one side of the binding strip. The other side was flat as a pancake. Meh. It happens.
And from the front, you really can’t tell. And I haven’t even sewn it into submission yet. Ignore the loose threads. Not sure what happened there, but they weren’t attached to anything.
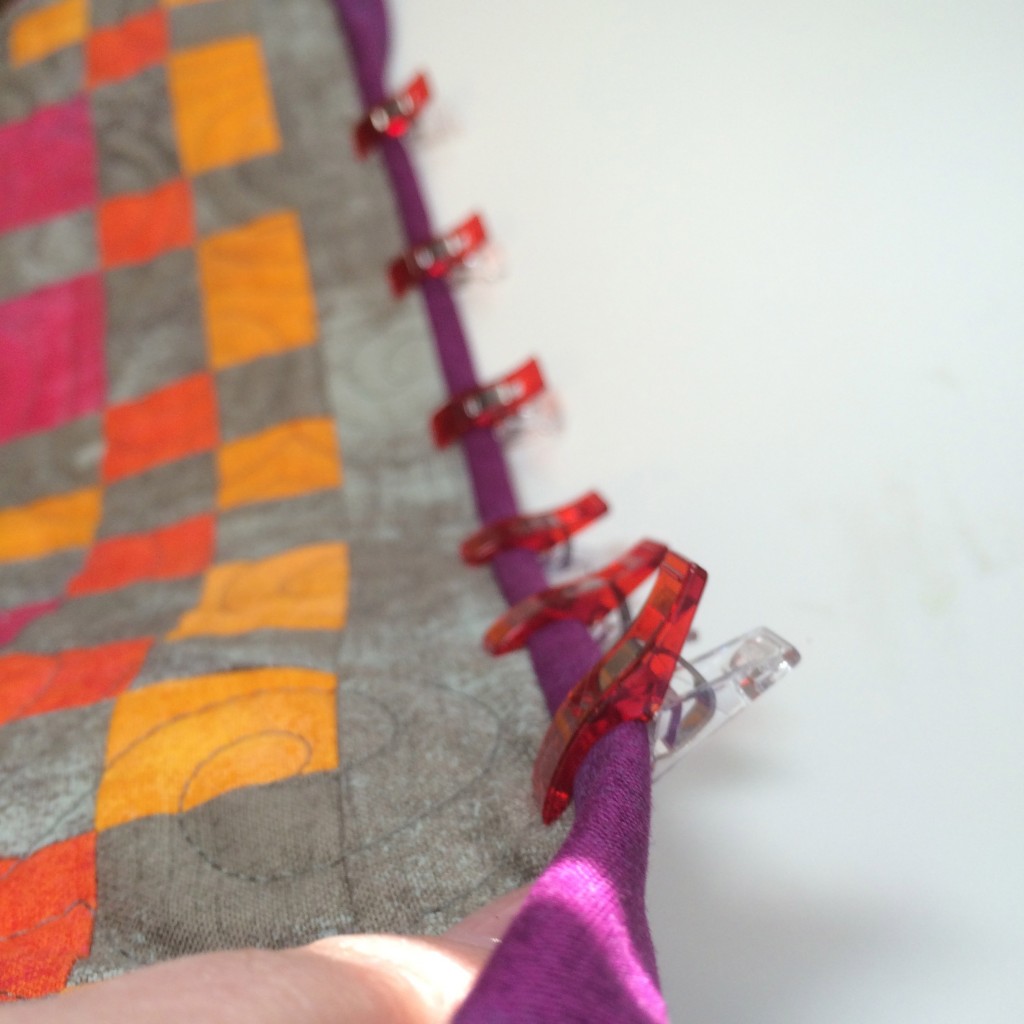
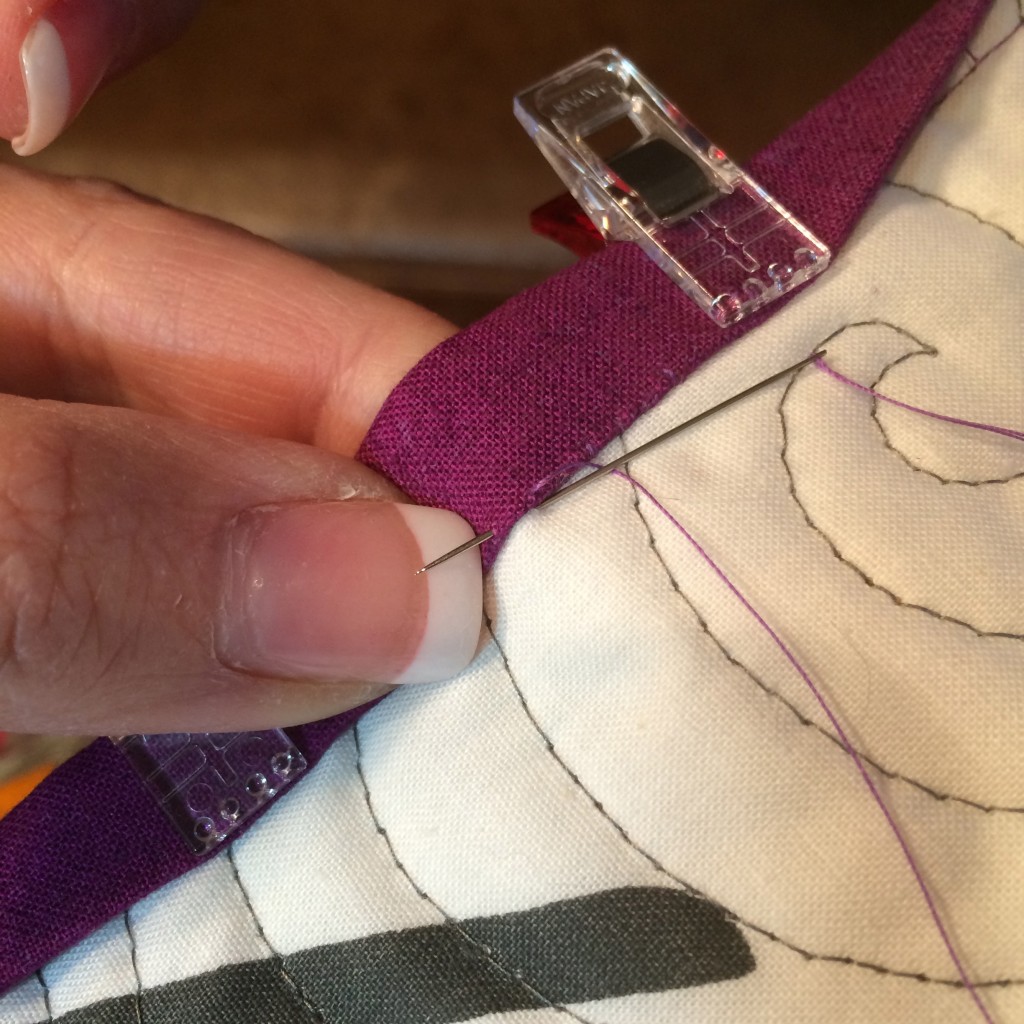
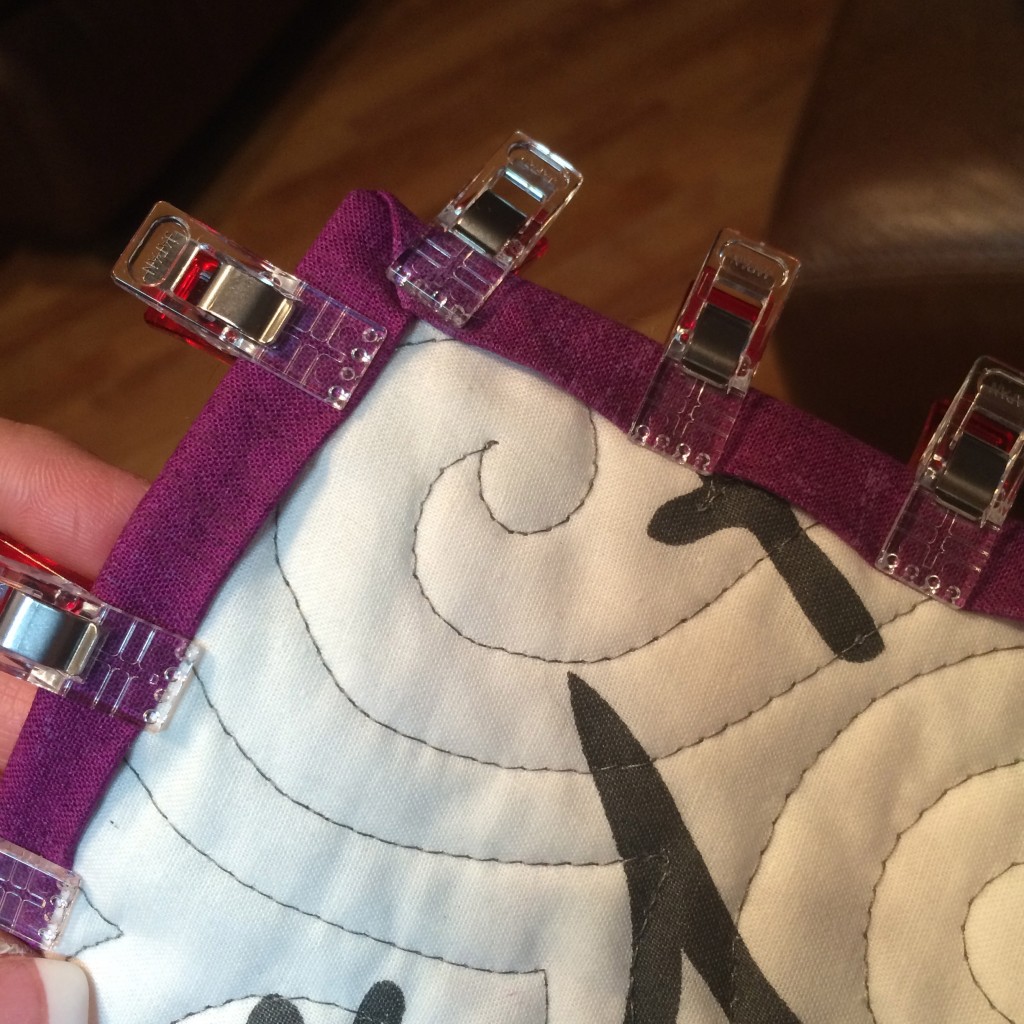
Did I mention how much I love Clover Clips? The photo below demonstrates why — the red part? PERFECTLY sized for this width binding. So not only does it hold the binding neatly in place until I can sew it, it holds it to a consistent width. Awesome.
I do not put Clover Clips all the way around my quilt, though. That would annoy me because I’d have to have somewhere to put them as they come off. I usually use about 12, and leapfrog my way around the quilt. One stays at the beginning, both to secure the binding so it doesn’t pull on that first stitch, and to show me where the beginning is when I stop to see how much further I have to go.
I’m left-handed, but for some reason I sew with my right hand. I use a thread color that matches my binding, and work from right to left on the back of the quilt. No reason, it’s just my habit. My stitches are about 1/8″ apart, except they’re closer in the corners because of how I do those.
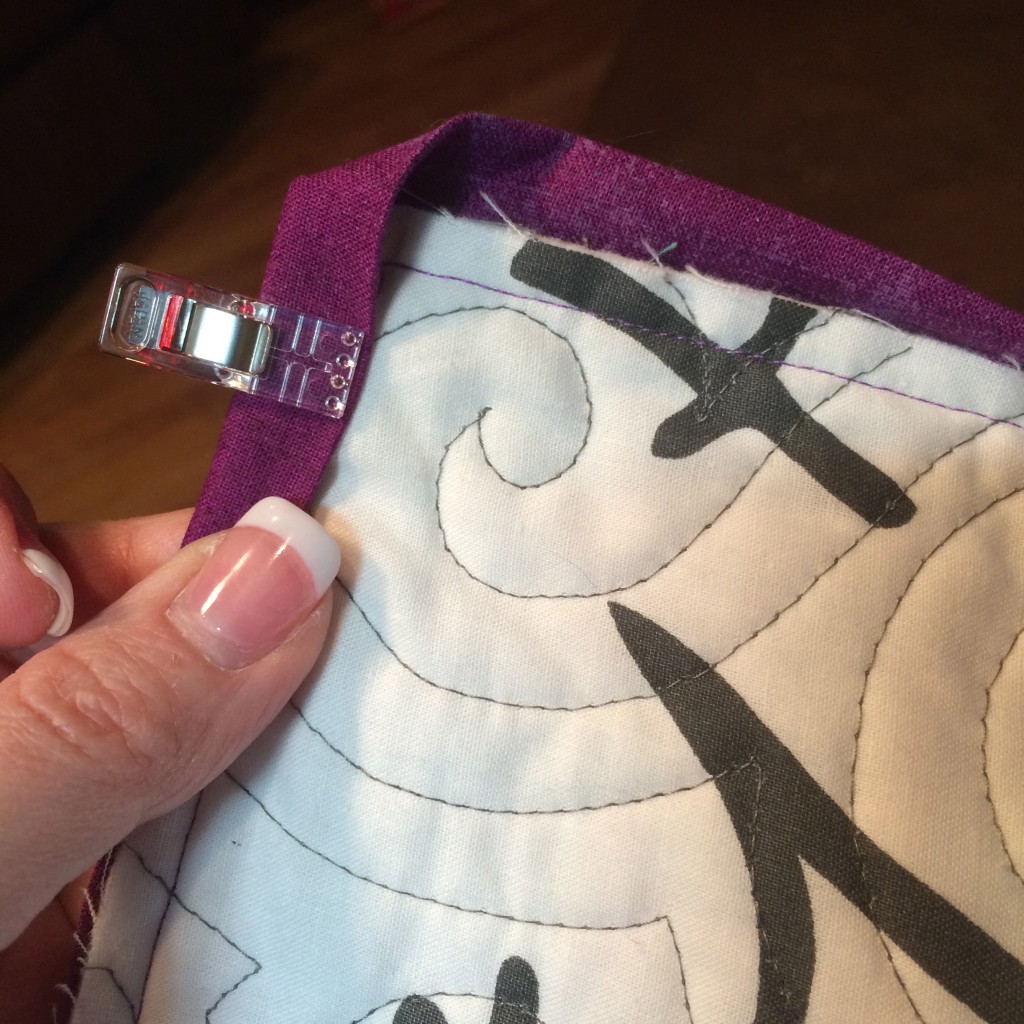
As I get close to the corner, the first Clover Clip to go on the corner is the one you see below:
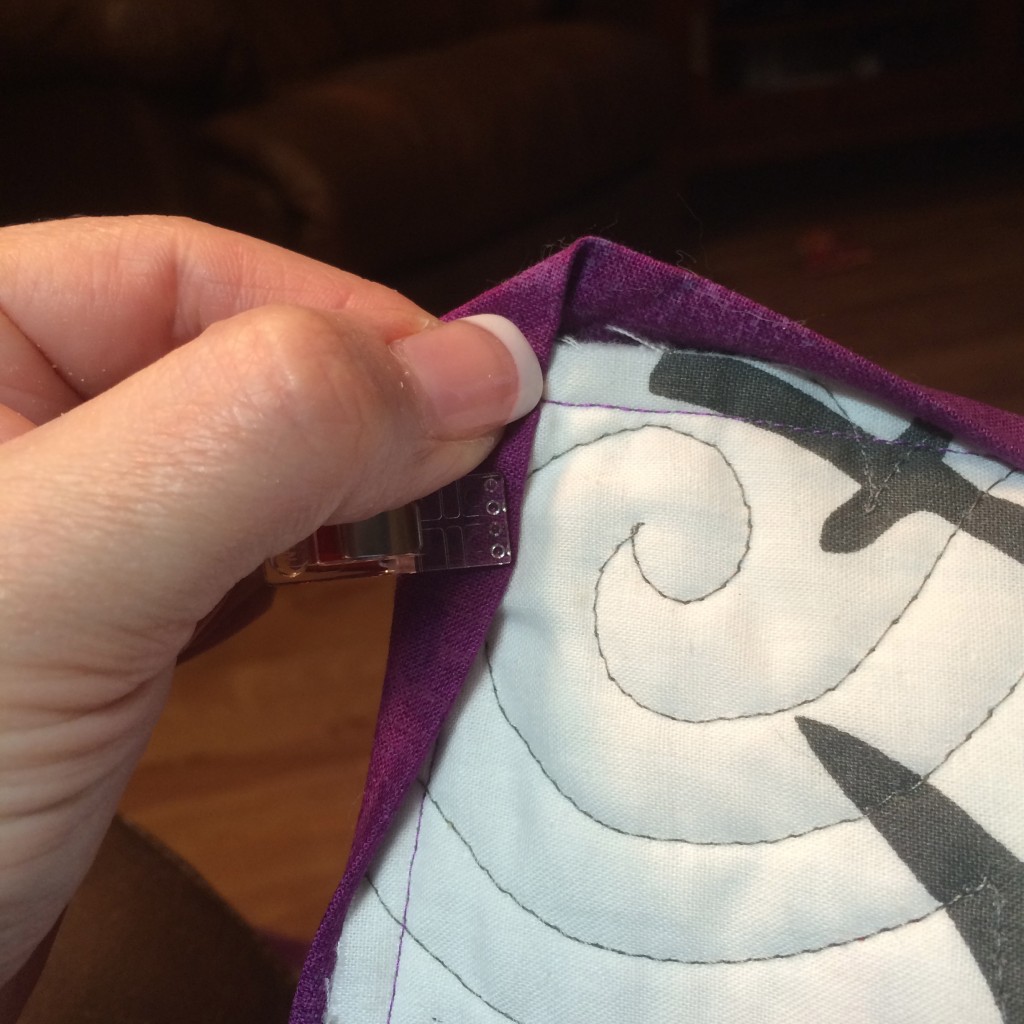
Then I pinch the top edge to make a nice crease at a perfect 45-degree angle again.
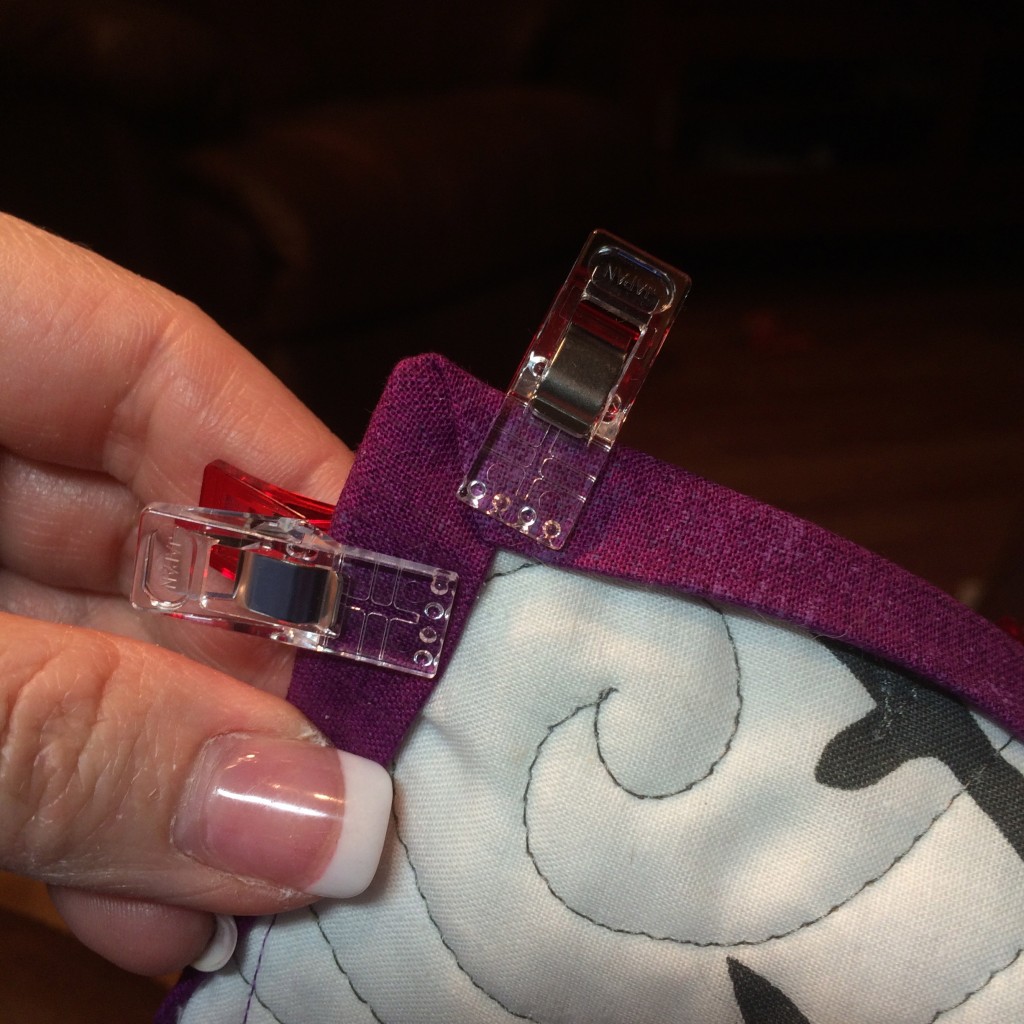
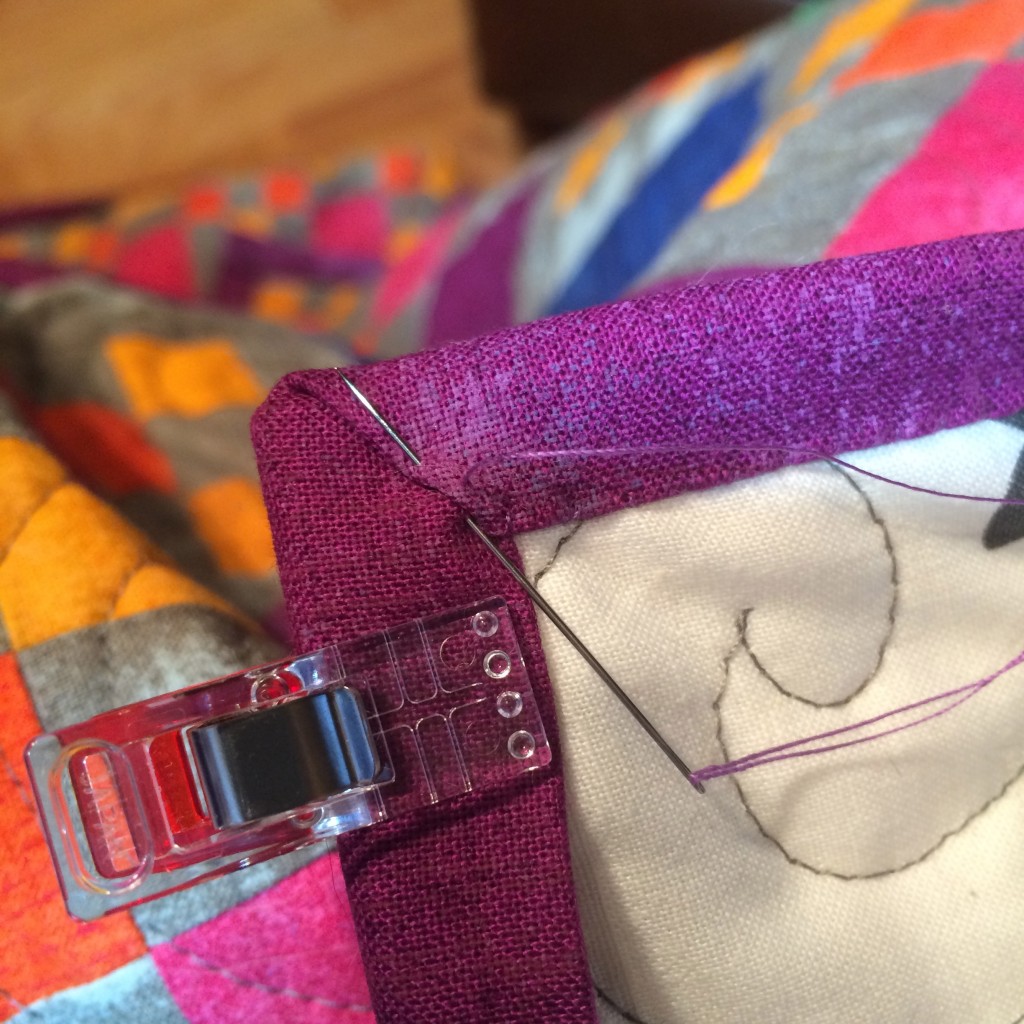
Then another Clover Clip holds that flap of fabric down until I get there with my needle.
Sometimes I’ll pinch and readjust a corner three or four times before I actually sew it, just to get it so it looks neat and doesn’t have weird lumps. This one isn’t particularly perfect but it’s OK by my standards.
When I get to the corner, I take two quick stitches at the inside corner of the binding edge to secure it, and then normal-sized stitches up the miter to the upper edge.
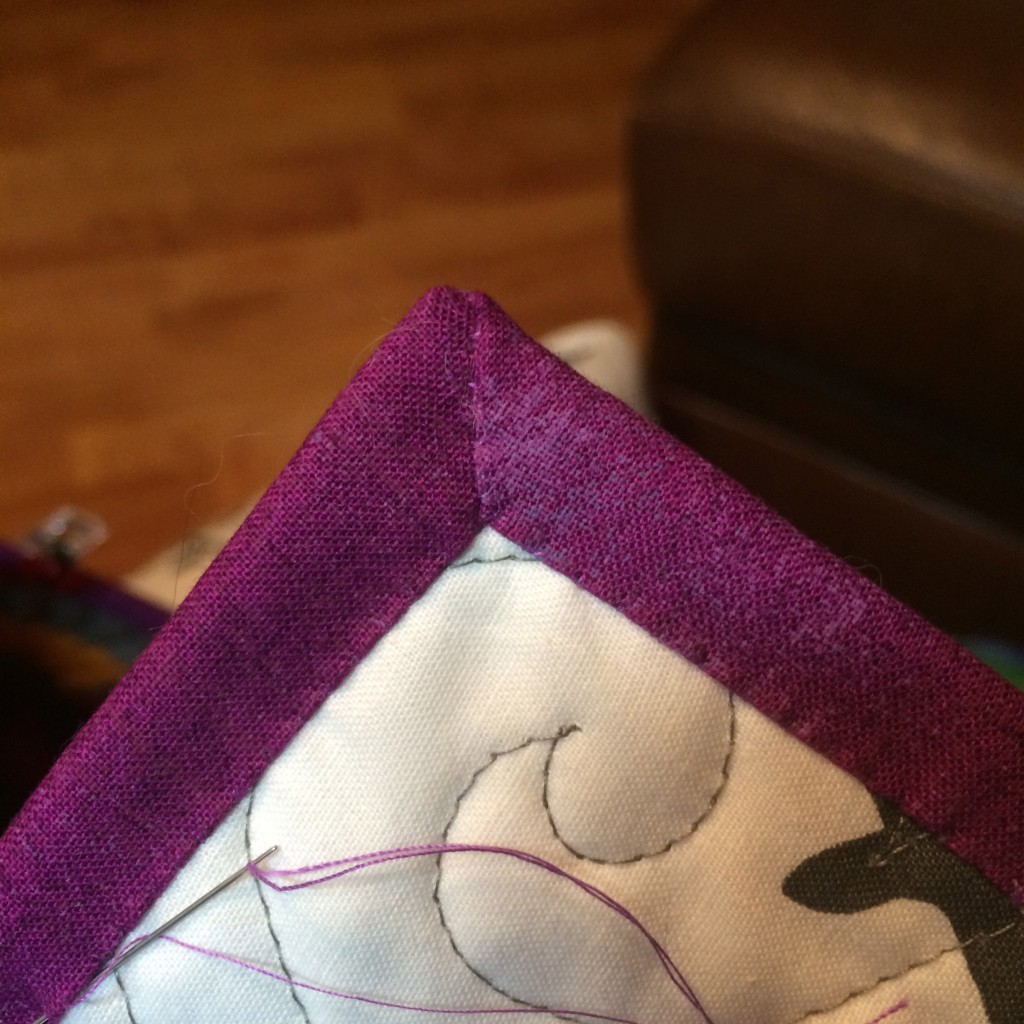
When I get to the edge of the corner, I turn the quilt and come back down to the edge of the binding, putting a stitch between each of my previous stitches in the corner. There are probably about 12 stitches in the corner holding it like that. Here’s that corner, all finished:
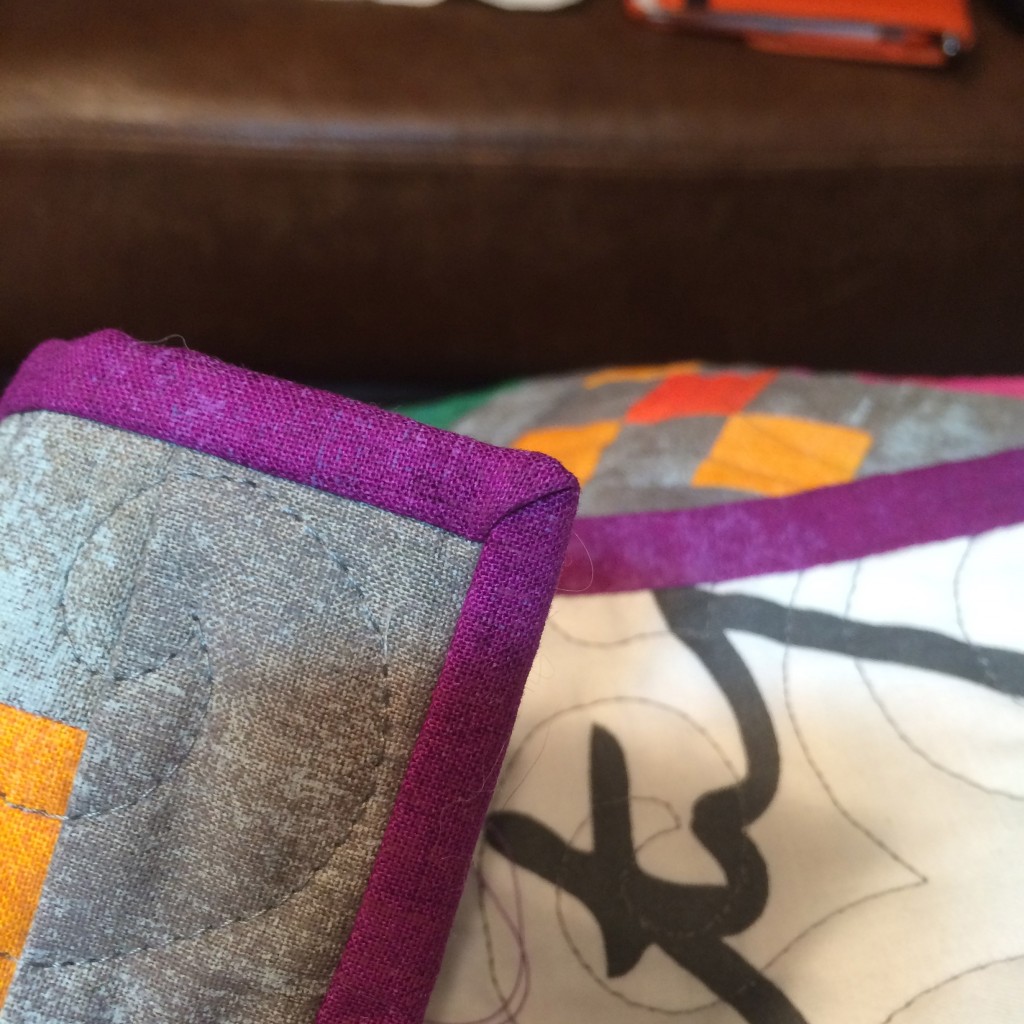
And from the front, the same corner:
While it’s not perfect, I think it looks pretty darn good!
So I continue that way all the way around the quilt… I wanted to get the tutorial up, so this one only has about half the binding sewn down at this point. I’ll get the rest done tomorrow.
Best of luck with your bindings, and I hope that you’ve found this tutorial helpful!
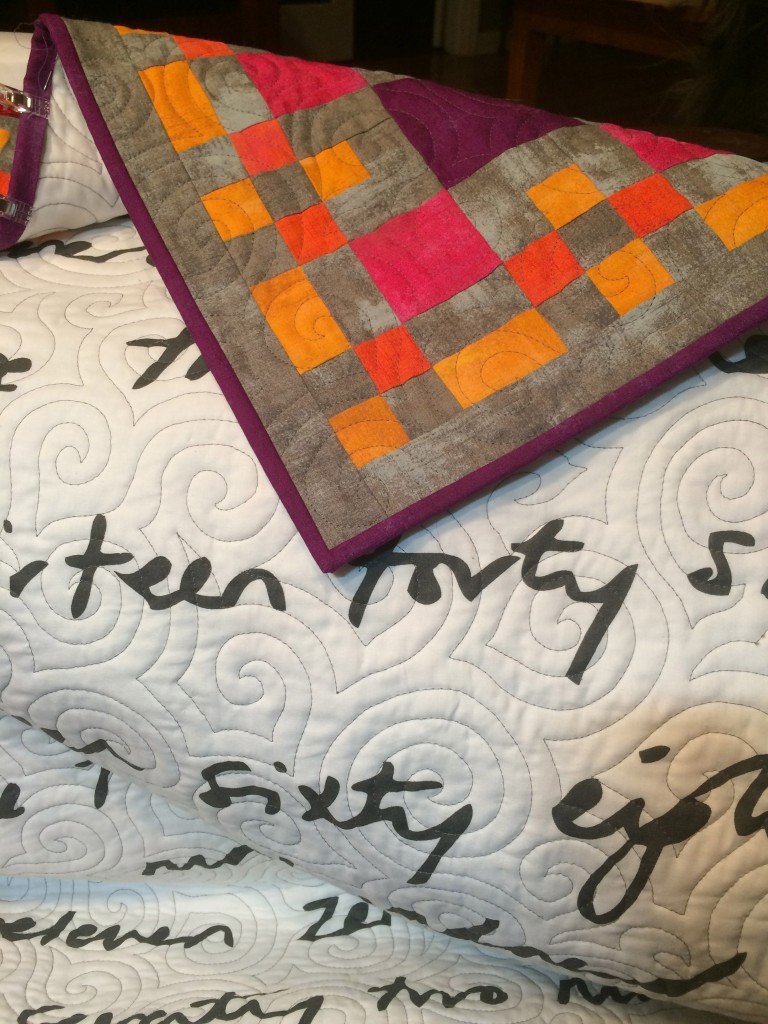
(This quilt is a pattern-in-progress that I designed last year called “Fibonacci Fractal.” I’ll update here when it’s released!)
7 Responses
Wow, this is eerily similar to how I do my bindings. Only I thought I was being thorough and precise, hah. The only thing I do differently is pressing the binding once I’ve sewn it to the front. The pressing does give a sharper finish but I suspect that disappears with the first washing ( I’ve never looked) Oh and I don’t add as many stitches to the corners but I think I’ll change that now I’ve seen this. Thanks for putting this together I really enjoyed it, and of course picked up some new tricks. Using the snippet of binding to measure where to cut off excess binding? Genius. I always pull out a ruler, thanks for that too.
Thanks for the great tutorial Elaine!
Great tutorial – this is mostly how I do bindings too but I’ve certainly picked up a few pointers to make it easier.
I have wanted to do this type of binding closure but being a little ADHD it’s hard for me to watch some tutorials. However, yours with the little cut piece just hit the right cord for me to learn. It’s so silly because I am a blue ribbon quilter and have even won a Viewer’s choice in Maine. So thank you so much for this. A little different from other sources but perfect for me.
H
I am a perfectionist first. Lazy takes a close second. Then pride gets in the way. Your binding method is exactly like mine. I really expected to see a perfect binding application done completely by machine — because that really would be lazy.
Yesterday I ran across an attachment that I’ve always suspected is used in industry but never knew it was available for home sewing machines. I too have a Janome (MC6600). The Quilt Binder Set folds the binding strip as you feed the quilt edge into the slot, and the front and back of the binding are stitched in place at the same time. NOW THAT’S LAZY! The only drawback it the price. $200!
Have you ever tested this attachment? If so, would you recommend it? I make a lot of charity quilts and could turn them out faster with this accessory.
Love your method for measuring the binding to join the two ends together! Worked like a charm! Thanks!
I love, love, love your binding method. You’ve simplified the hard part of joining the two ends of binding, neatly on 45 deg. angle. I’m just wondering why you removed some of your quilted border? Is that necessary? It’s gorgeous, tho’…Thanks for sharing great tute!