So I’ve had this idea in my head. Every time we get to parallel lines and quadrilaterals in geometry, the idea resurfaces. So pretty much every January.
This time I decided to see if the idea actually worked.
So I found an orphan Jelly Roll in my fabric stash (the $35), and started playing with it (the experiment). I’ll post a tutorial for how I created this when I do it again (because I’m GOING to do this again with fabrics that are more planned), but for now I’ll just show you what I came up with.
On Friday night, I paired all of the fabrics and prepped them for sewing. I got all of the light fabrics sewn so I decided to toss them up on the wall and see what happened.
This is what happened:
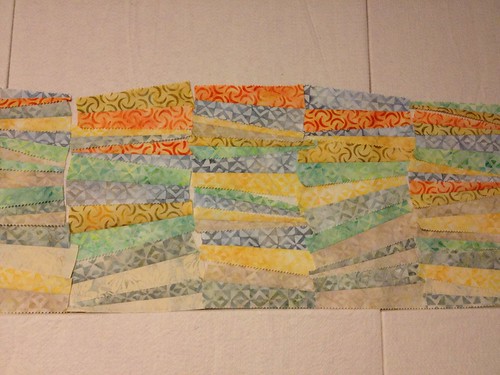
Pleased with what I saw, I kept going and added some of the mediums to the mix by the time I went to bed on Friday night.
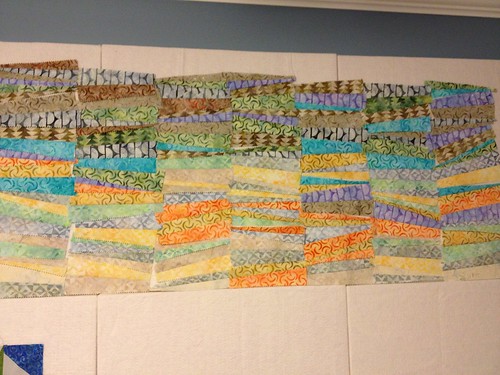
By bedtime on Saturday night, I had finished sewing and cutting all of the fabric pairings, and tossed them up on the wall. I asked Jerry for his advice, and he surmised that the horizon line was “too contrasty, maybe” (how’s that for definitive?).
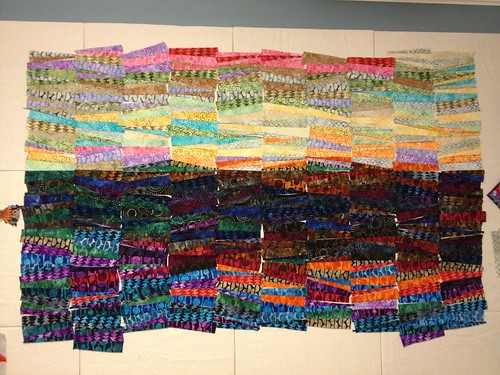
I decided to call it a day and revisit the layout when I got up in the morning.
Bringing all of the warm colors towards the horizon line and towards the right side of the piece gave me the look I decided I wanted, so I started to assemble the wedges into columns. In the photo below, the left 5 are in columns and trimmed, and the right 5 are still just in wedge pairs on the wall.
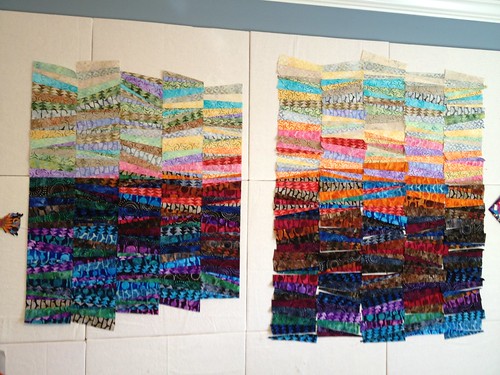
Once all of the columns were assembled and trimmed, I needed to square it up so I added the fabrics at the top and the bottom.
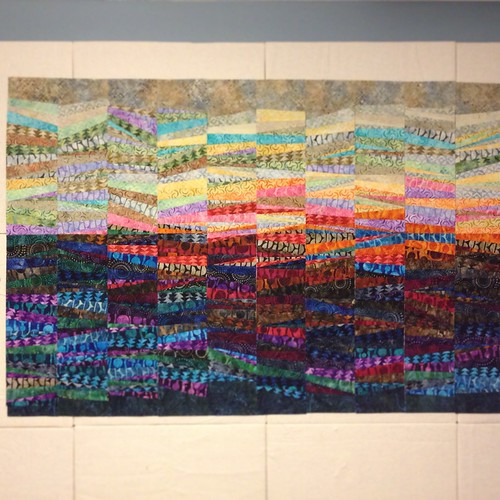
I apparently sewed the far right column slightly out of order (just realizing that now, actually) at the horizon line, so it didn’t behave appropriately with the full piece anymore. The column needed to move. If I had realized that it was just 4 wedges out of order I could have picked those seams and placed them correctly but I didn’t. Silly me… All these pictures and I forget to check my work as I go?
Anyway… I decided to try moving that column around the next day and see if I could fix the problem. The next few photos are kind of “Where’s Waldo?” — can you find the problem column?
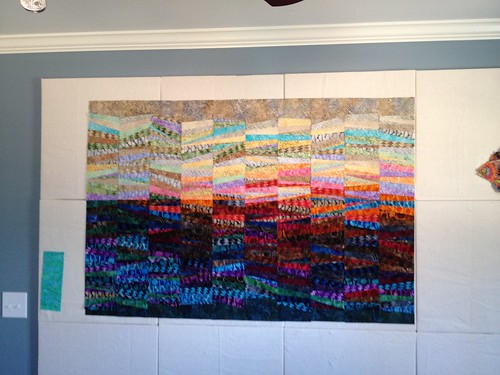
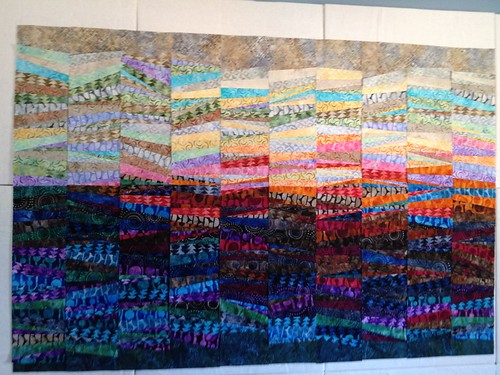
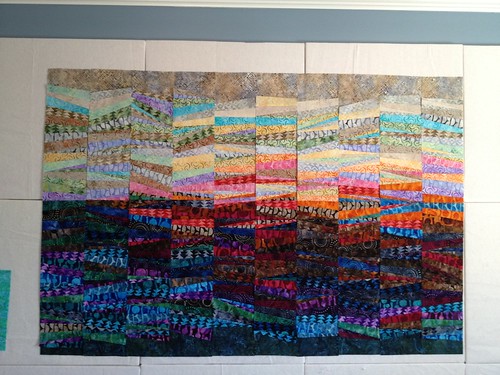
Still unresolved, I took the Problem Column out completely:
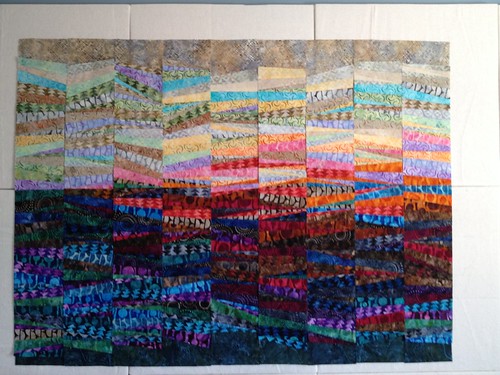
I didn’t like that either. It messed up the aspect ratio, and I want this piece to be pretty close to the Golden Ratio, since that tends to be more pleasing to the eye and I talk about it in my classes.
So Jerry had one final suggestion for the placement of the problem column, and it worked, probably even better than the original design would have if I didn’t sew that section backwards in the first place.
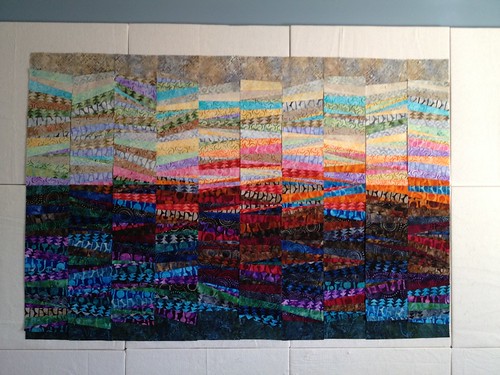
I assembled the whole quilt top and trimmed it.
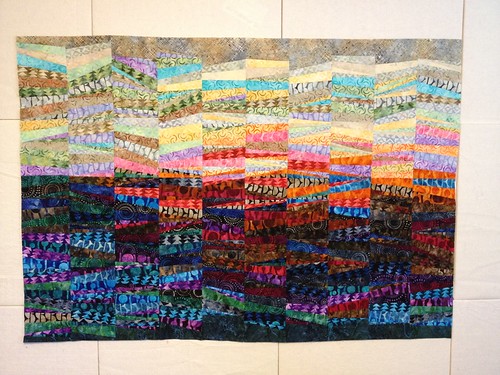
Its current dimensions are 55″x39″, but I plan to quilt it and then trim it to about 55″x34″ so that it will be almost exactly the Golden Ratio. Hopefully I can get it quilted soon before I lose momentum.
I declare this $35 experiment a success!
No responses yet